Edit Pristine Config
Modifying pristine config is a local operation, and does not lead to a change to the running device configuration. Changes are applied on the next full config push. If you want to apply persistent changes to a configuration, use configlets.
CAUTION:
Manual modifications to the Pristine Config are not validated. Mistakes can lead to full erasure of the device, potentially causing a service-impacting outage. Never modify the pristine config directly unless there is no alternative. For assistance, contact Juniper Support.
-
From the left navigation menu, navigate to Devices > Managed
Devices and click the Management IP of the device to
Update.
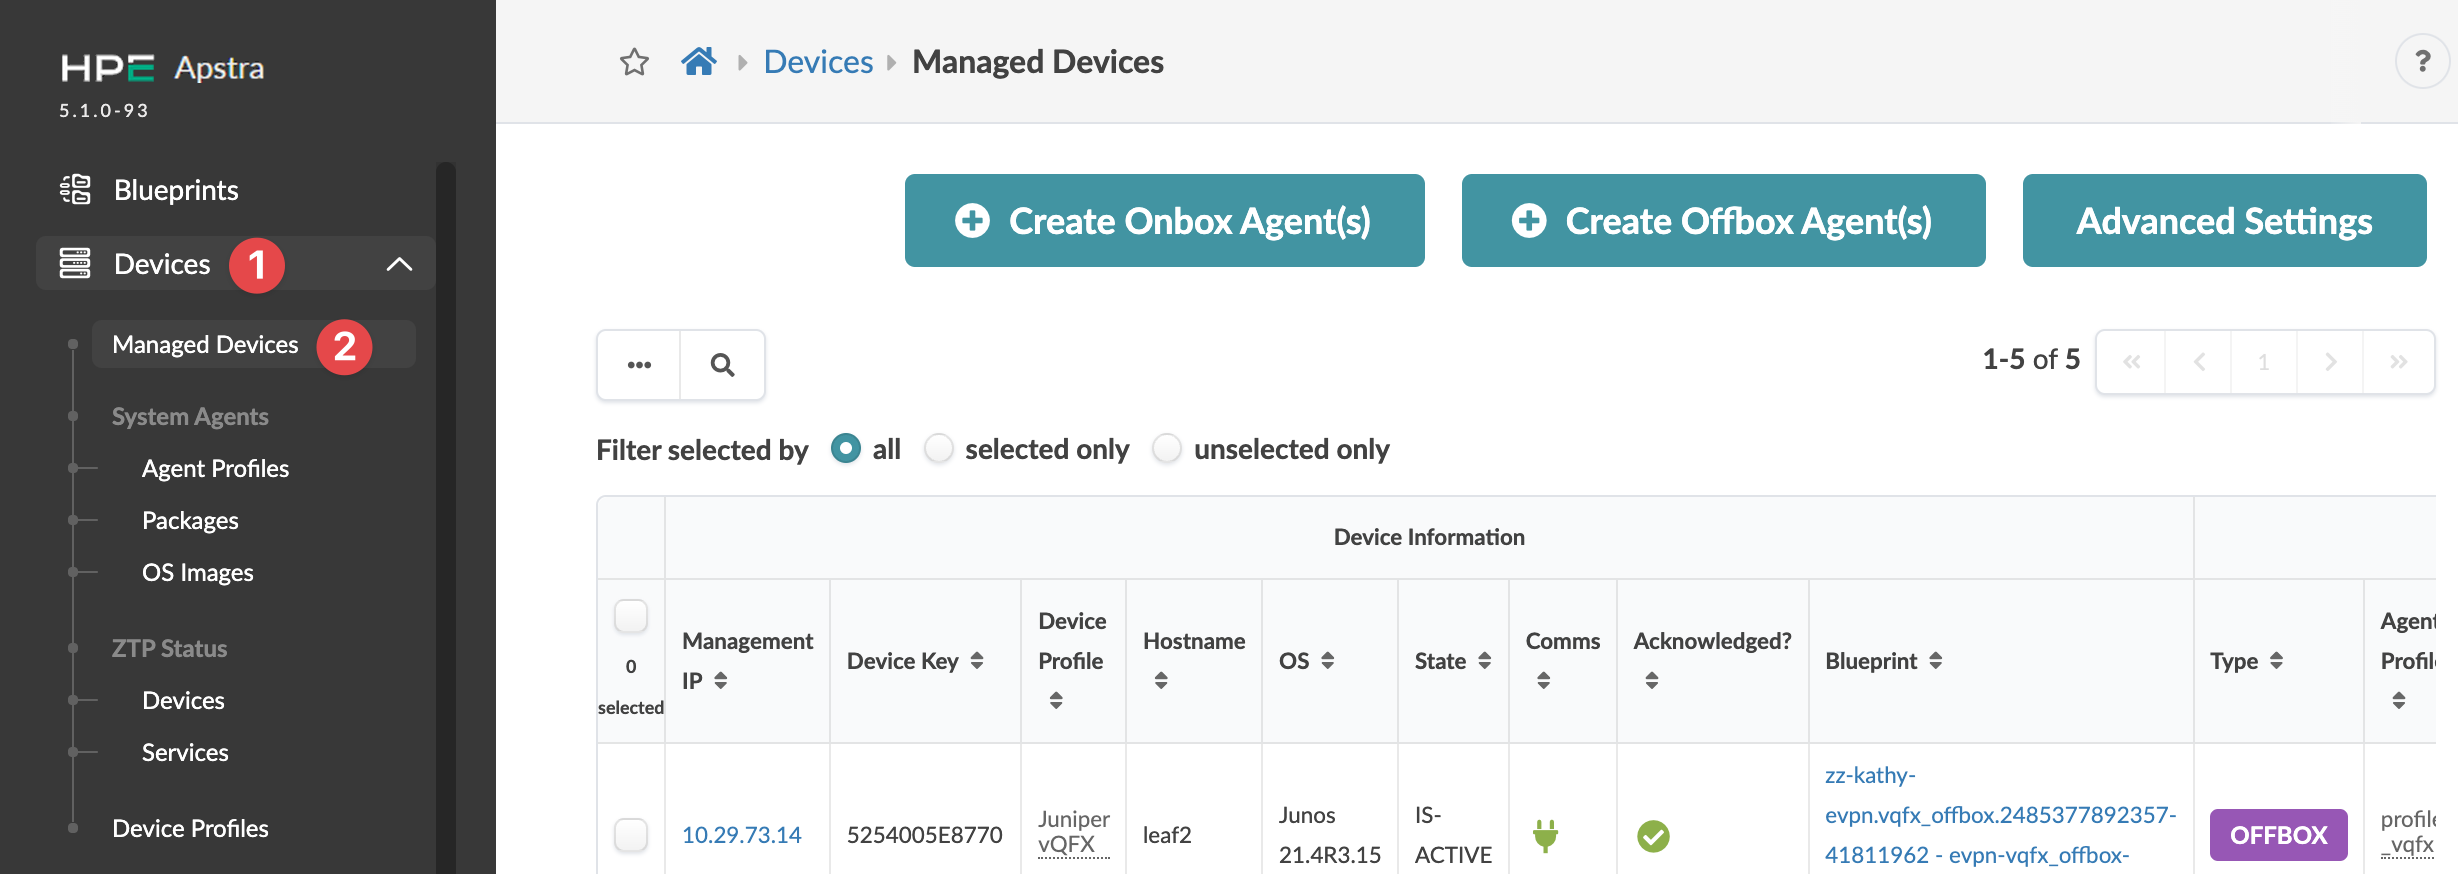 The Device details page for the selection appears.
 -
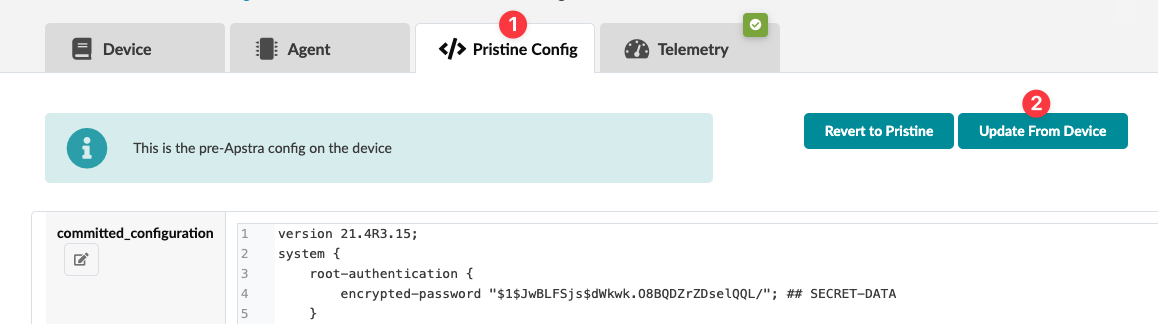
Click the Pristine Config tab (top), then click the
Edit pristine config button (under committed_configuration
on the left).
-
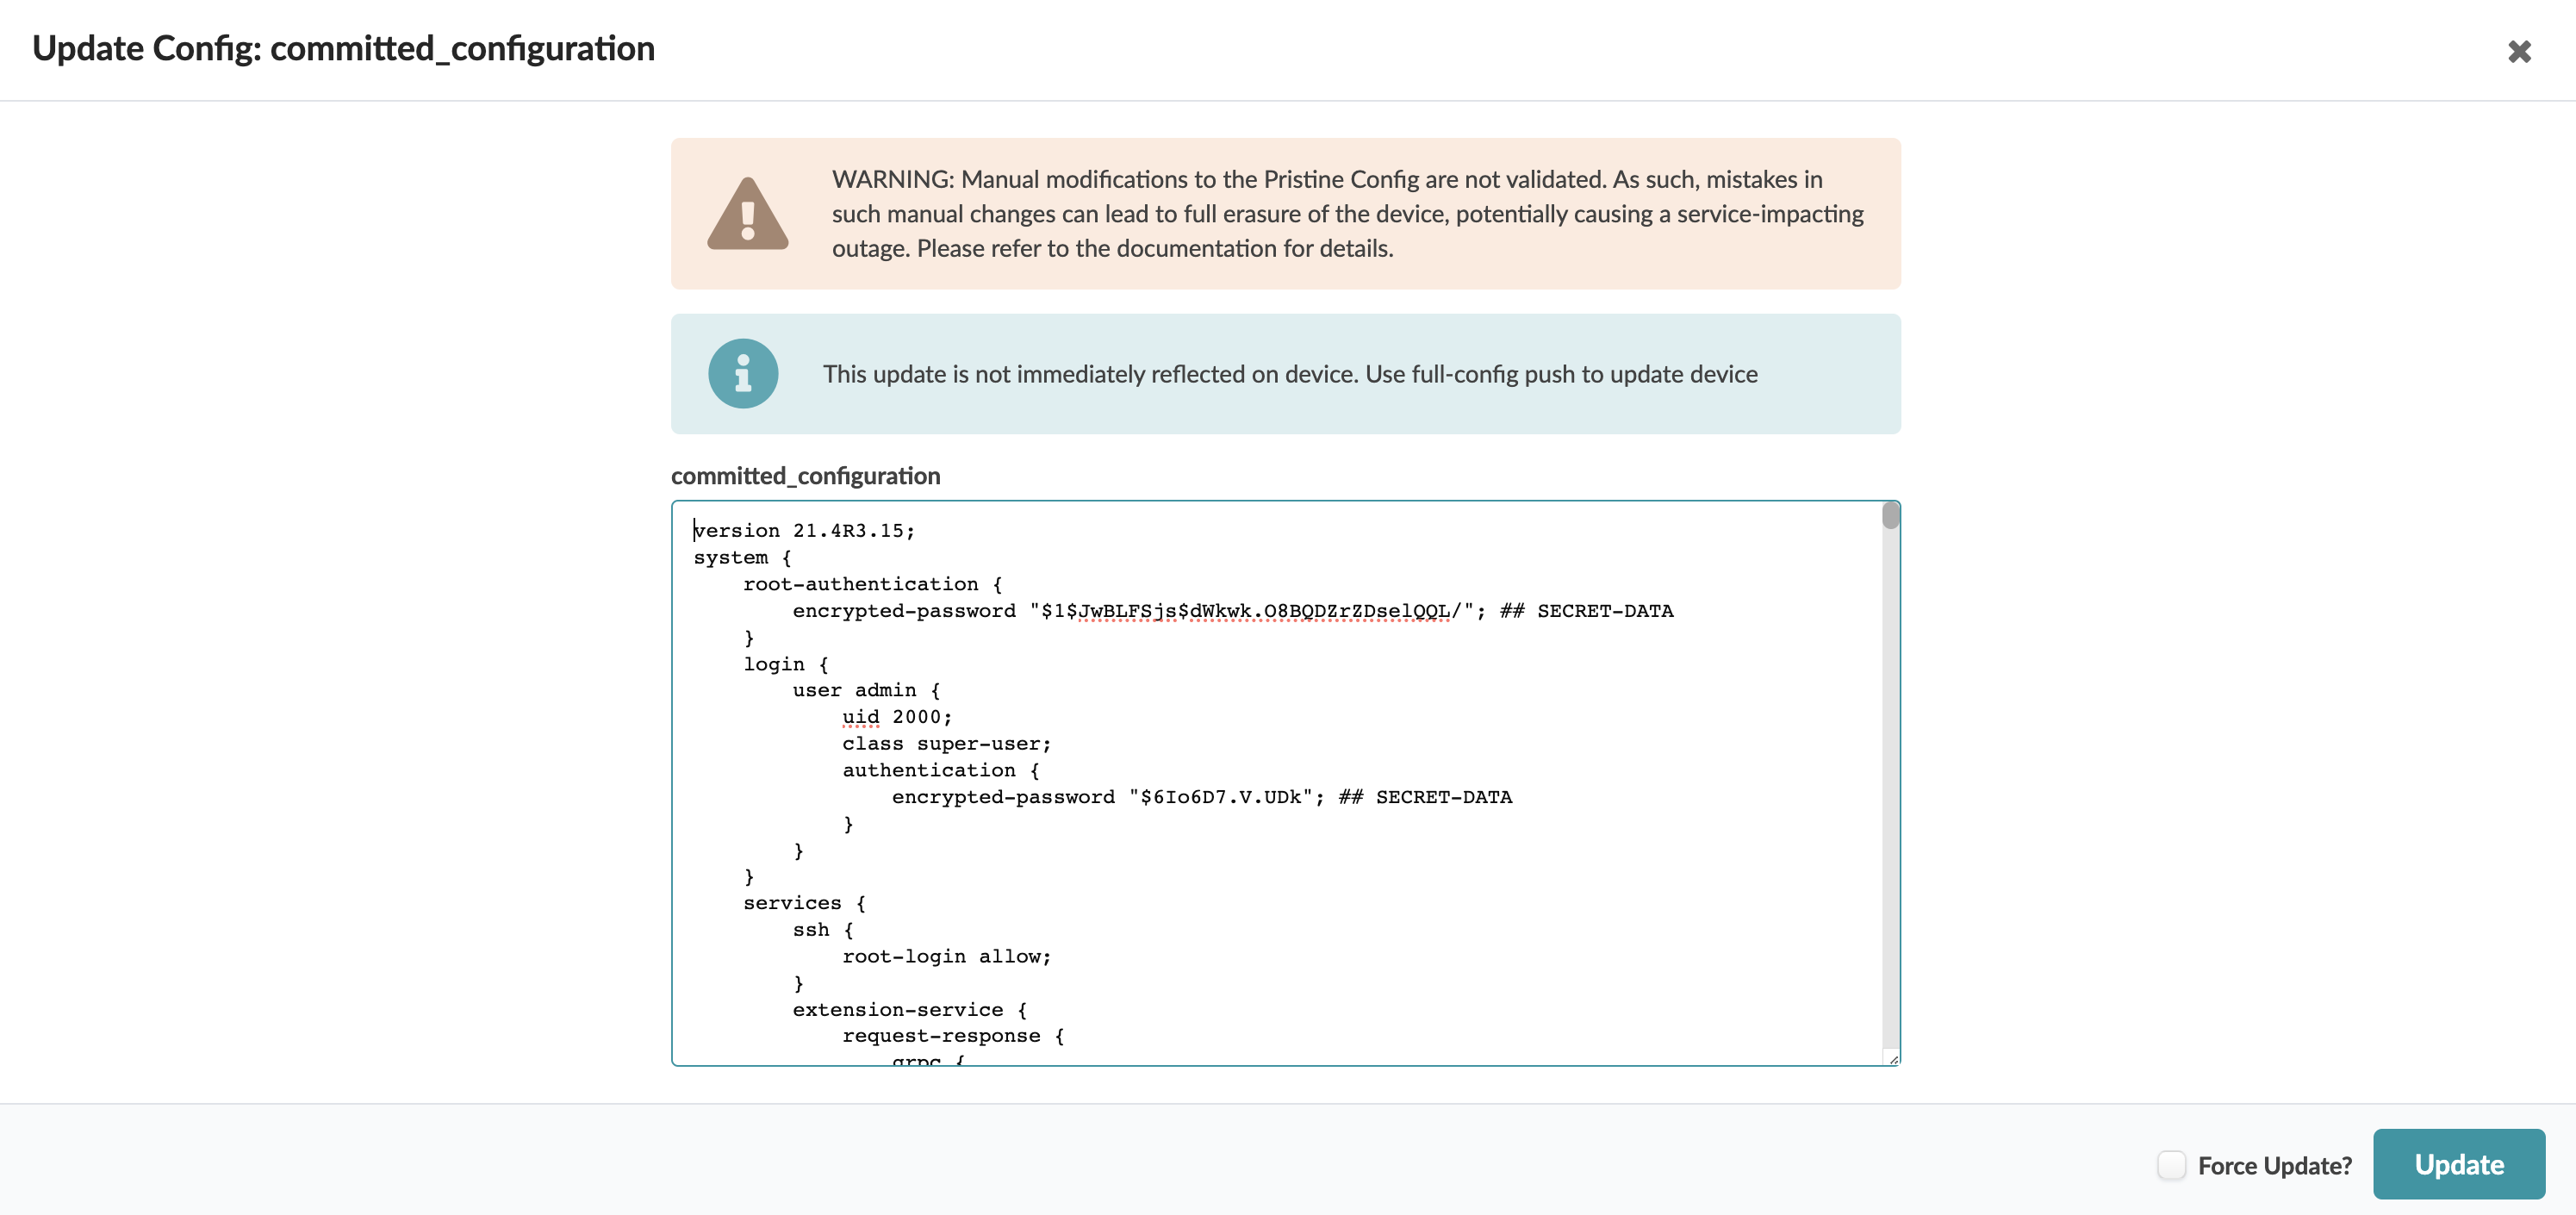
Make your changes to the configuration. (For information about what should and should
not be included in pristine configurations, see Create Onbox Agent and Create Offbox Agent, as
applicable.)
-
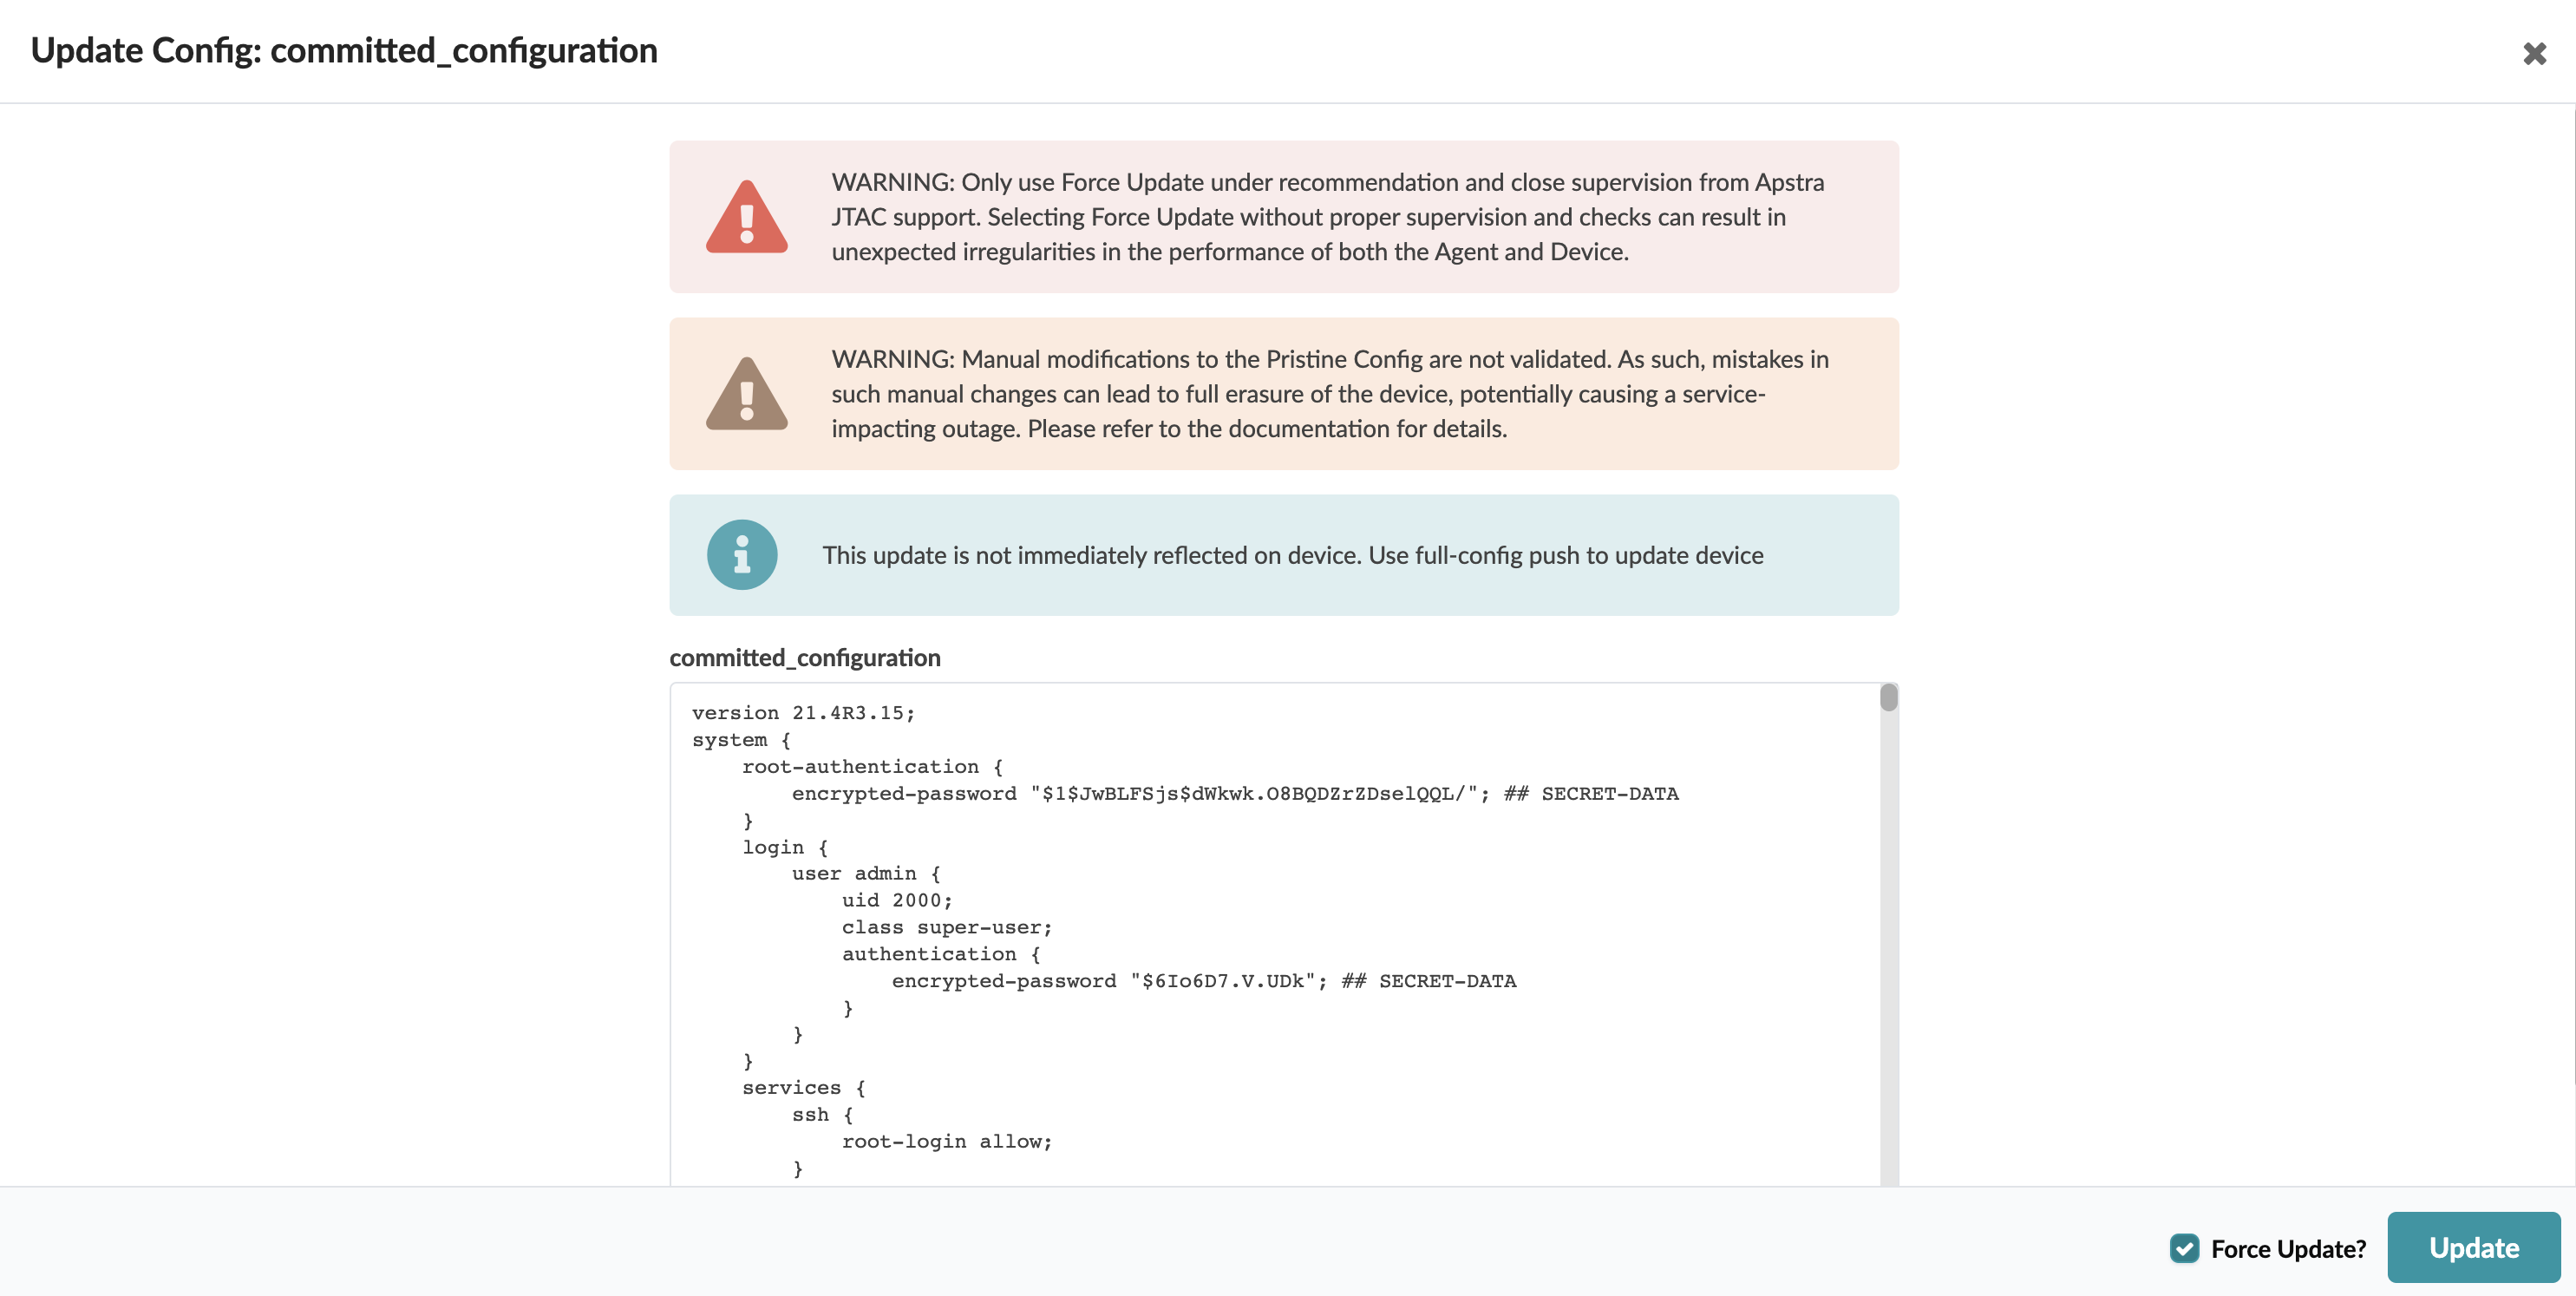
If the device is deployed, and you absolutely need to change pristine config, you can
force the update without undeploying first. Never use this option unless you are otherwise
directed by the Juniper support team. This update has the power to impact your entire
network. To proceed, check the Force Update check box.