Configure Your Network and Flow Collector
Important Installation Notes
-
This guide assumes that you have Apstra Data Center Director installed. For information about how to install Apstra DC Director, see the HPE Apstra Installation and Upgrade Guide.
-
We recommend that you run Apstra DC Director and Apstra DC Director Flow on the same version. Doing so ensures compatibility and prevents potential issues that can arise between the different versions.
-
Before you begin the configuration, make sure that you download the image file for your virtualization platform. See your platform documentation for details.
-
If you are using KVM, you can install it with VM Manager or with the CLI.
Let's get started!
Log in to the Apstra DC Director Flow Console (CLI)
-
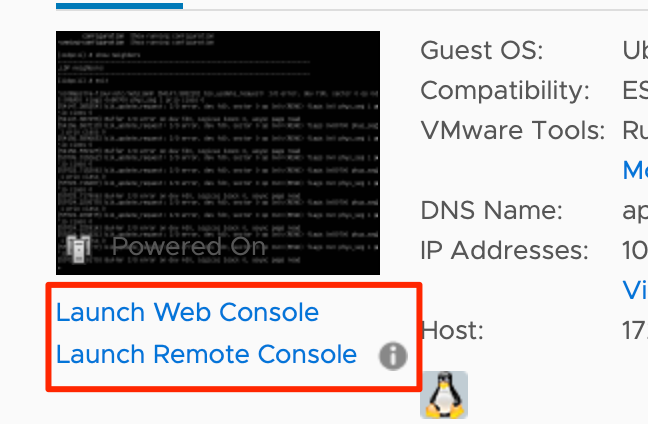
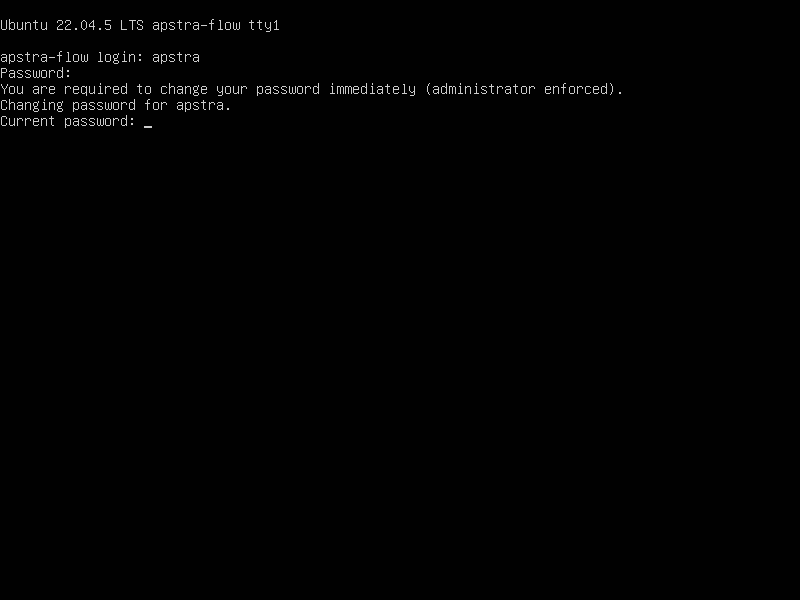
Log in to the Apstra DC Director Flow console with the default credentials
(user=apstra and password=apstra) from the web console. If the console is
already started, click the green play button at the top of the VM
summary.
Configure Your OpenSearch Password
-
Terminal screen showing Ubuntu 22.04.5 LTS requiring the user
apstra to change their password immediately, prompting for the
current password.
-
OpenSearch is using the default admin password. Set a new
password with at least 8 characters, including uppercase,
lowercase, a digit, and a special character. Leaving the field
blank cancels the operation.

Configure Your Network Settings
The configuration tool launches automatically. If it does not launch,
enter the following command: manage-config.
-
In the Apstra Server configuration tool, select
7
                                Network
and click Ok.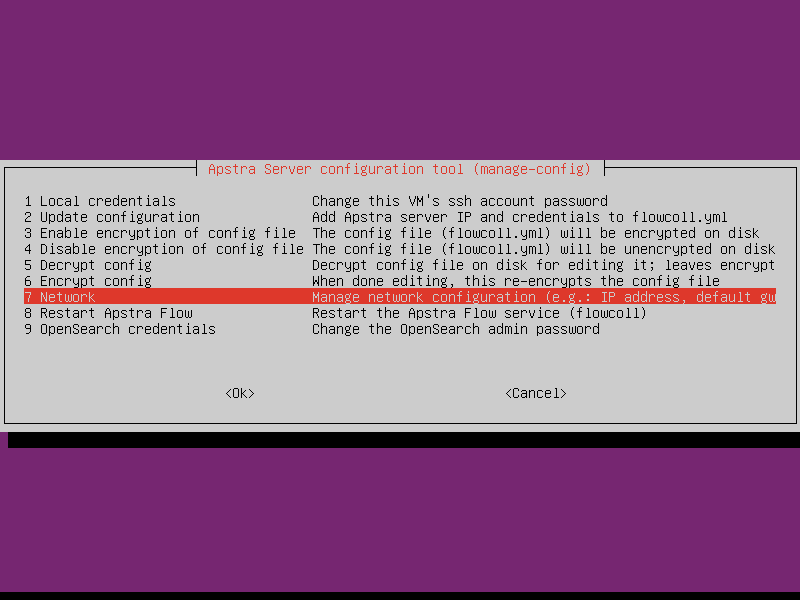
-
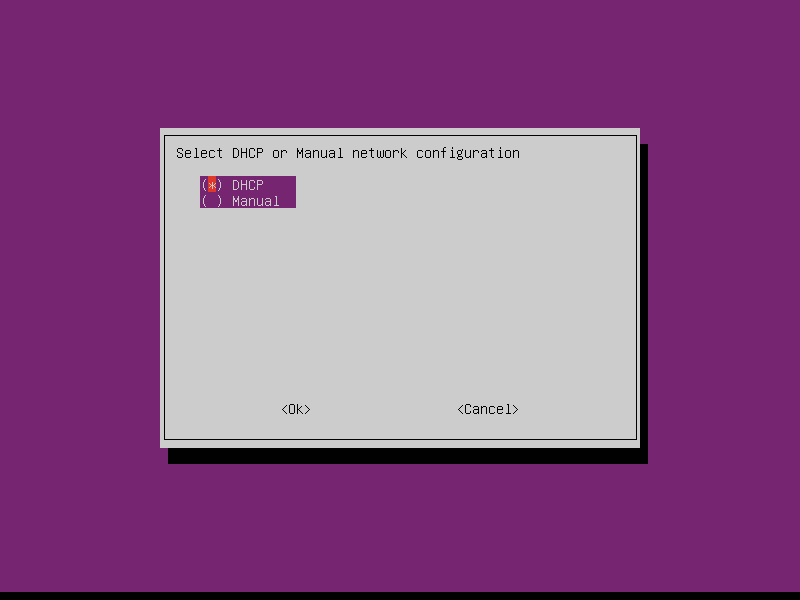
Select either
DHCP(default) orManual.-
For
DHCP, click OK and restart the network. -
To assign a static IP address, select
Manual. Follow the prompts to enter the network settings and click Yes to confirm.
-
Configure the Flow Collector
flowcoll.yaml file. If you prefer to edit the file
manually, refer to the instructions under Flow Analytics in the HPE Apstra User Guide. To configure the flow collector:
-
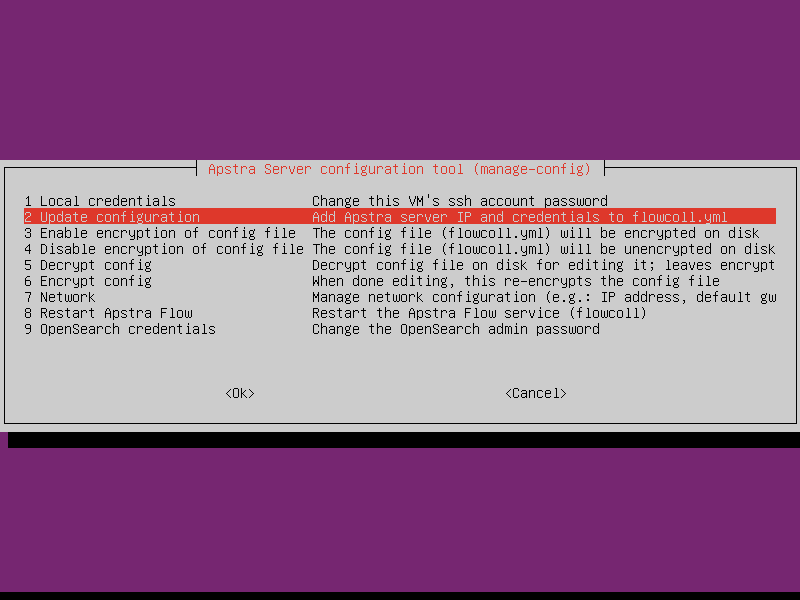
From the Apstra DC Director Server configuration tool, select
2
                            Update configuration
.
-
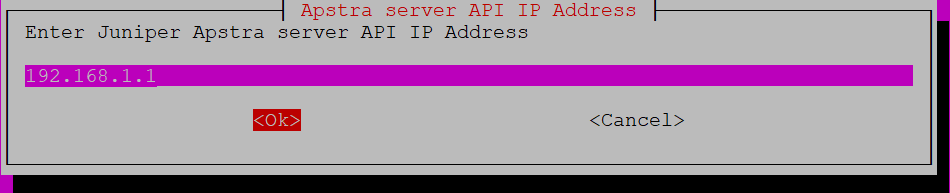
Enter the Apstra DC Director Server IP address (such as 192.168.1.1) and
click Ok.
Note:
This address is NOT the IP of the flow server, but refers to your Apstra DC Director management VM.
-
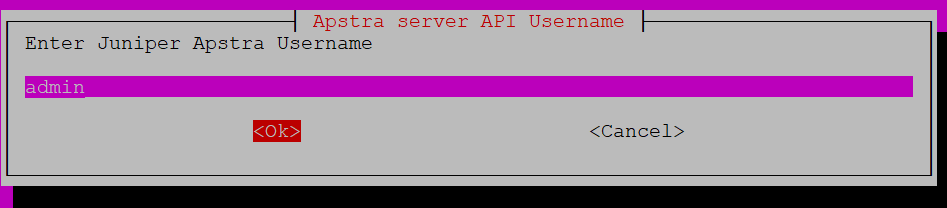
Enter your Apstra DC Director username and click Ok.
-
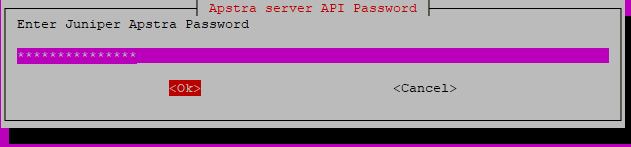
Enter your Apstra DC Director server GUI password and click
Ok.
 The CLI automatically populates the values you entered and default port number (443) as shown in the following example: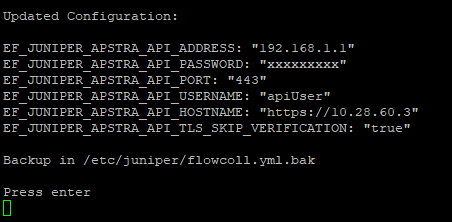
-
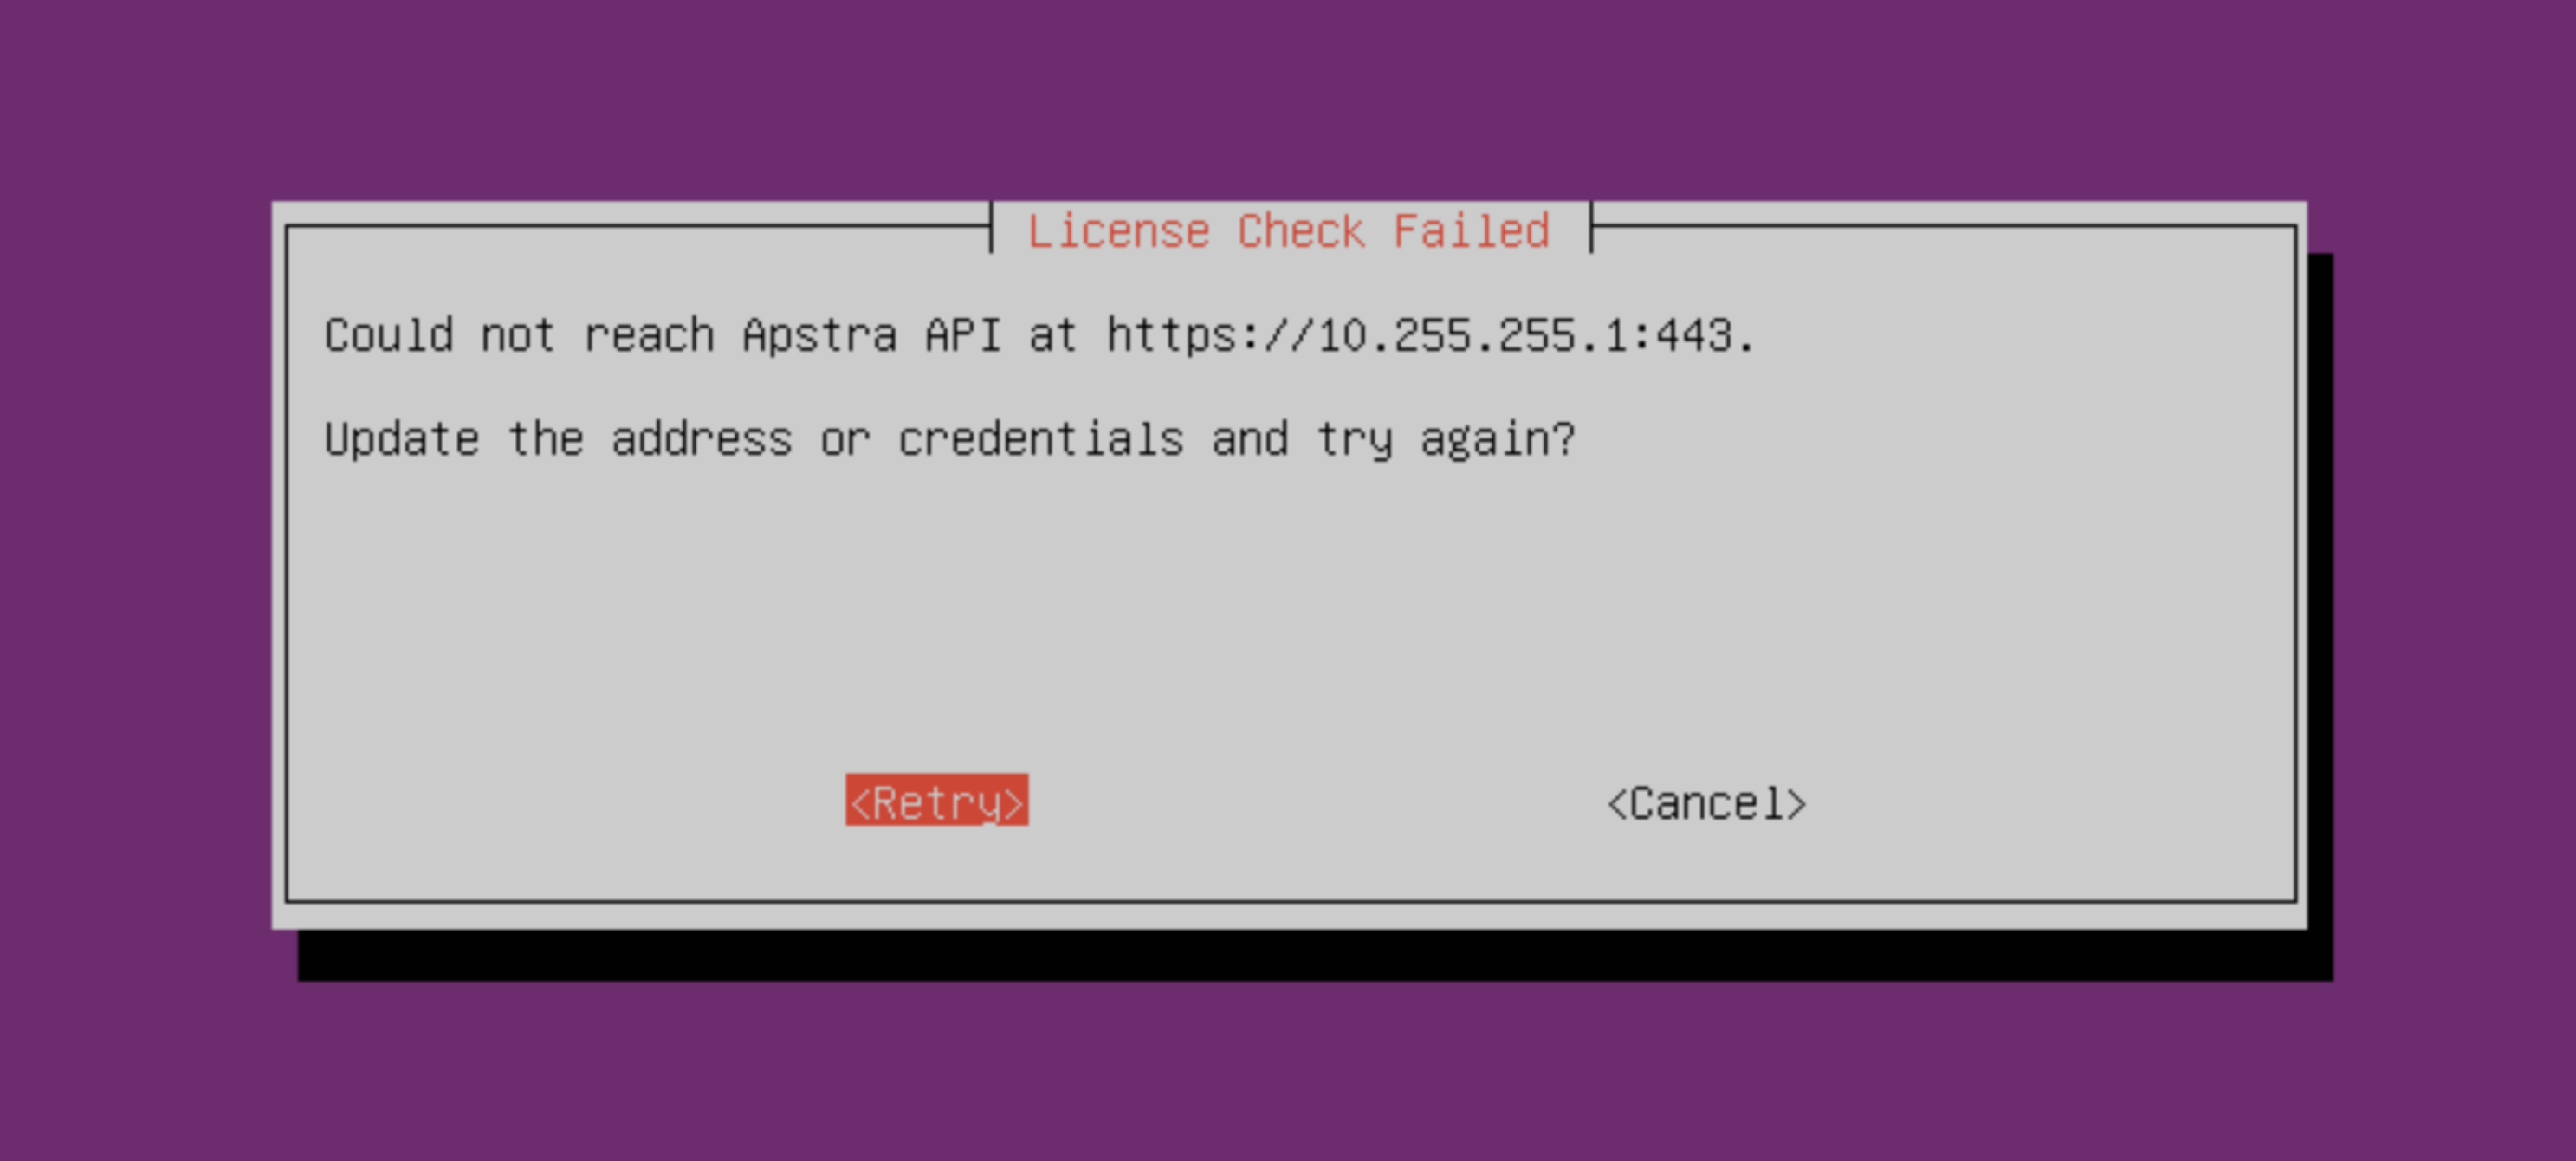
If the Apstra DC Director Server can't be accesssed with the provided
settings, the following message is displayed:
 Note:
Note:If this occurs, verify that the IP address and port are configured correctly and that Apstra DC Director Flow can access the Apstra DC Director Management VM.
-
Restart Apstra DC Director Flow.
Select
8 Restart the Apstra Flow Service (flowcoll)and click Ok.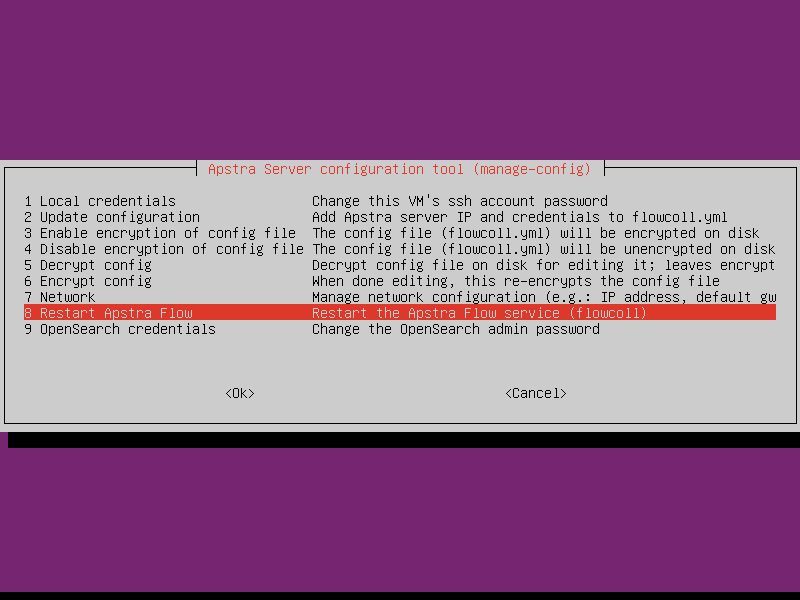 You completed configuring your network and flow collector. Next, continue to (Optional) Enable File Encryption.