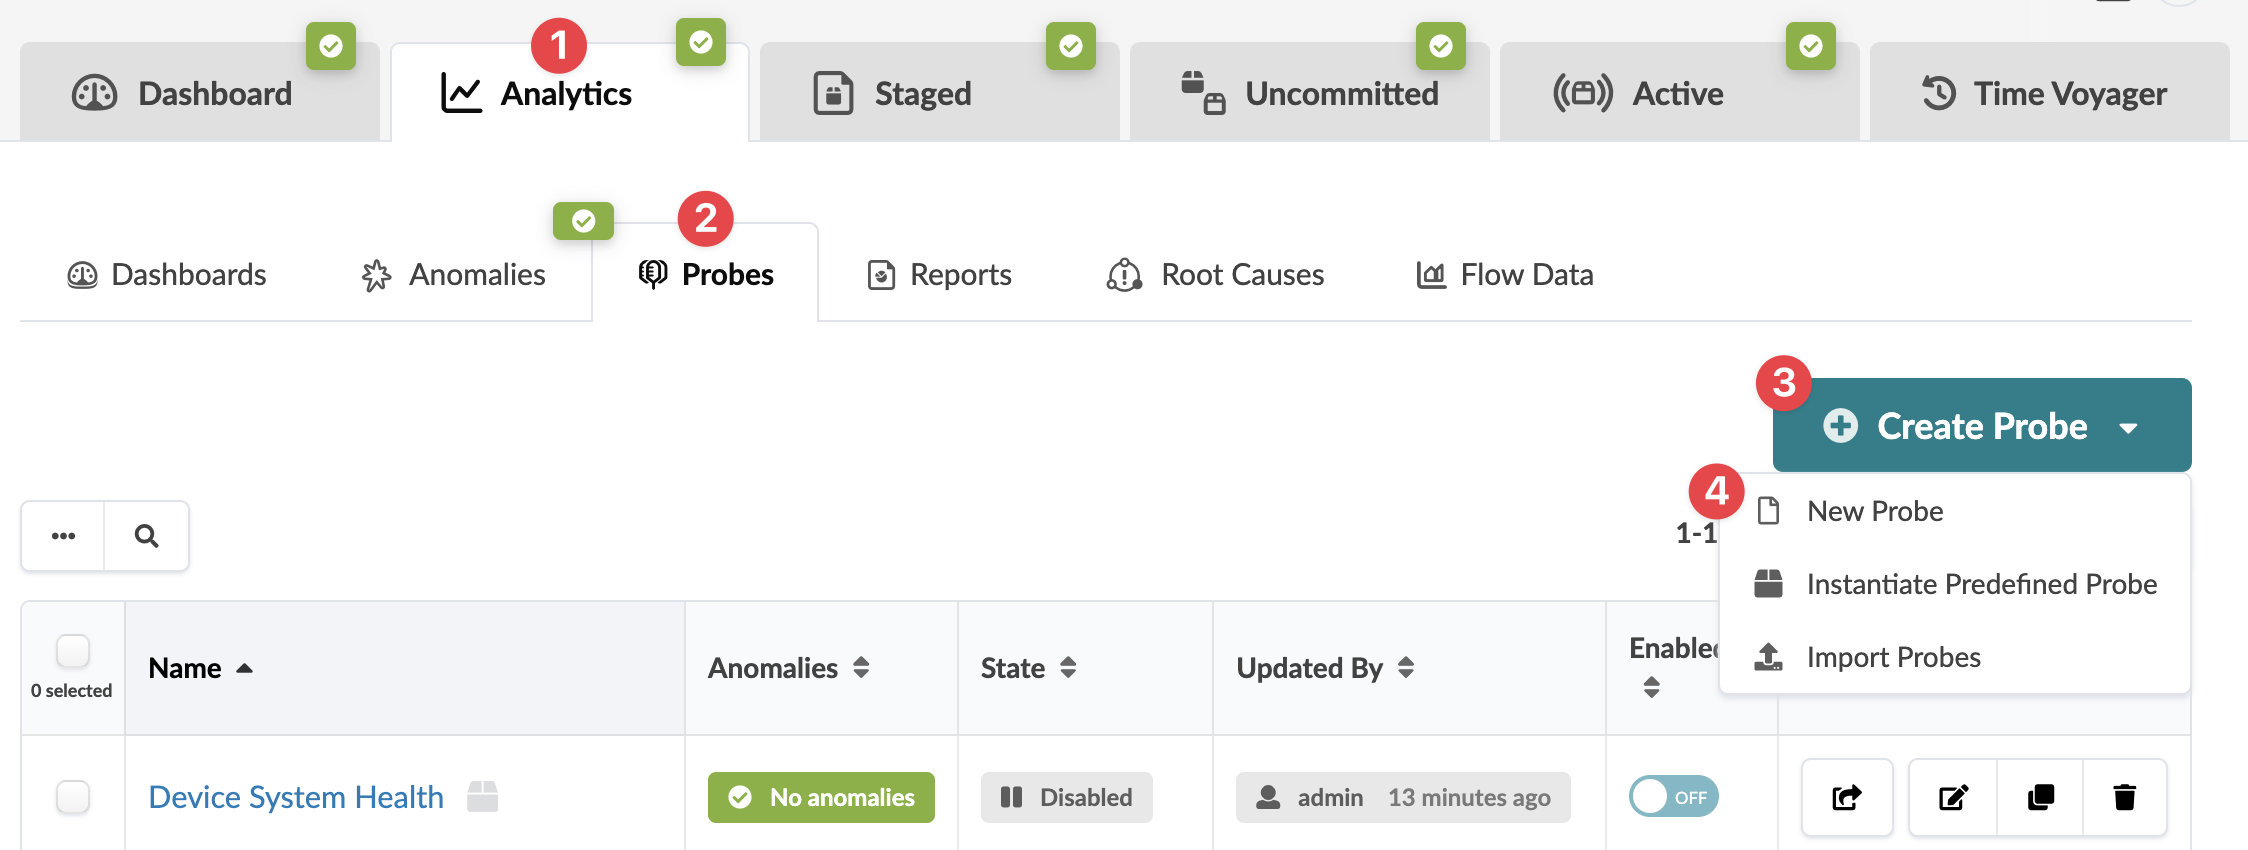
Create Probe
-
From the blueprint, navigate to Analytics > Probes, click
Create Probe, then select New Probe.
-
Enter a unique name and (optional) description.
-
Probes are enabled by default. This means that data is collected and processed
(potentially creating anomalies) as soon as the probe is created. To disable the probe,
toggle off Enabled. When you're ready to start collecting and
processing data, update the
probe to enable it.
-
Click Add Processor, select a processor type, then click
Add to add the processor to the probe. For more information about
individual processors, see Probe Processors in
the References section.
-
Customize inputs and properties as appropriate, or leave defaults as is.
-
Repeat the previous two steps until you've added all required processors for the new
probe.
-
Click Create to create the probe and return to the table
view.