Add Security Policy Rules to Secure Edge Policy
Migrate your on-premises SRX Series Firewall security policies to Secure Edge by converting the security policy rules to a Secure Edge policy.
-
Zones—Secure Edge policies supports a single pair of zones from the trust zone to the untrust zone.
-
The zones of the security policy in the source endpoints are converted to trust zone.
-
The zones in the destination endpoints are converted to untrust zone.
-
-
Global rules—Secure Edge converts global security policy rules only if the policy rules match with the selected source and destination zones to be converted.
-
Security profiles—Secure Edge converts advanced security profiles in the following manner:
Table 1: Security Profile Conversion Security profile Conversion Decrypt profile
The profiles are converted without modification, except for the root certificate.
The root certificate set is converted to Secure Edge with the name jsec-ssl-proxy-root-cert. Each decrypt profile name is prefixed with jse-.
Web filtering profile
The profile is converted and a new Secure Edge Web Filtering profile is created with categories that map to the actions and default settings of the converted profile.
SecIntel profile
The profiles are converted without modification.
The profile name is prefixed with jse-.
Anti-malware profile
The HTTP Anti-malware profile is converted without modification. The profile name is prefixed with jse-.
The SMTP and IMAP Anti-malware profiles are ignored and not converted.
IPS
The policy is ignored and not converted.
The default IPS policy of Secure Edge policy is associated with the converted Secure Edge policy. See IPS Profiles Overview.
Content filtering
The policy is ignored and not converted.
The default Content filtering profile of Secure Edge policy is associated. See Content Filtering Profiles Overview.
Antivirus profile
The profile is ignored and not converted.
Antispam profile
The profile is ignored and not converted.
Secure Edge doesn't reconvert SRX Series Firewall security policy rules that have already been converted to a Secure Edge policy. However, if you add new rules to that SRX Series Firewall policy, you can convert and append the new policy rules to the existing Secure Edge policy.
Before you begin, make sure that the source endpoint identities defined in your SRX Series Firewall security policy rules match the source endpoint identities configured in JIMS Secure Edge. This helps prevent configuration conflicts and avoids the need for additional customization.
To add the security policy rules to Secure Edge policy:
-
Select the security policy to convert and click .
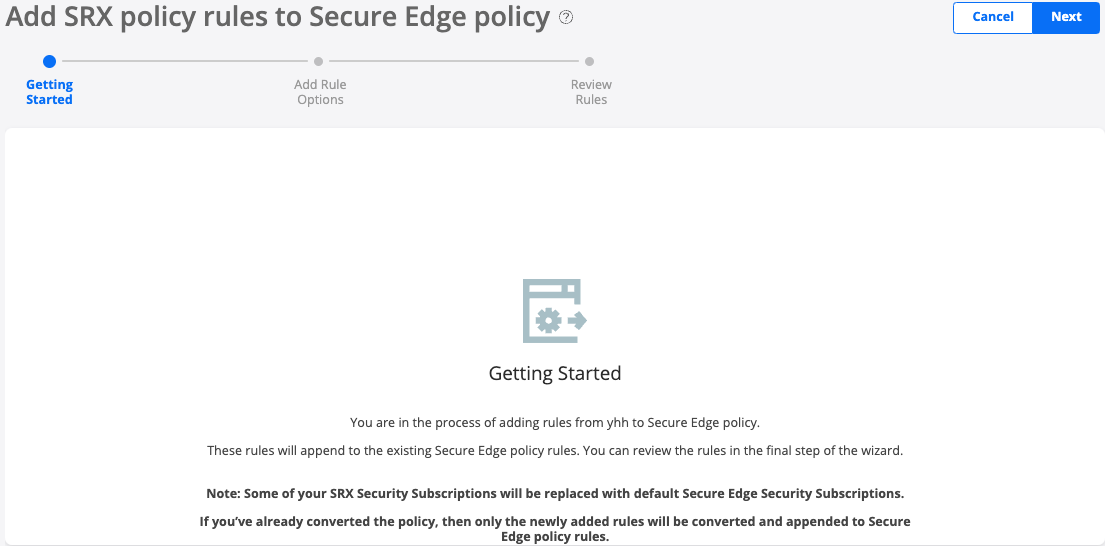
The Getting Started page is displayed.Figure 1: Getting Started Page
-
Click Next.
The Review Rules Page is displayed.
Figure 2: Rules Preview Page