Update Connectivity Template Assignments
You can assign connectivity templates that have an active Assign button. These include connectivity templates in the Ready or Assigned status. (Incomplete status means that more configuration is required.) You can assign connectivity points directly from connectivity template(s) or from application endpoints.
From Connectivity Templates
-
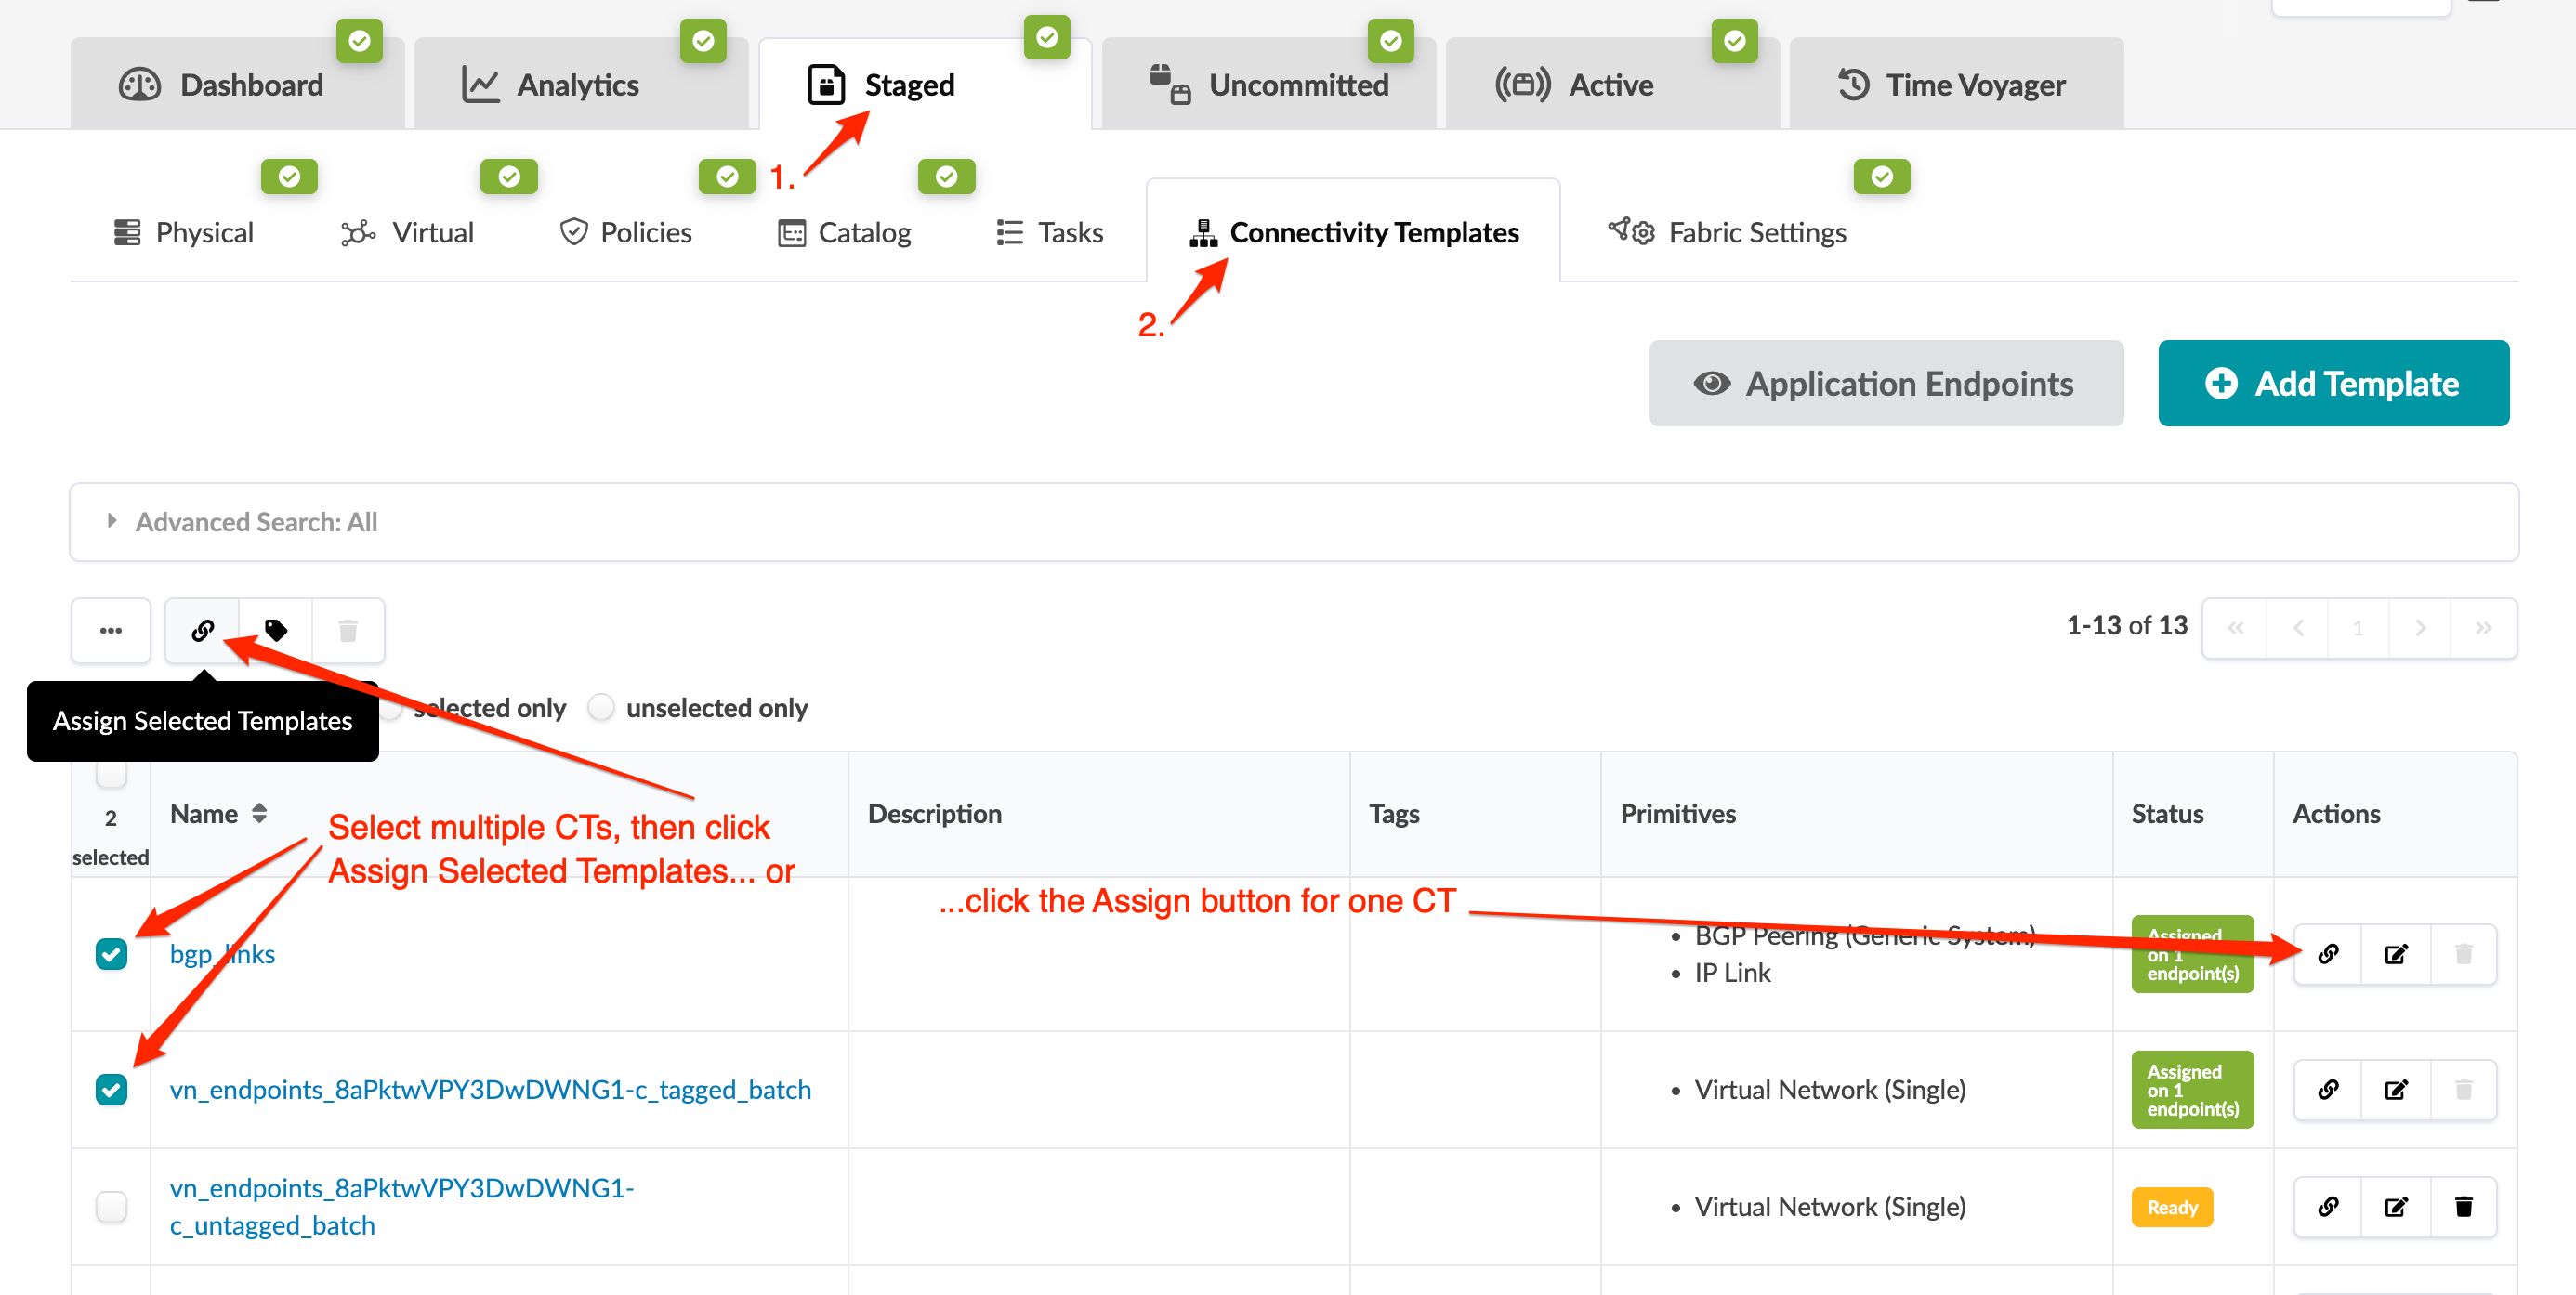
From the blueprint, navigate to Staged > Connectivity
Templates and click the Assign button
(in the Actions section on the right) for the connectivity template
to assign, or select multiple connectivity templates, to the left of the CT
name, then click the Assign button that appears above
the table.
The available fabric application endpoints appears in the dialog that opens.
-
Click boxes on the connectivity template column to assign the connectivity
template to the application endpoint. The Tags column shows the tags
that are applied to each available application point. You can click the
Query dialog to search by tags or labels.

You can use "bulk actions" to select multiple "children" application endpoints.
-
You can view application endpoints in Table view. From the table
view, you can filter application endpoints by pod, rack, node, applied
connectivity templates, or tags. You can also copy/paste connectivity
template assignments from the table view.

From Application Endpoints
-
You can access the application endpoints dialog from multiple places:
-
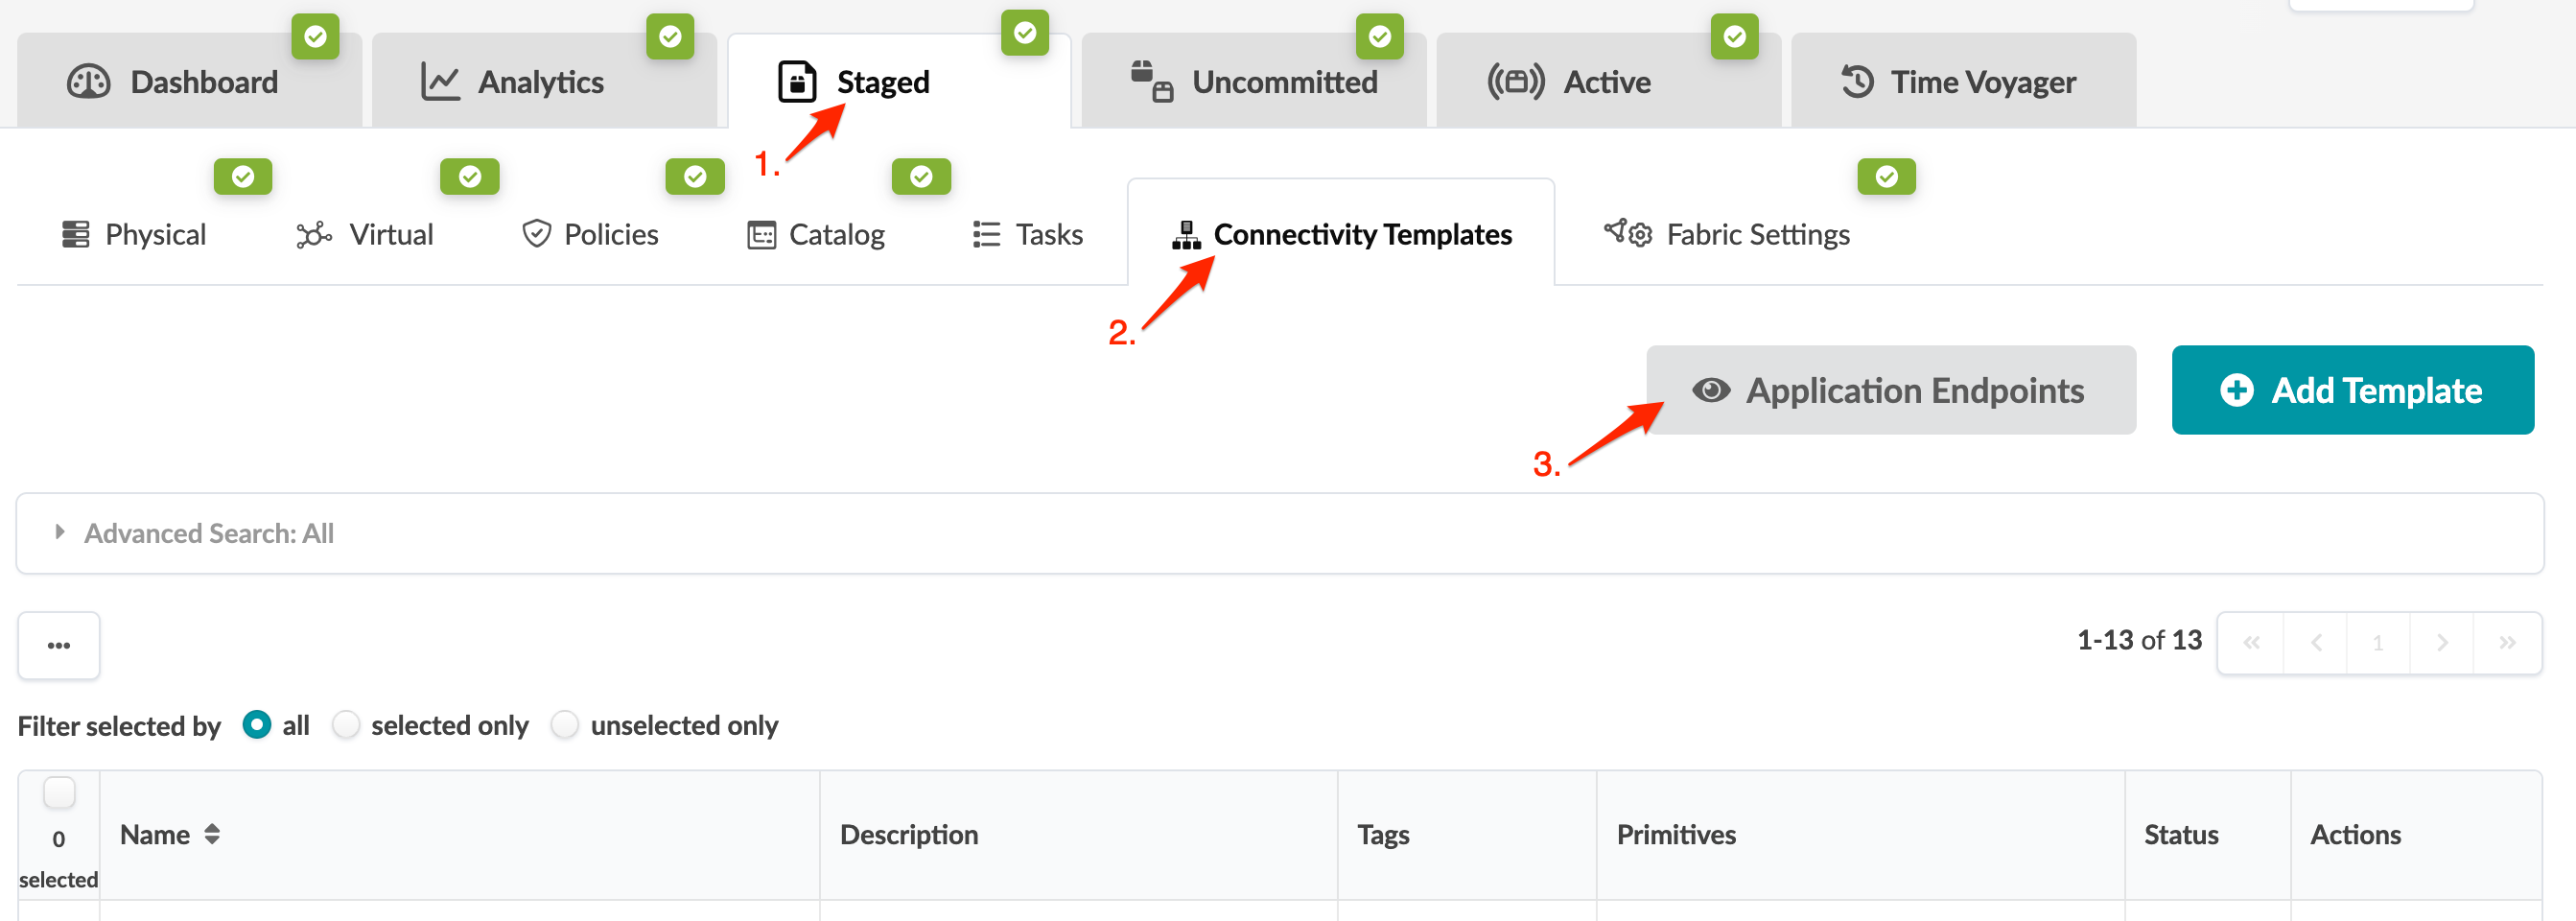
From the blueprint, navigate to Staged > Connectivity Templates and click Application Endpoints.
-
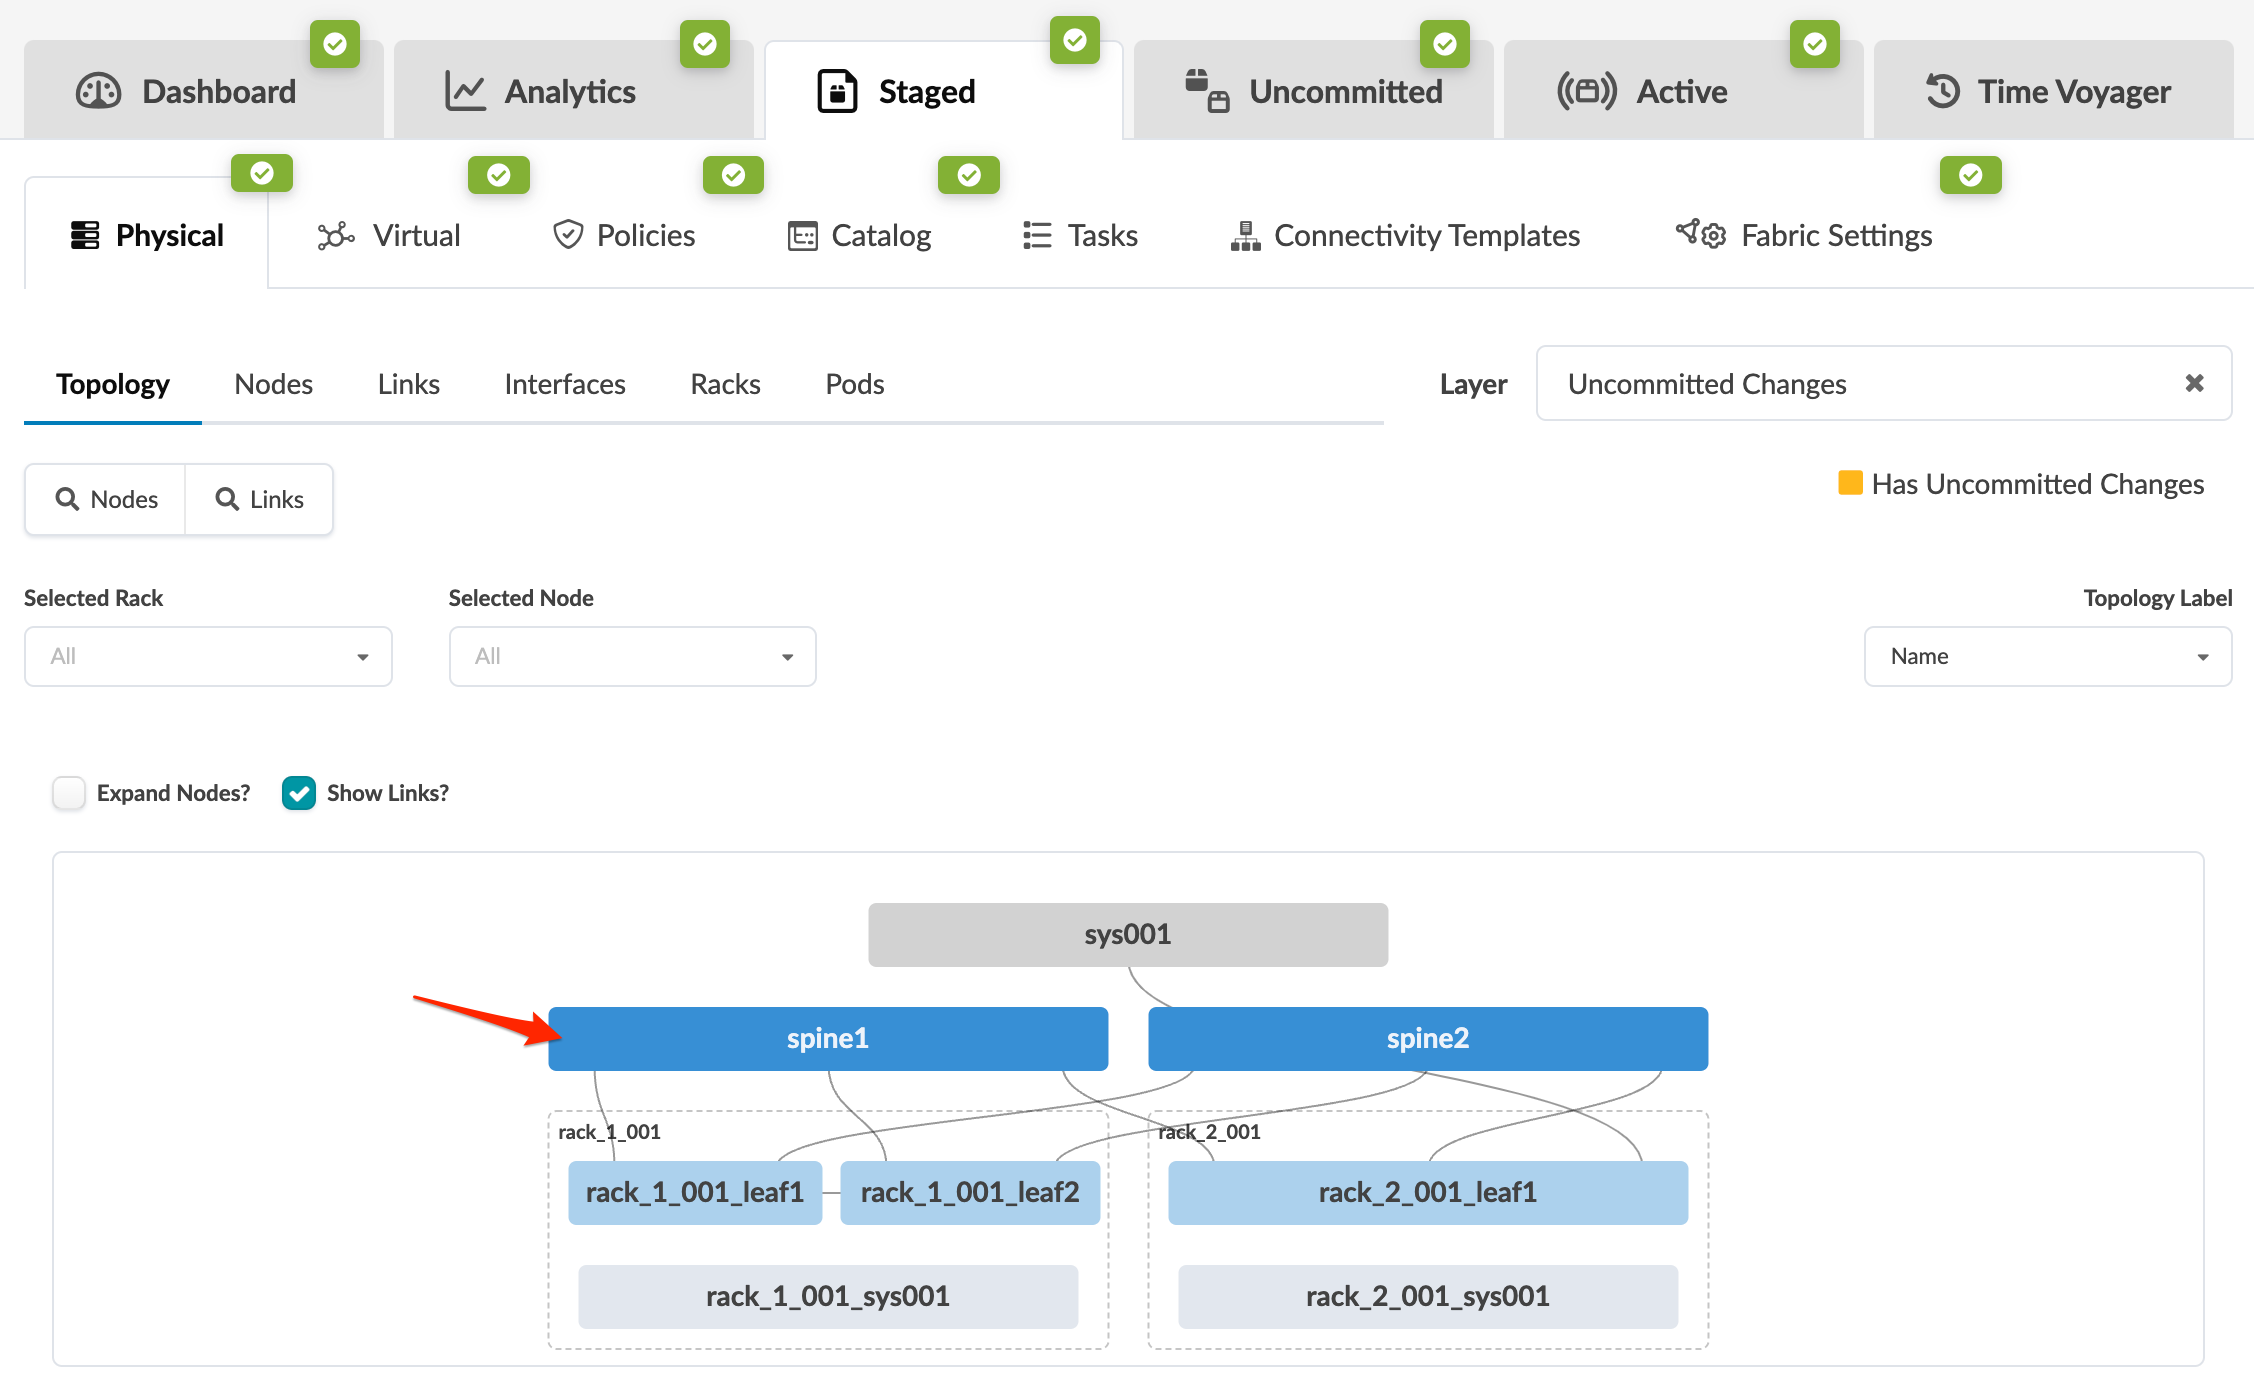
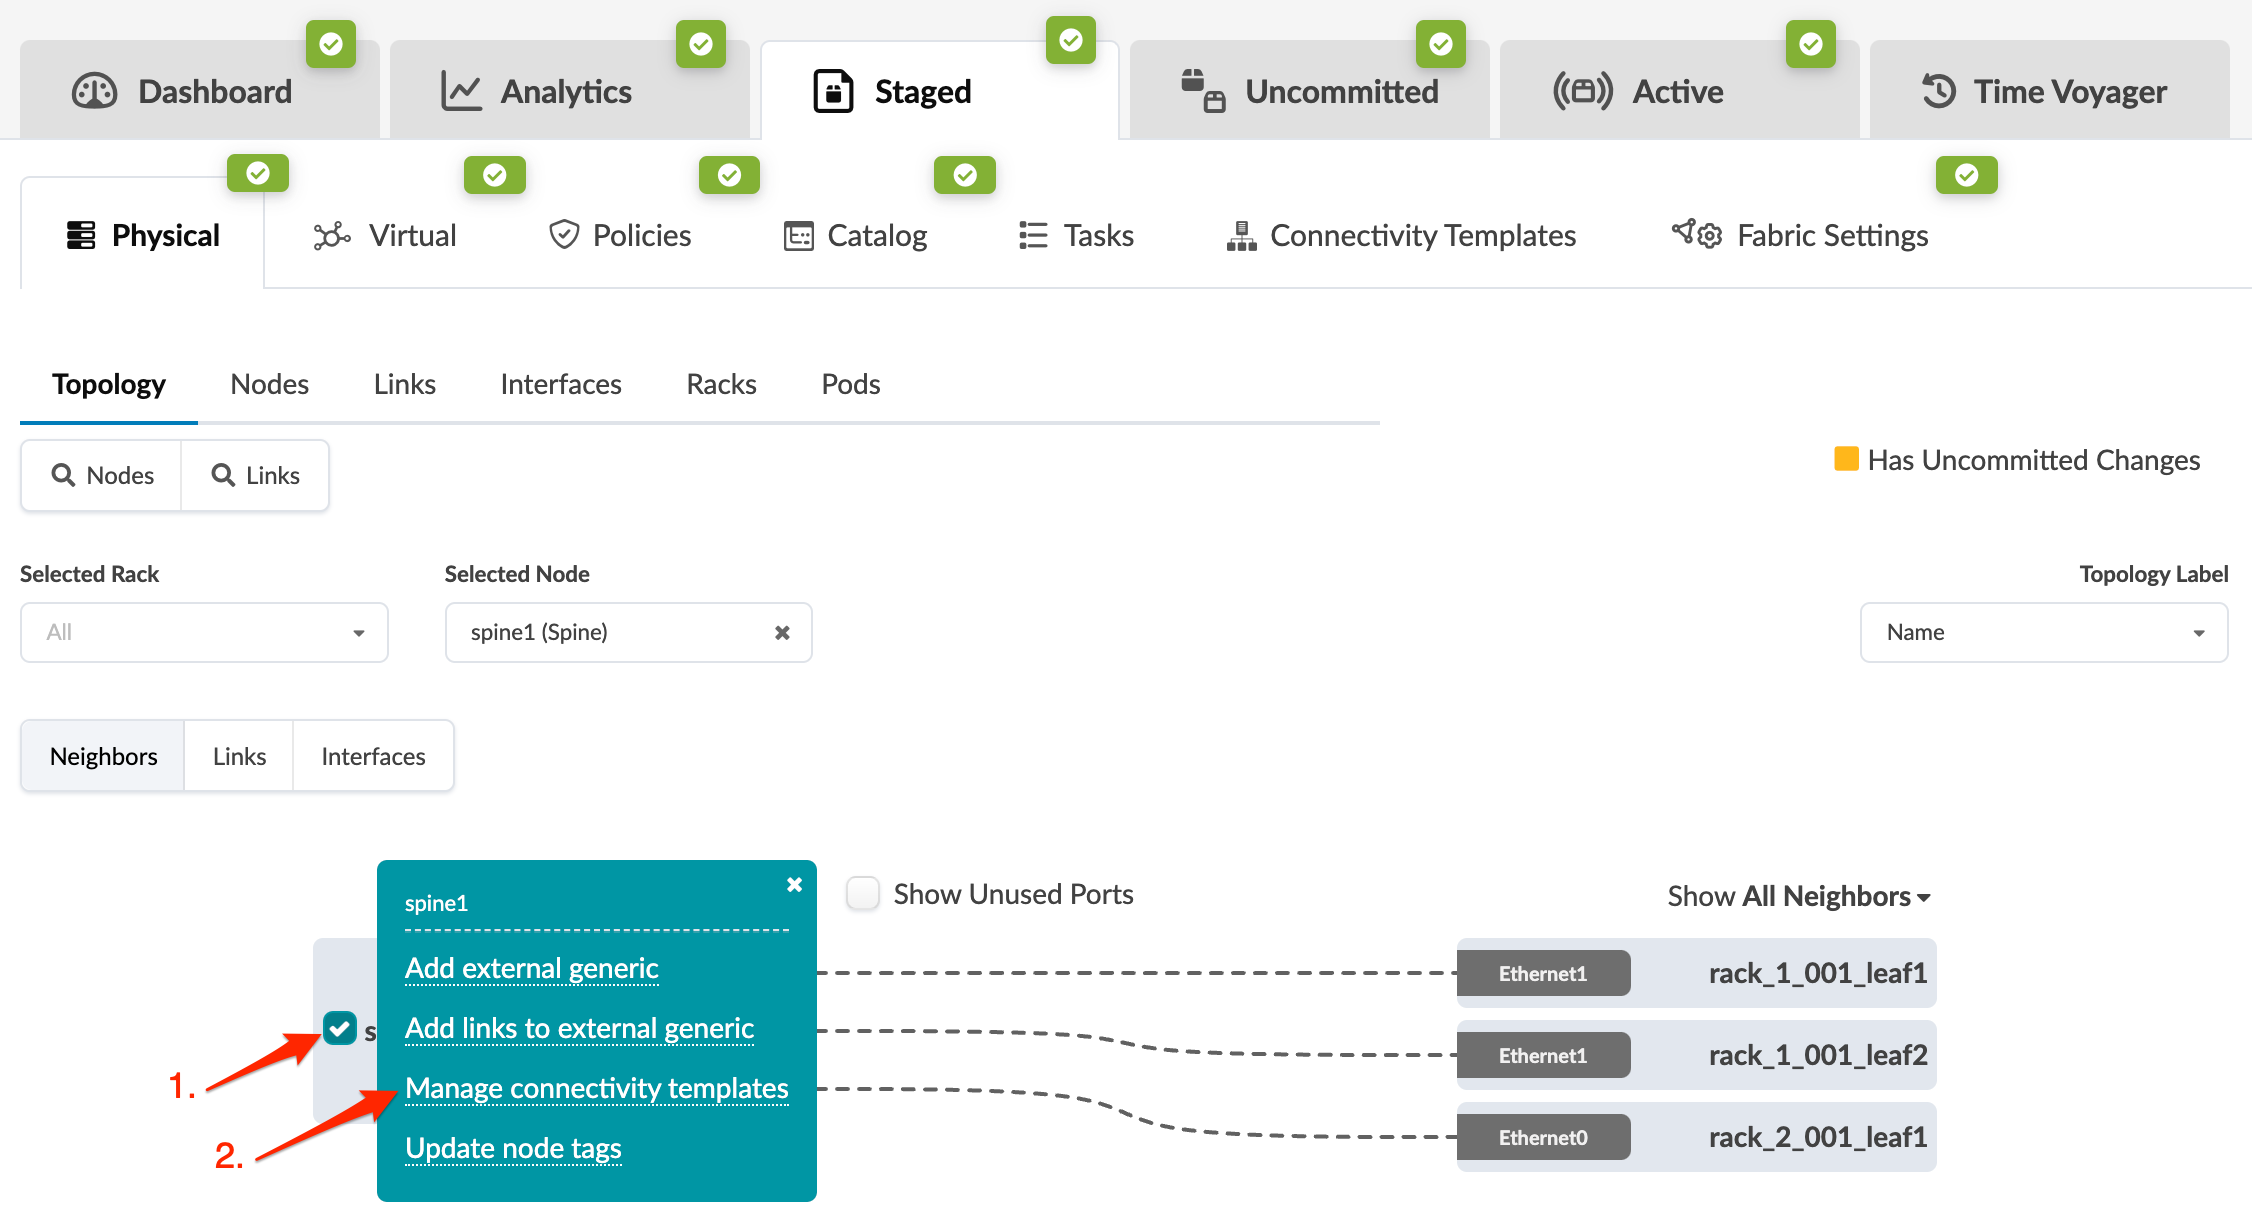
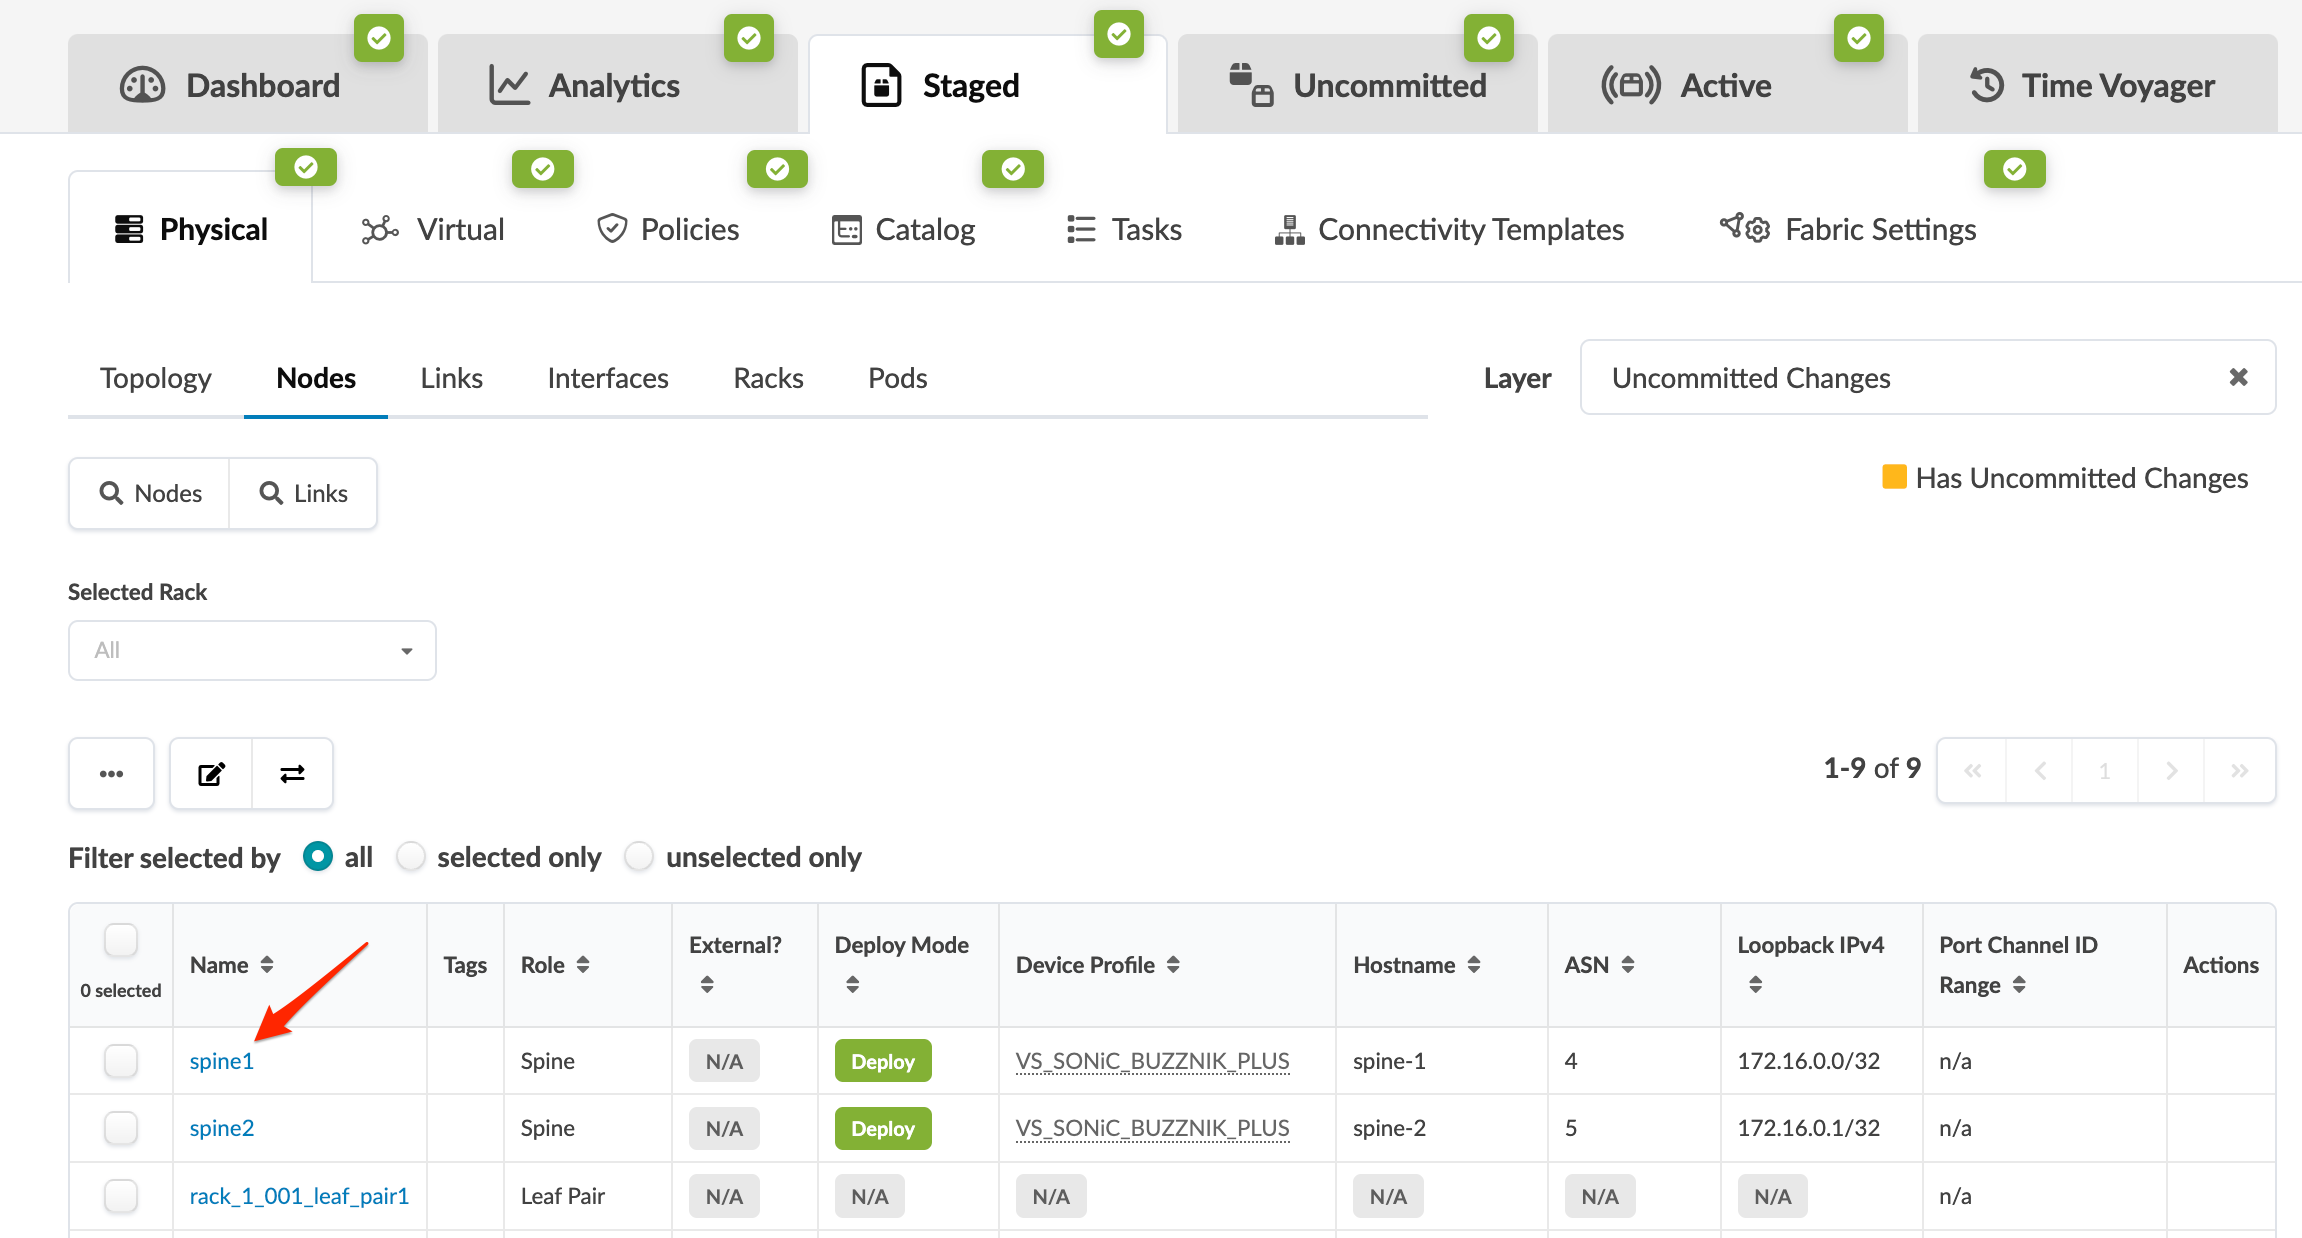
From the blueprint, navigate to Staged > Physical >Topology, click a node, click the check box for the node, then click Manage Connectivity Templates
-
From the blueprint, navigate to Staged > Physical > Nodes, click the name of a node, click the check box for the node, then click Manage Connectivity Templates.
-
-
You can click the + button to add a column for
multiple connectivity templates.

-
You can view as a Table view. From the table view, you can filter
application endpoints by pod, rack, node, applied connectivity templates, or
tags. You can also copy/paste connectivity template assignments from the
table view.

Force Assign VN Templates
When a virtual network (single) or virtual network (multiple) template is already assigned to a port and you want to assign a new VN template, you’ll receive a validation error indicating that the port already has a VN template assigned to it. As of version 4.0.1 you can force assign the new VN template, which automatically unassigns the existing VN template(s) and assigns the new one(s) on the selected port(s). You don’t need to manually unassign the existing VN template.
To force assign VN templates, from the CT assignment screen, click Remove
all conflicts, then click Assign. 