Assign DHCP Server to Routing Zone
-
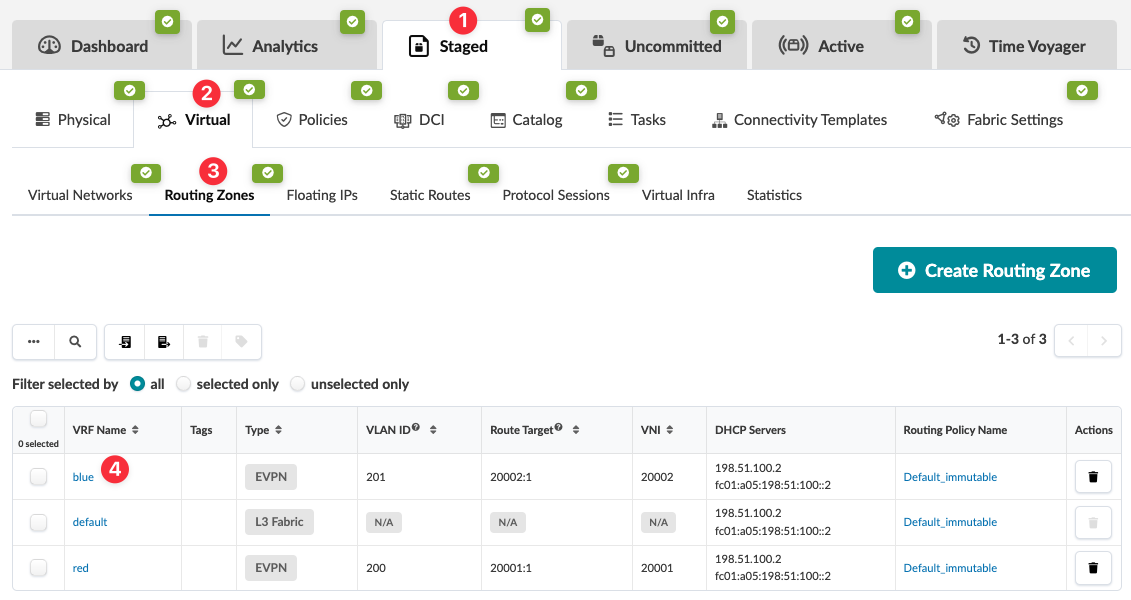
From the blueprint, navigate to Staged > Virtual > Routing
Zones and click the name of the routing zone that needs a DHCP server
assigned to it. (The screenshot below is for Apstra version 4.2.0. Newer versions include
a column for Routing Policy Name that you can link to directly; and you can select which
columns to show in the table.)
-
Click the Assign DHCP Servers button (upper-right).

-
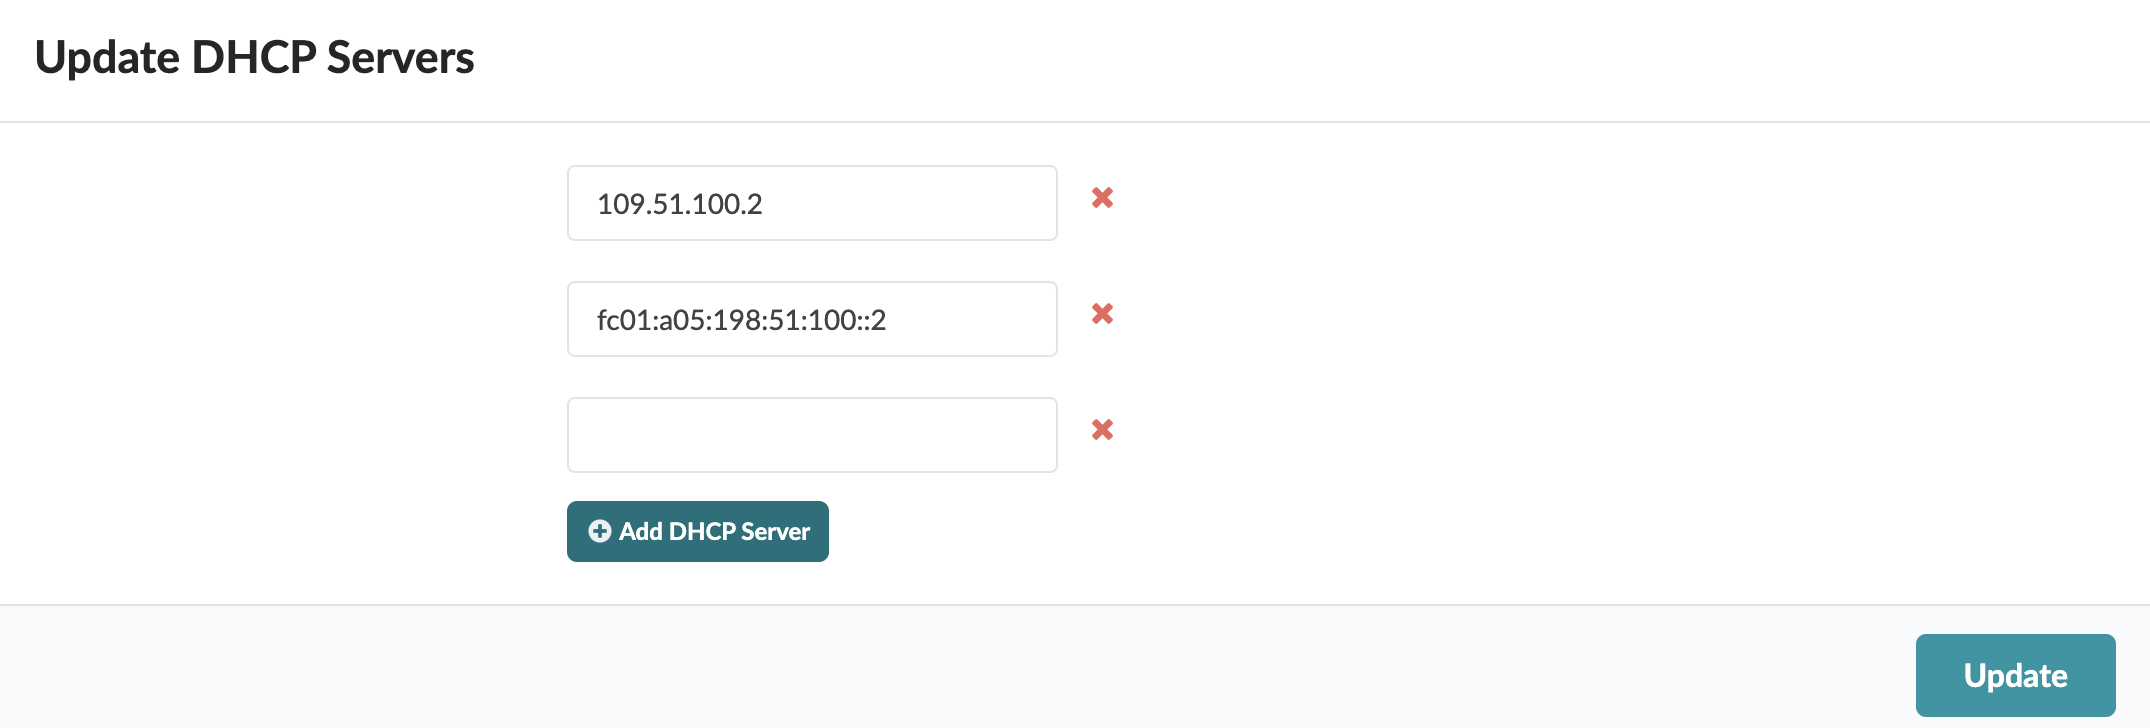
Enter the IPv4 address (or IPv6 address) for the DHCP server and click Add
DHCP Server. To add an additional server, enter the IP address and click
Add DHCP Server again.
When you're ready to activate your changes, commit them from the Uncommitted tab.