Assign Routing Zone Resources
Each leaf network device in each routing zone requires a loopback IP. If IPv6 is enabled on the blueprint, you must also assign IPv6 addresses to the routing zone. After you've assigned connectivity templates to your external generic systems, you'll also need to assign IP addresses.
-
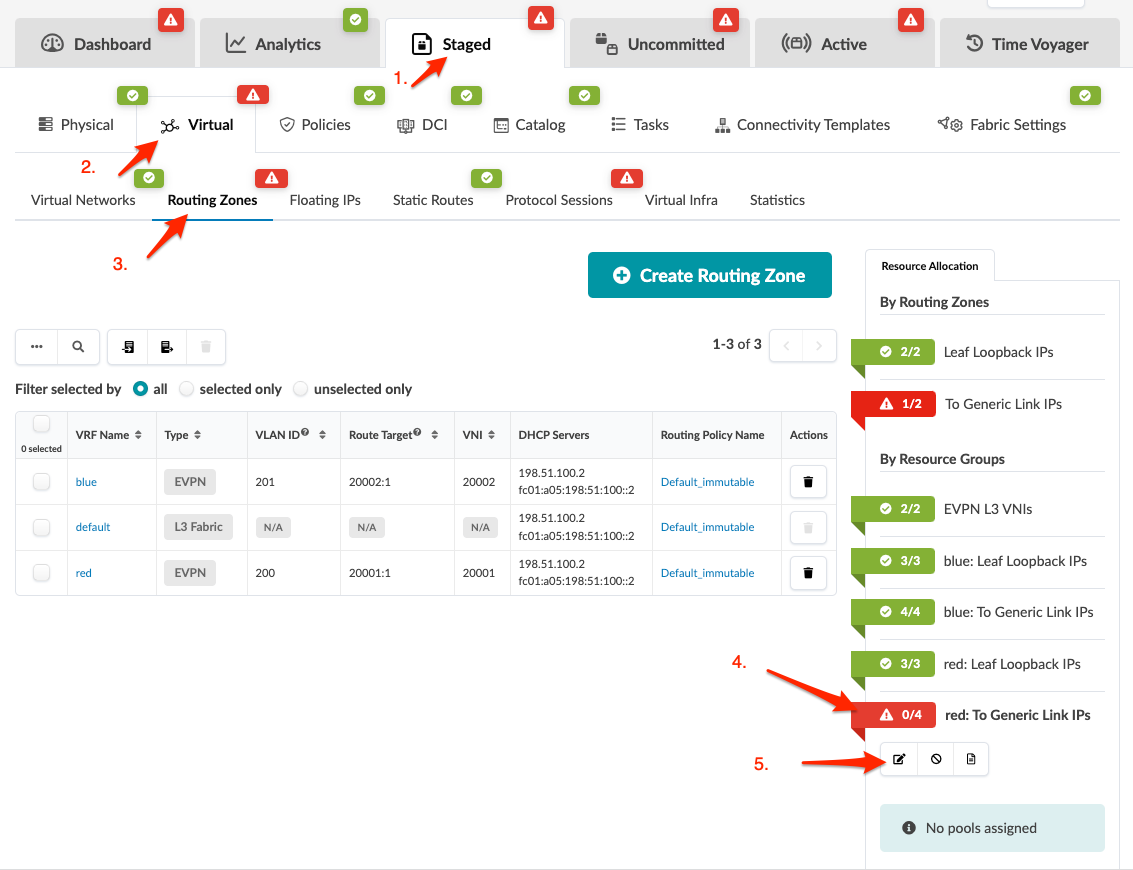
Red status indicators in the Build panel (on the right) indicate
that resources need to be assigned. Click a red indicator and click the Update
assignments button.
-
Repeat the steps to assign resources from pools until all required resources have been
assigned.
Note:
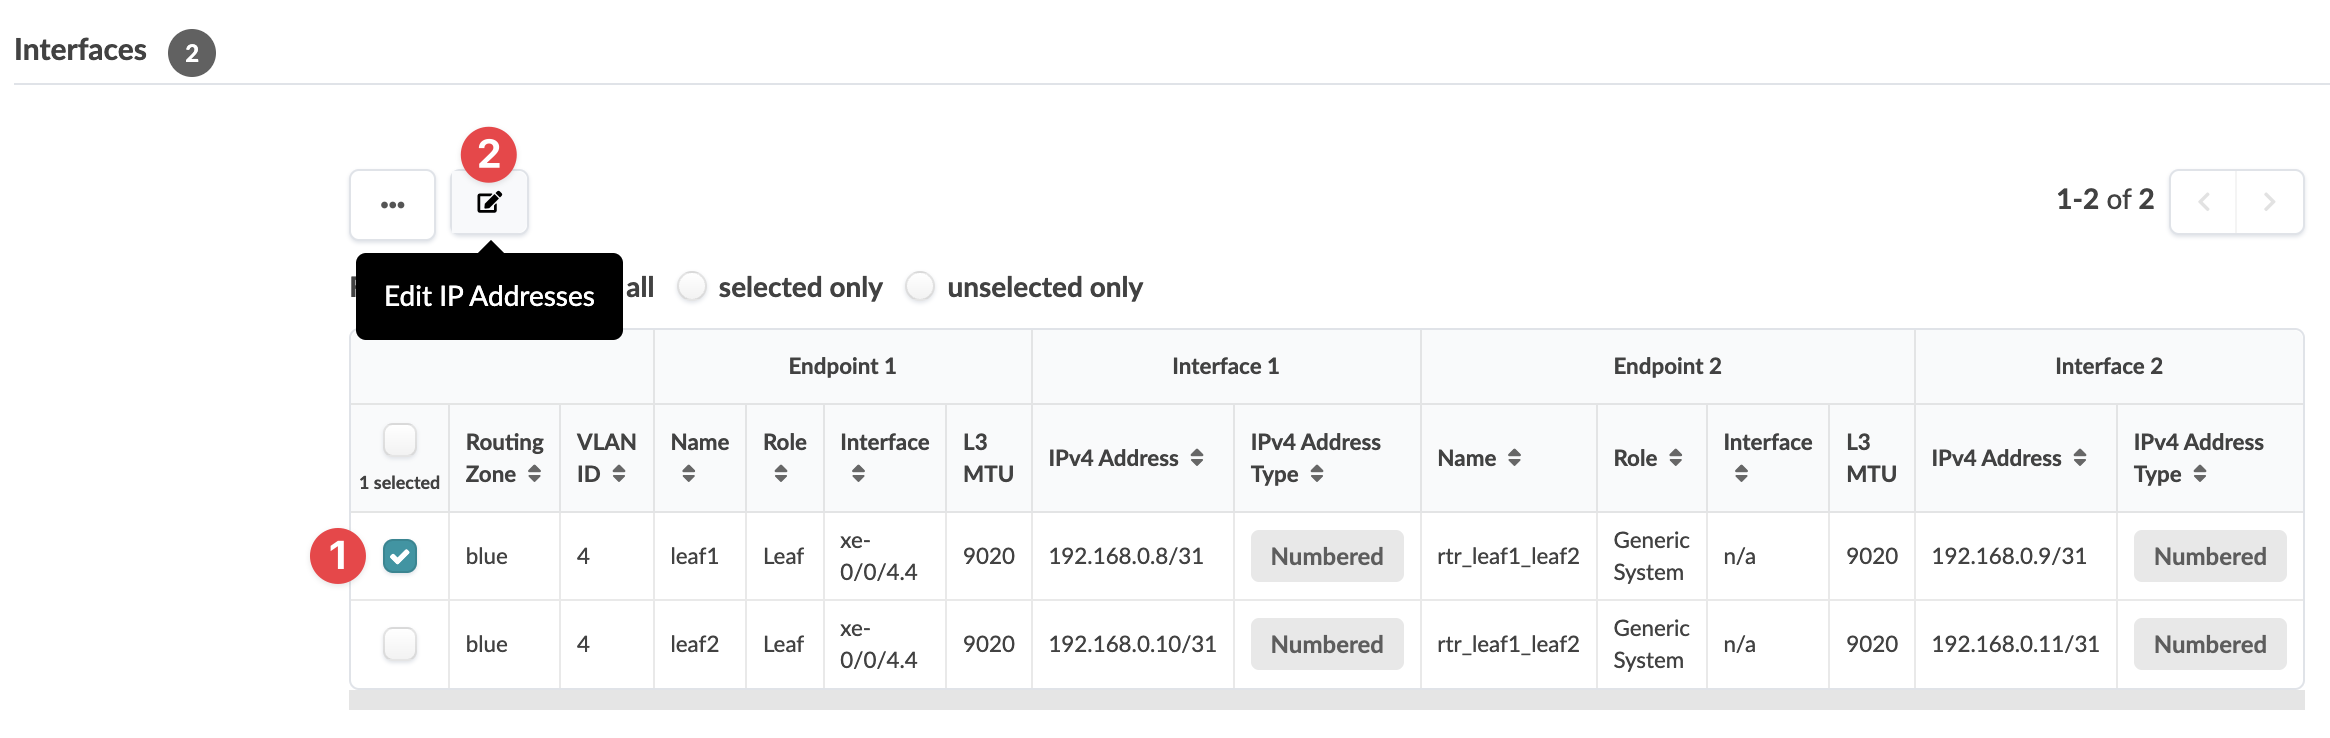
You can also assign or change individual IP addresses to links by clicking the name of the routing zone in the table view, scrolling down to the Interfaces section, selecting one or more check boxes, clicking the Edit IP addresses button, and entering them from there.
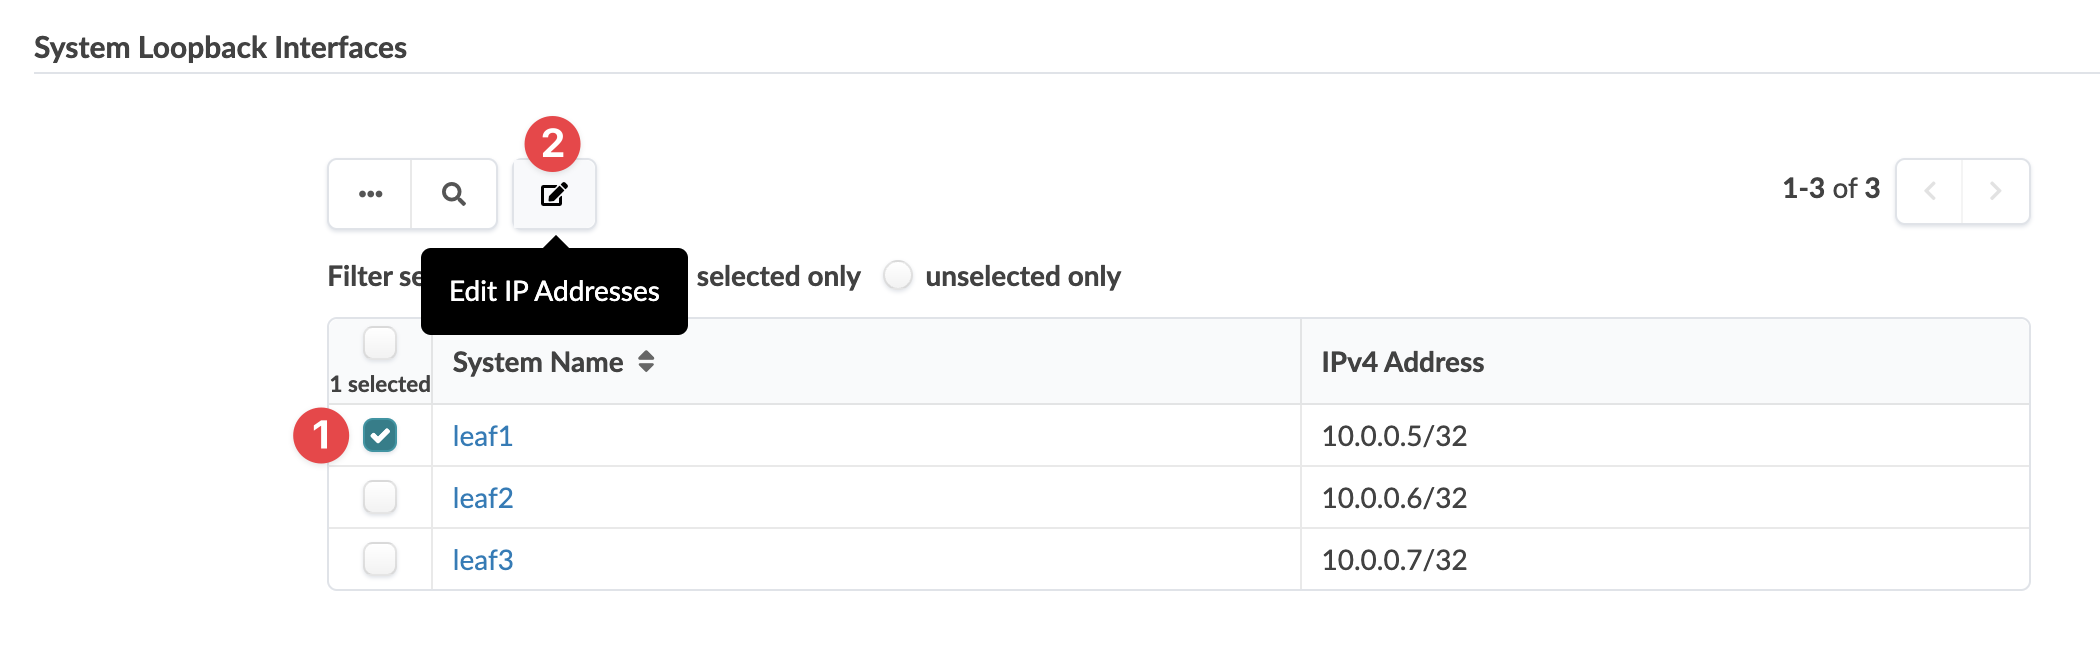
As of HPE Networking Apstra Data Center Director version 5.0.0, you can also assign or change individual loopback IP addresses by clicking the name of the routing zone in the table view, scrolling down to the System Loopback Interfaces section, selecting one or more check boxes, clicking the Edit IP addresses button, and entering them from there.