Reset Virtual Network Resource Group Override

Certain blueprint operations require resource allocations to be retained even when a device has been removed from a blueprint. For example, if you decide to reuse a device, previously allocated resources need to be re-used as well. If resources were not retained, build errors may occur because the expected resources would no longer be available to the device. To minimize build errors, resource allocations persist by default. If you know that a device won't be re-instated, you don't need to keep its resources allocated to it. Click the Reset resource group overrides button to reset the resource group and release the resources.

To reset virtual network resource group overrides, complete the following steps:
  1. Navigate to Staged | Virtual | Routing Zones.
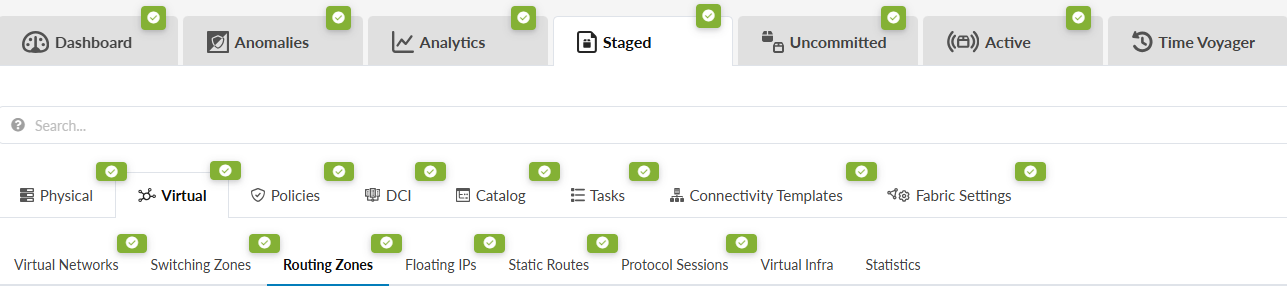
    Network management interface with tabs like Dashboard, Analytics, and Time Voyager, menu options such as Physical and Virtual, and submenu features under Virtual including Virtual Networks and Statistics.
  2. Navigate to EVPN L3 VNIs and then click Reset resource group overrides.

    Network management interface showing a table with Virtual Routing and Forwarding configurations including VRF names, types, VLAN IDs, route targets, VNIs, DHCP servers, and routing policies, alongside filter options and status indicators.

    You can see that the entries in the Route Target column have changed.
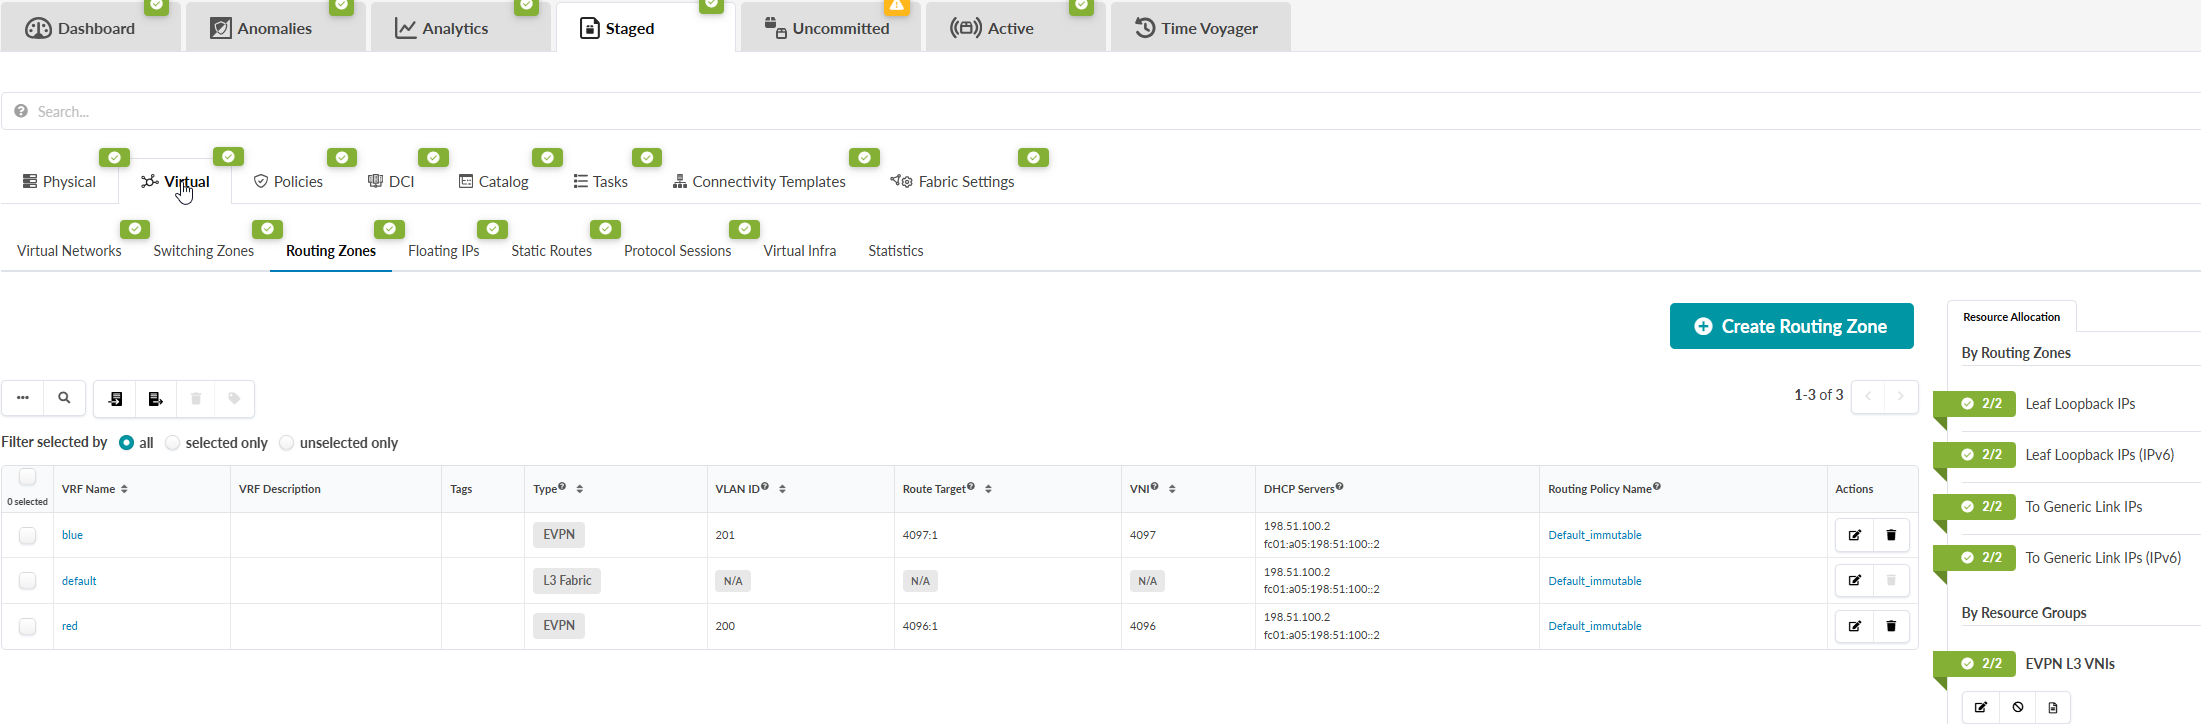
    User interface of a network management tool focused on routing zones, displaying a table with VRF details, resource allocation panel, and options to create or edit routing zones.
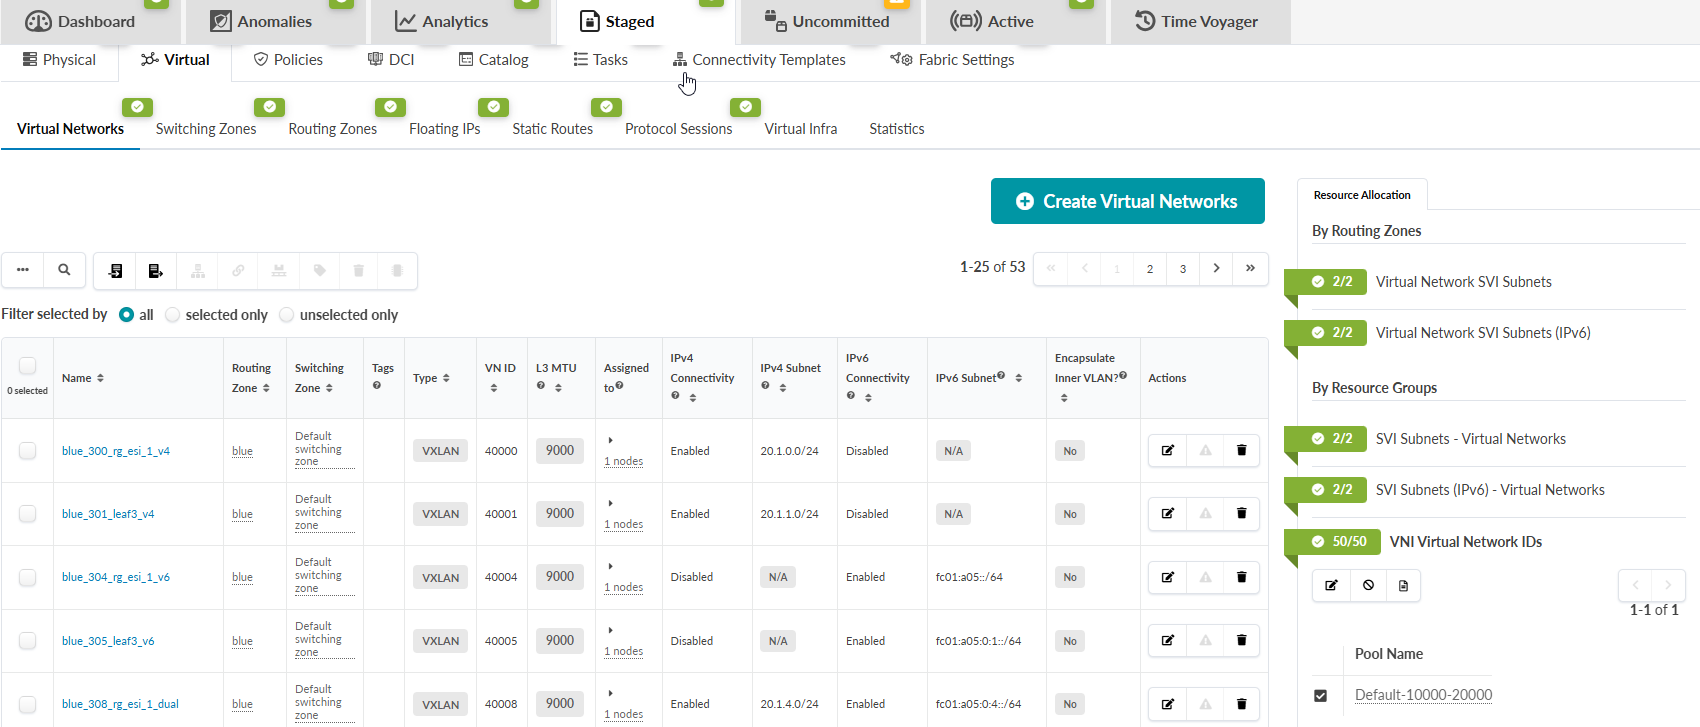
  3. Navigate to Staged | Virtual | Virtual Networks.
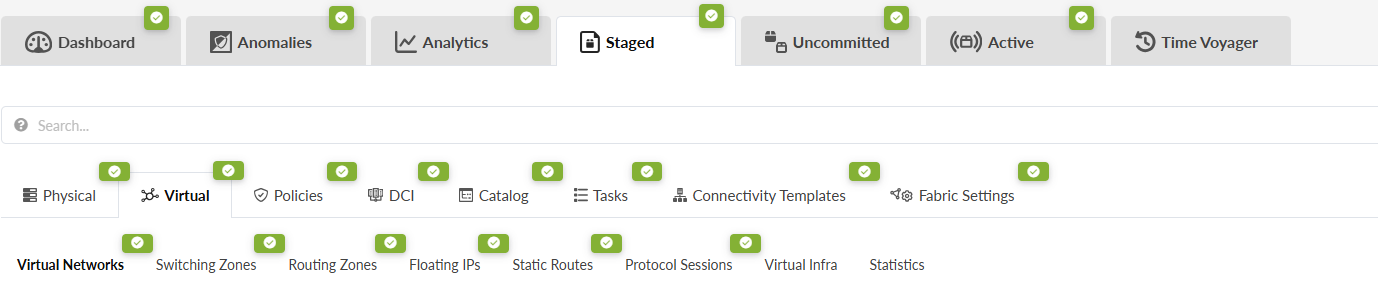
    User interface displaying tabs such as Dashboard, Anomalies, Analytics, Staged, Uncommitted, Active, Time Voyager, and options like Physical, Virtual, Policies, DCI, Catalog, Tasks. Additional options include Virtual Networks, Switching Zones, Routing Zones, Floating IPs, Static Routes, Protocol Sessions, Virtual Infra, Statistics, each with a green checkmark icon.
  4. Navigate to VNI Virtual Network IDs and then click Reset resource group overrides.

    Network management interface displaying a table of virtual networks with details like name, routing zone, type, VN ID, MTU, assigned nodes, connectivity status, subnets, and actions for configuration.
  5. Click Routing Zone and then change the Virtual Networks VNI pool from TEST to Default 1000 - 2000.
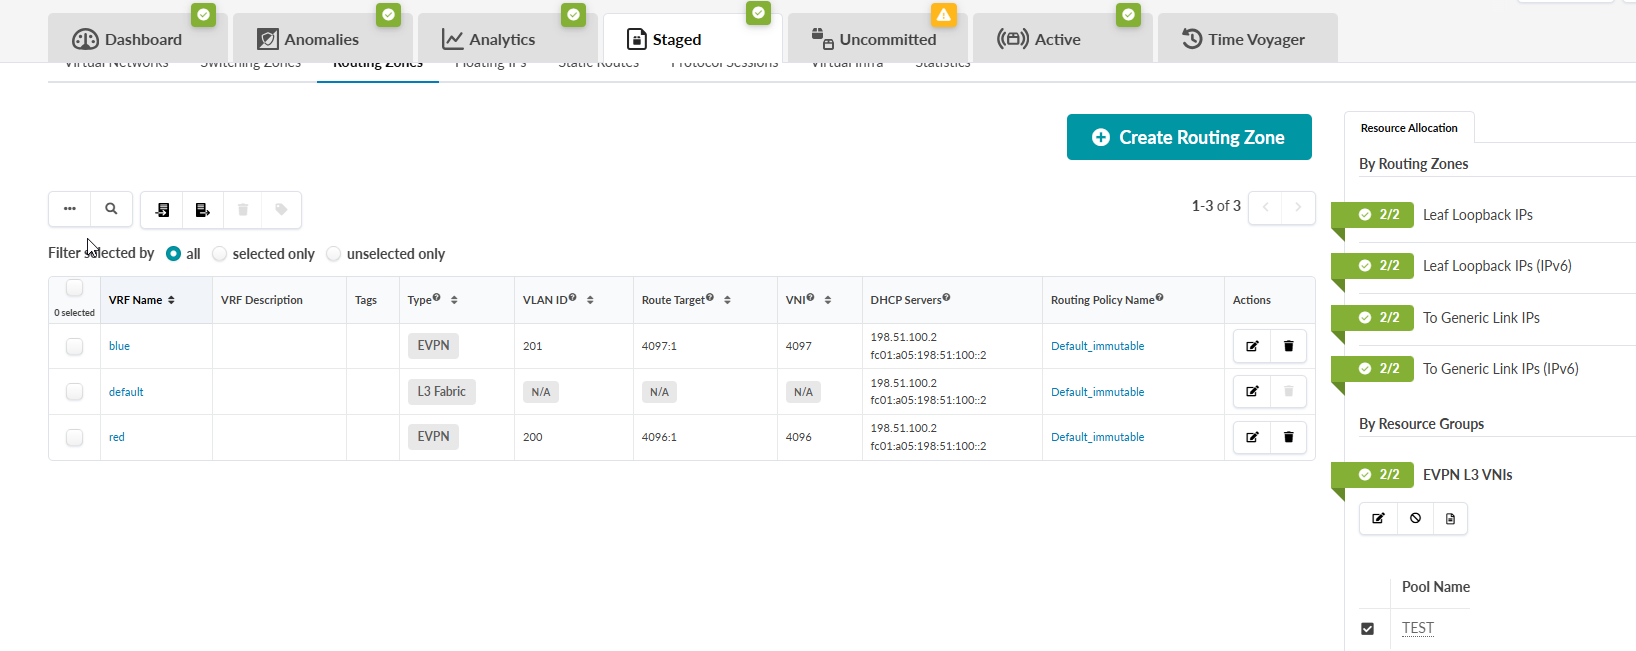
    Network management interface with tabs like Dashboard, Analytics, and Time Voyager, menu options such as Physical and Virtual, and submenu features under Virtual including Virtual Networks and Statistics.
    Network management interface showing routing zones with a table of VRF details including names, types, VLAN IDs, route targets, VNIs, DHCP servers, and routing policies, alongside resource allocation and navigation tabs for managing configurations.
    User interface for managing virtual networks with tabs for navigation, a table listing network details like name, type, and subnets, and action buttons for creation and management.
  6. Navigate to Uncommitted and check all devices. If there are no builds errors, commit your changes.
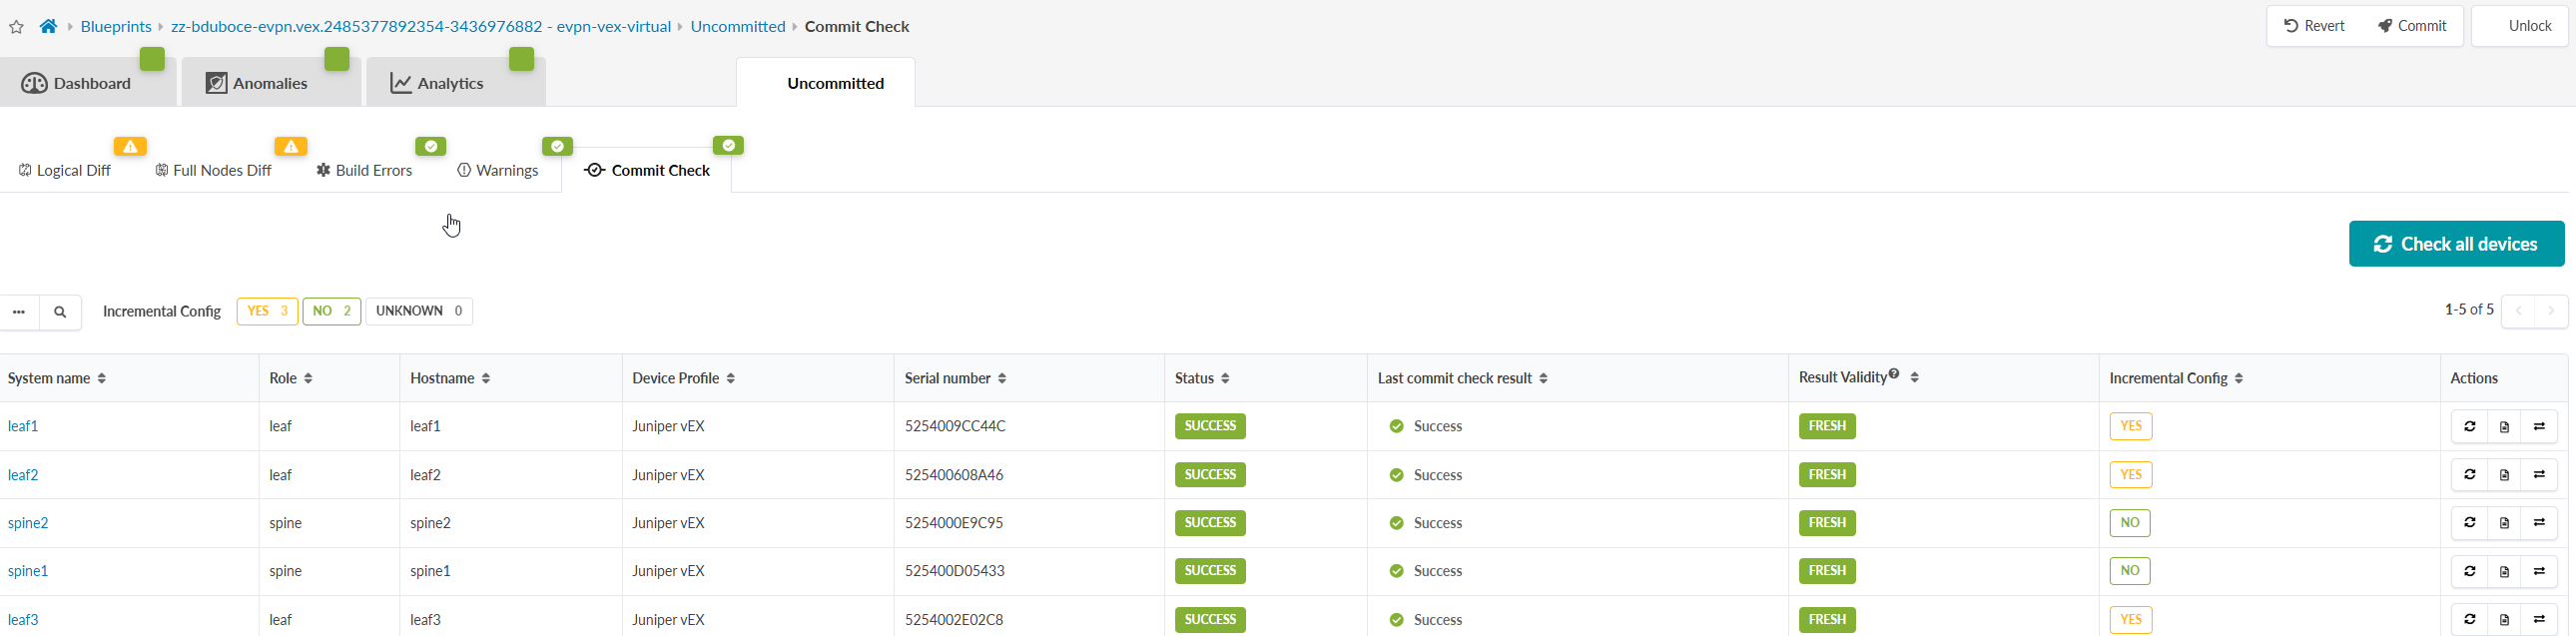
    Commit Check interface displaying a list of network devices with statuses. Tabs include Dashboard and Analytics. Buttons for Commit and Revert are visible. Status indicators show Logical Diff and Warnings with green checkmarks and yellow icons. Device table lists system names, roles, hostnames, profiles, serial numbers, and last commit results like SUCCESS and FRESH.