Add Link per Superspine (5-Stage)
As a Day 2 operation, you can add links per superspine on 5-stage blueprints.
To add links per superspine using the GUI:
-
Click the Update spine config button on the bottom-right of the
card for the pod to change.
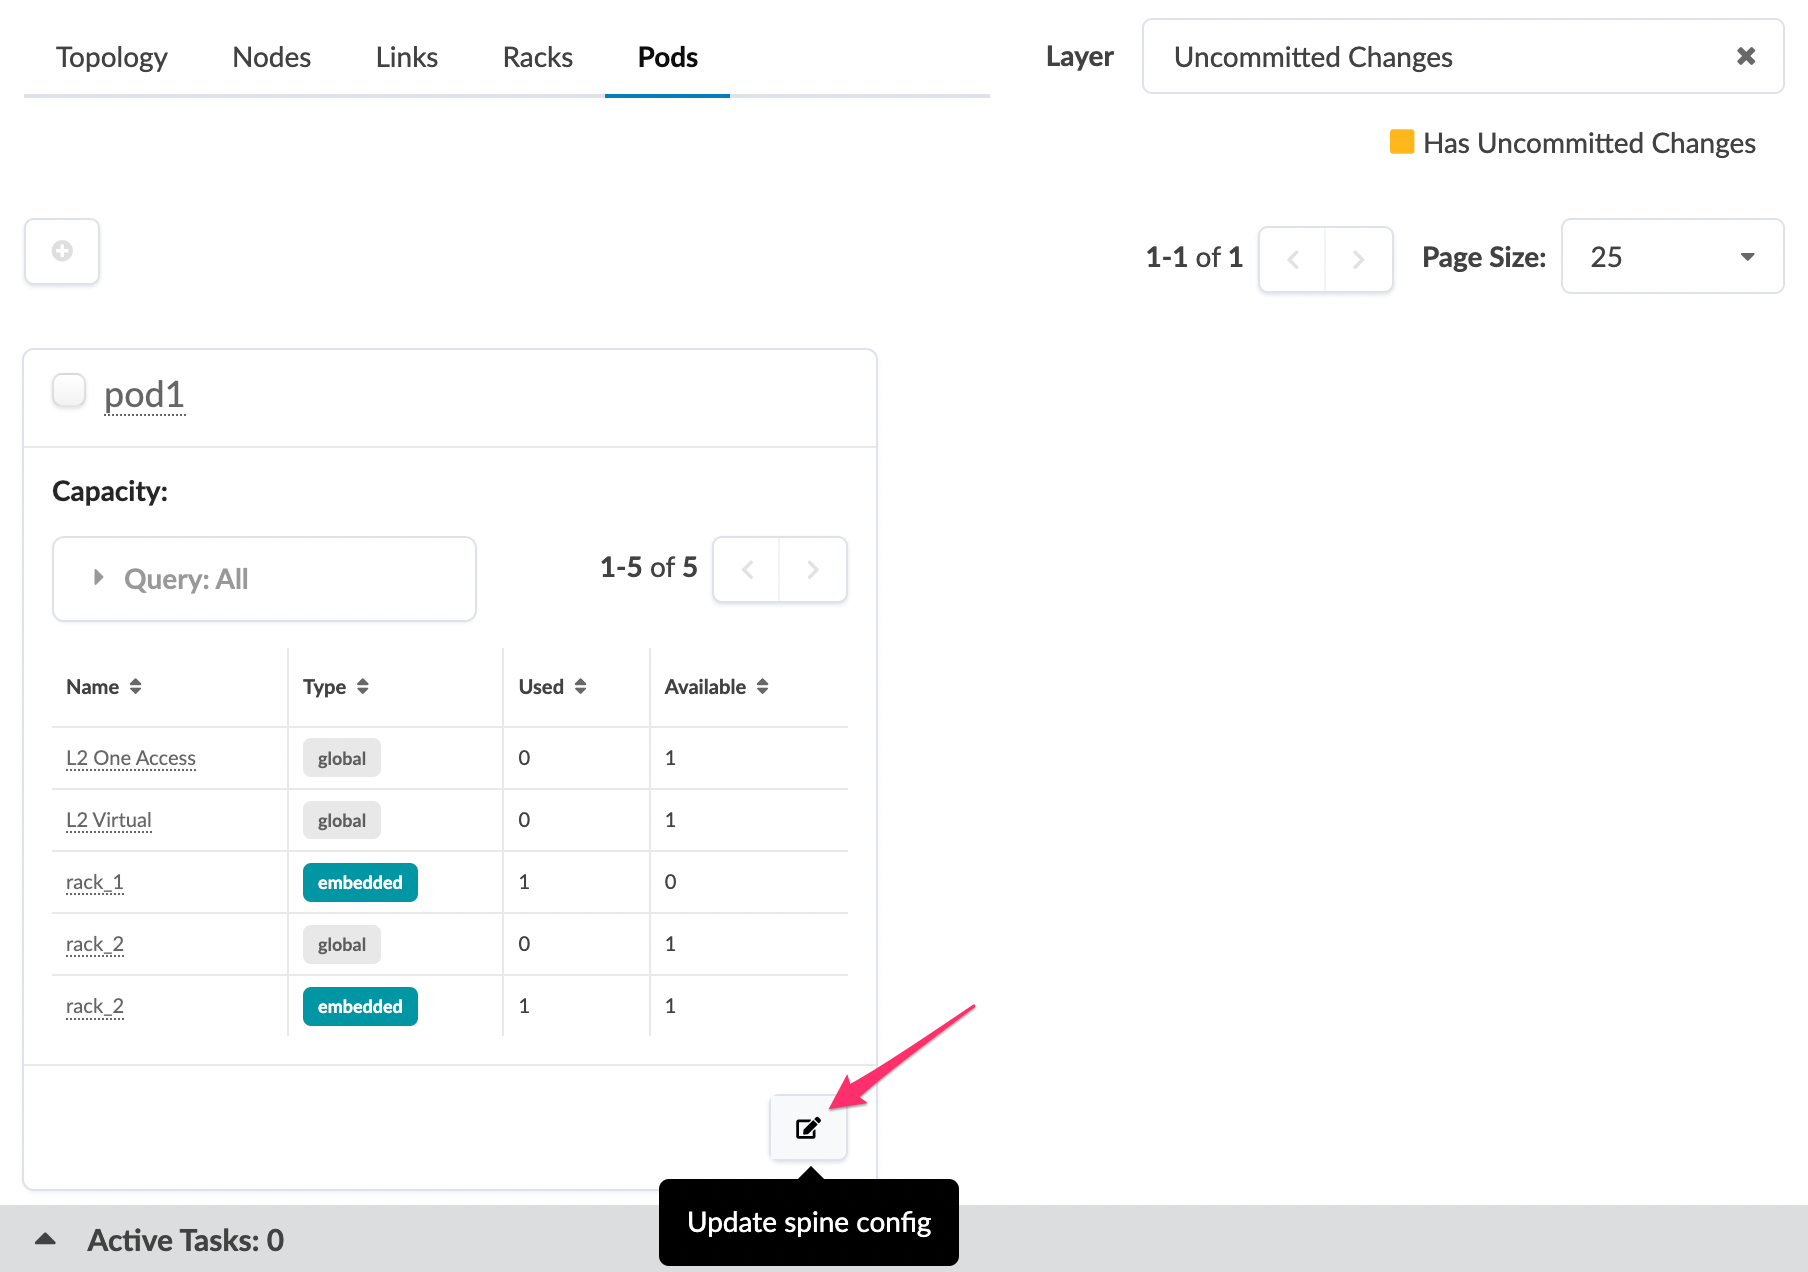 The Update Spine Config dialog opens.
 -
In the Link per superspine field, enter the total number of
links you want between spines and superspines. You can only add links. Plan carefully.
After you add links, you won't be able to remove them later.
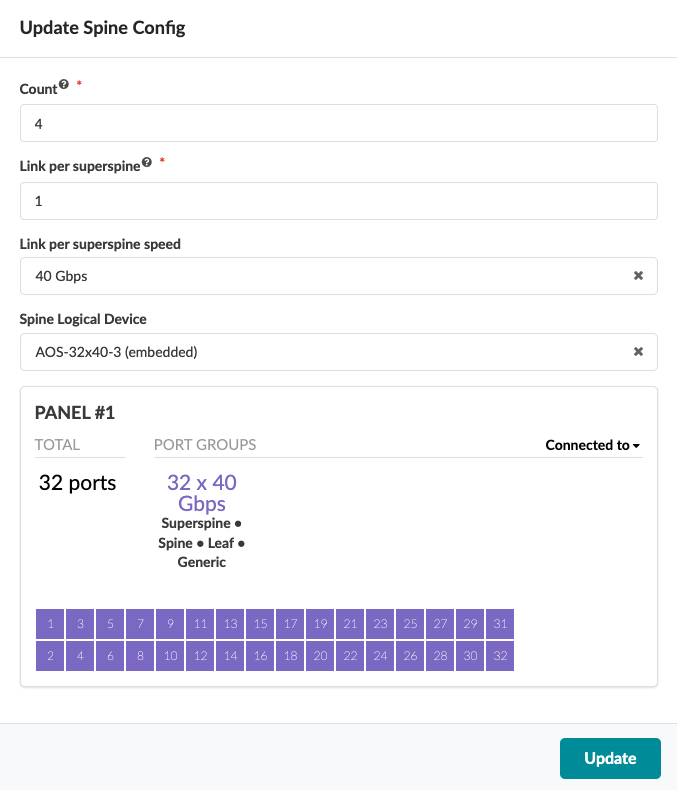
The new link is staged and you're returned to the Pods
view.
When you're ready to activate your changes, go to the Uncommitted tab to review and commit (or discard) your changes