Add Spine per Pod
As a Day 2 operation, you can add spines per pod on both 3-stage and 5-stage blueprints.
CAUTION:
Plan carefully. After you've added spines, you won't be able to remove them.
Make sure you have enough ports with specific roles and speeds for additional spine(s).
-
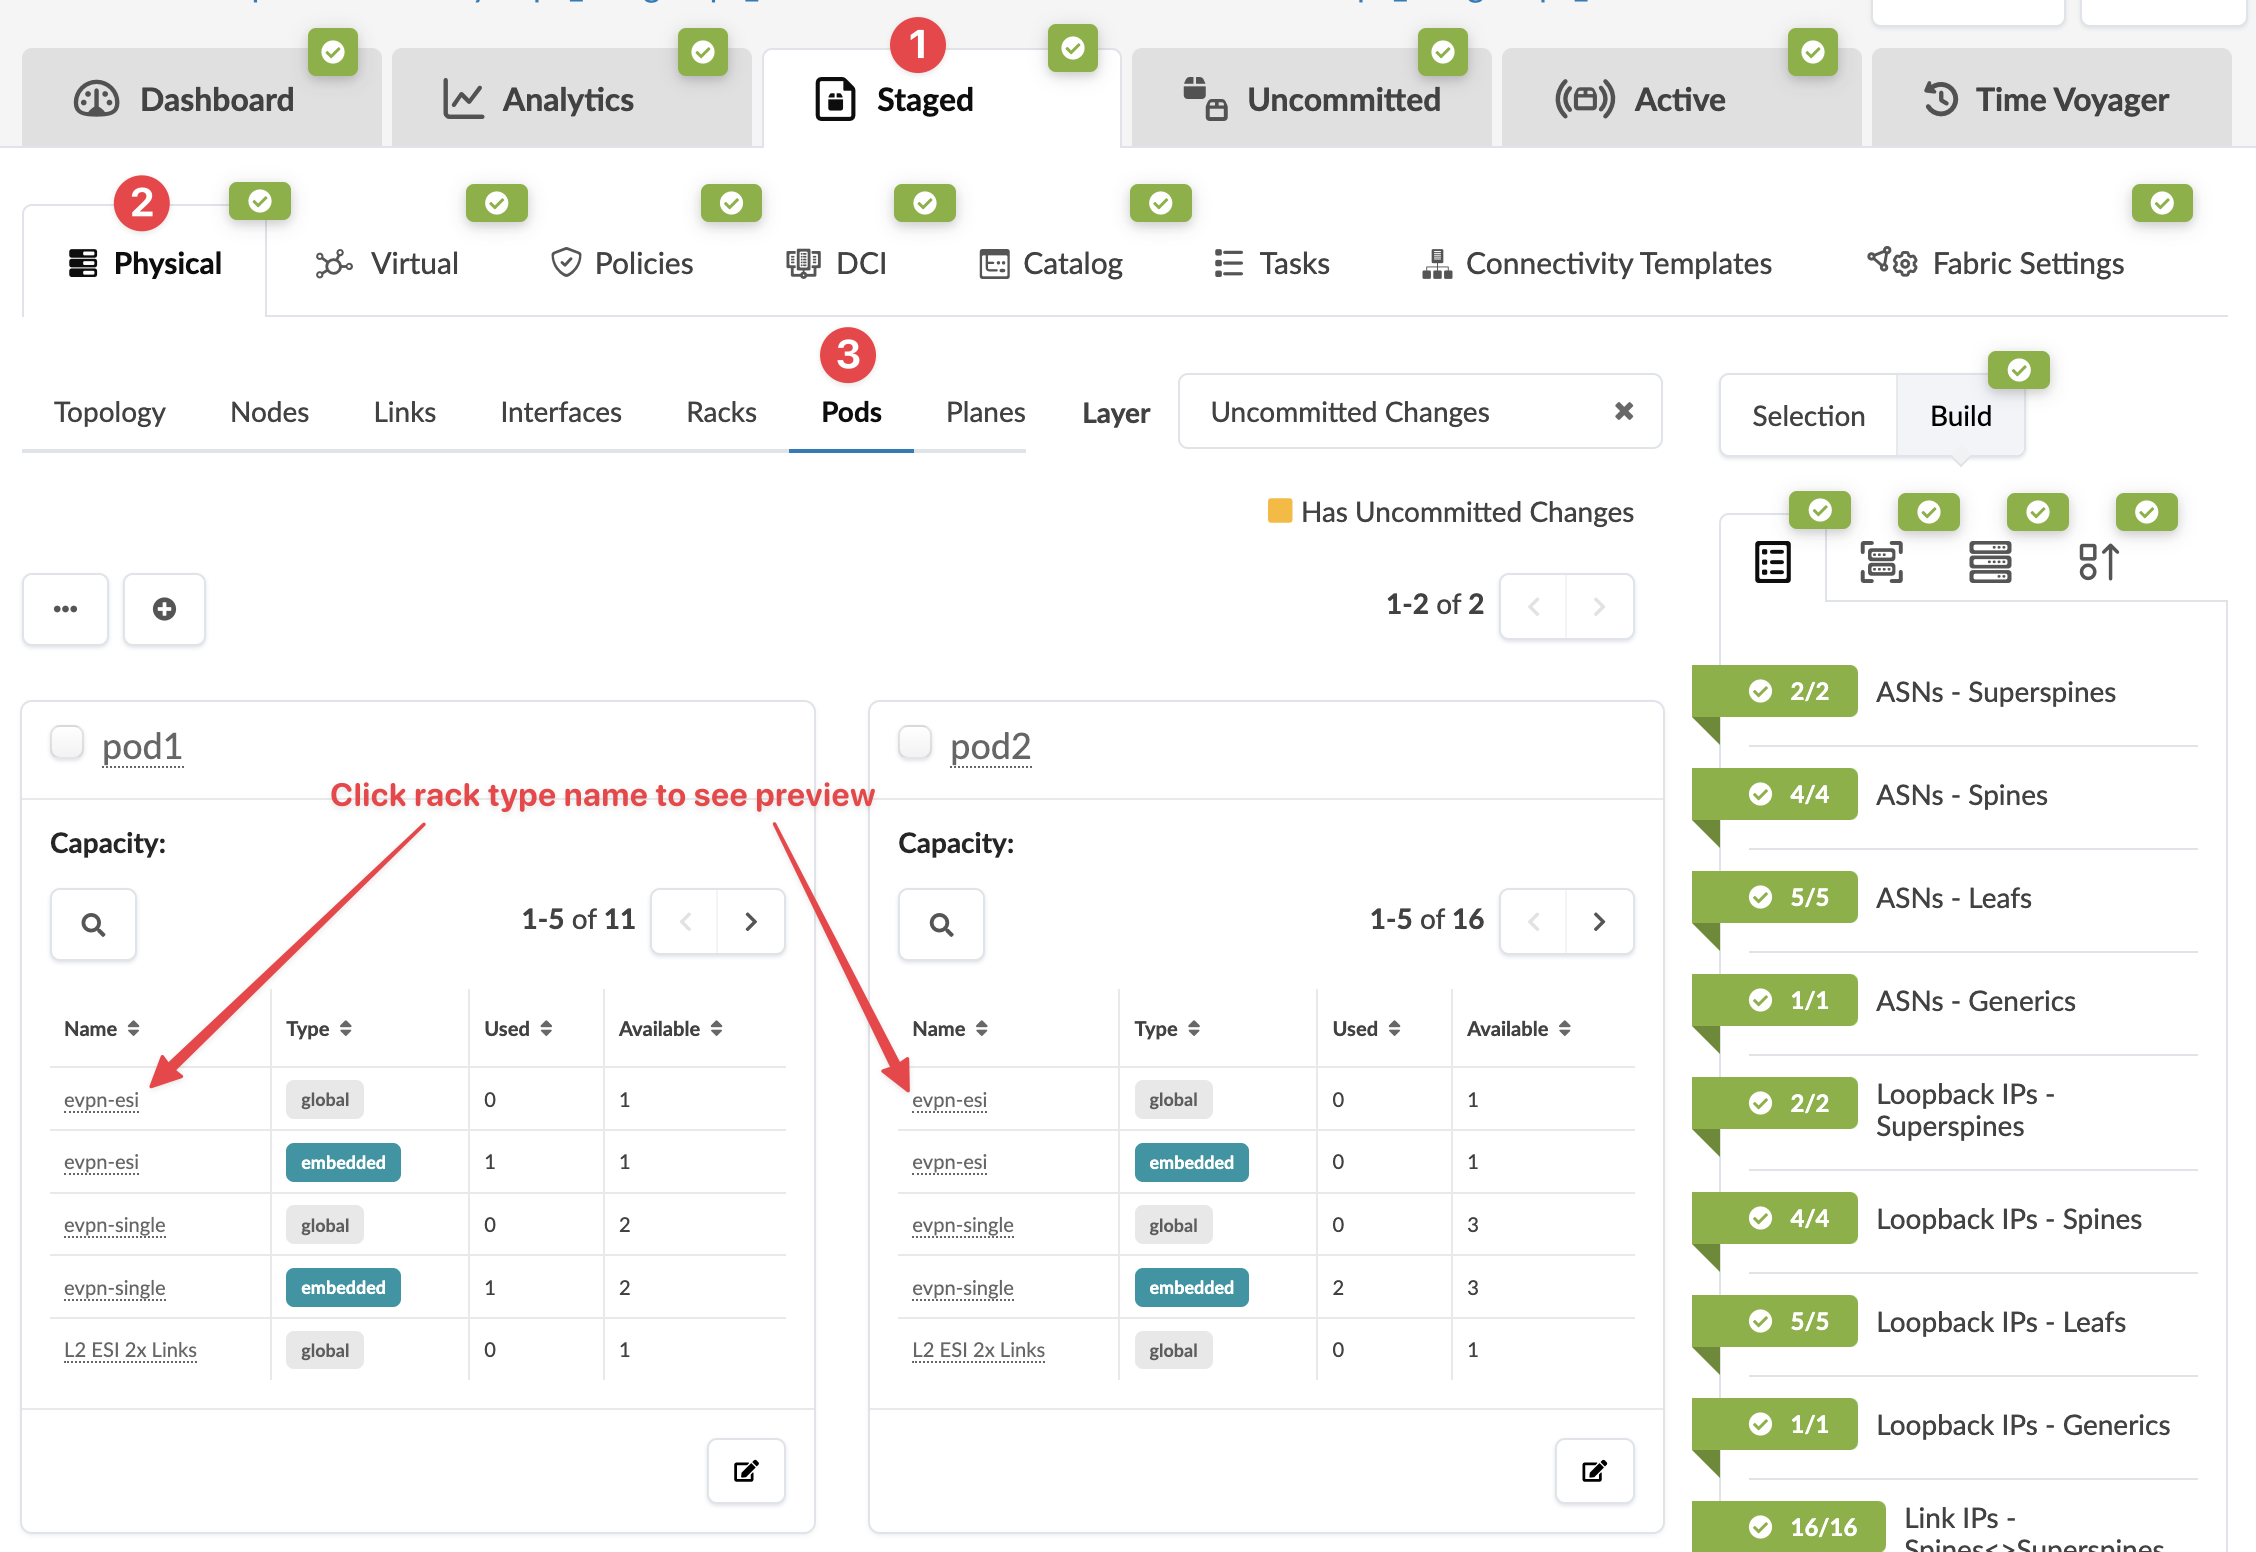
From the blueprint, navigate to Staged > Physical > Pods
to go to the Pods view.
-
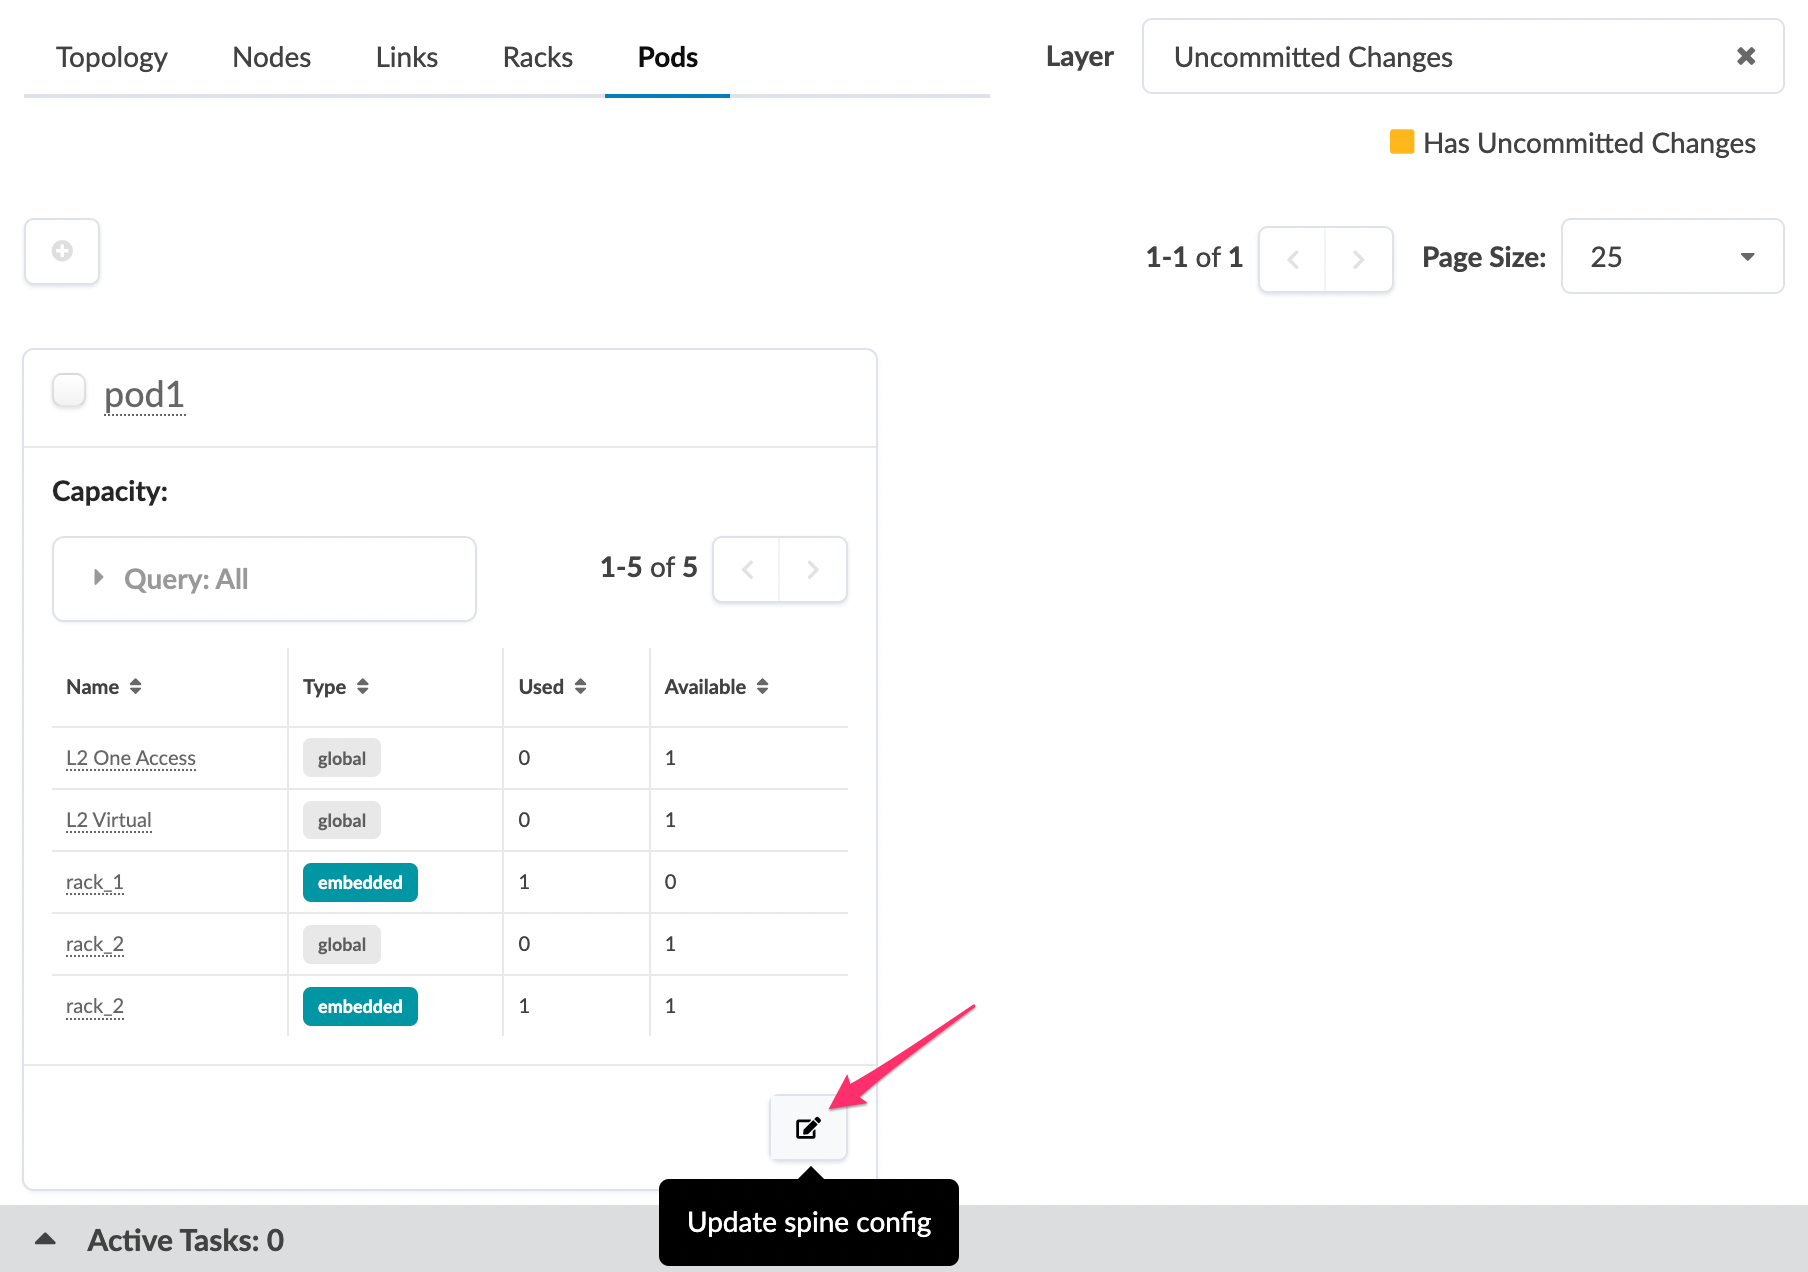
Click the Update spine config button on the bottom-right of the
card for the pod to change.
-
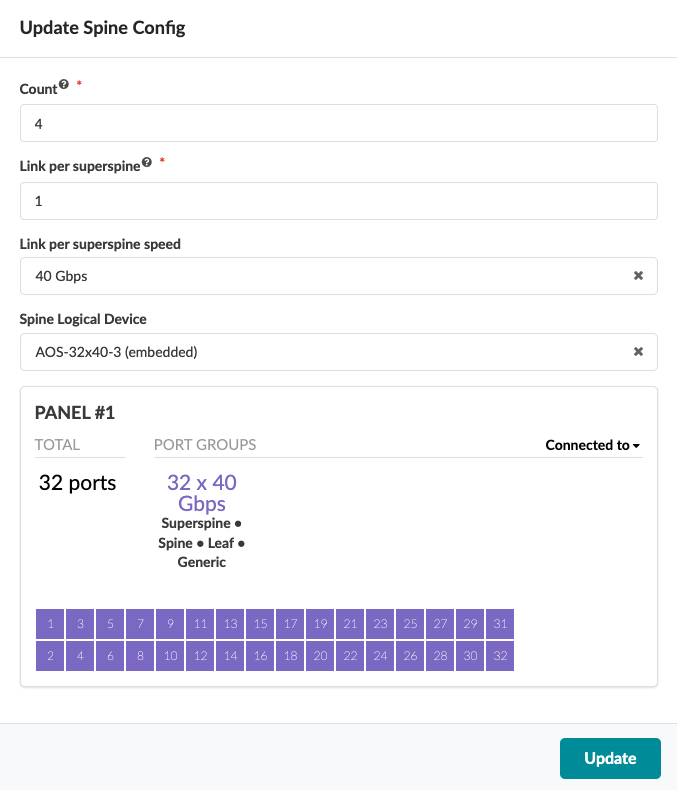
In the Count field, enter the total number of spines you
want:
-
You can only increase the number of spines.
-
On 5-stage blueprints, the number of spines must be a multiplier of the number of superspine planes.
CAUTION:Plan carefully. After you've added spines, you won't be able to remove them.
-
When you're ready to activate changes, commit them from the Uncommitted tab.