Fetch LLDP Data (Datacenter)

If you've already cabled up your devices, you can have your existing cabling discovered instead of using the prescribed cabling map.

  1. From the blueprint, navigate to Staged > Physical > Links and click the Fetch discovered LLDP data button (fifth of five buttons above links list).
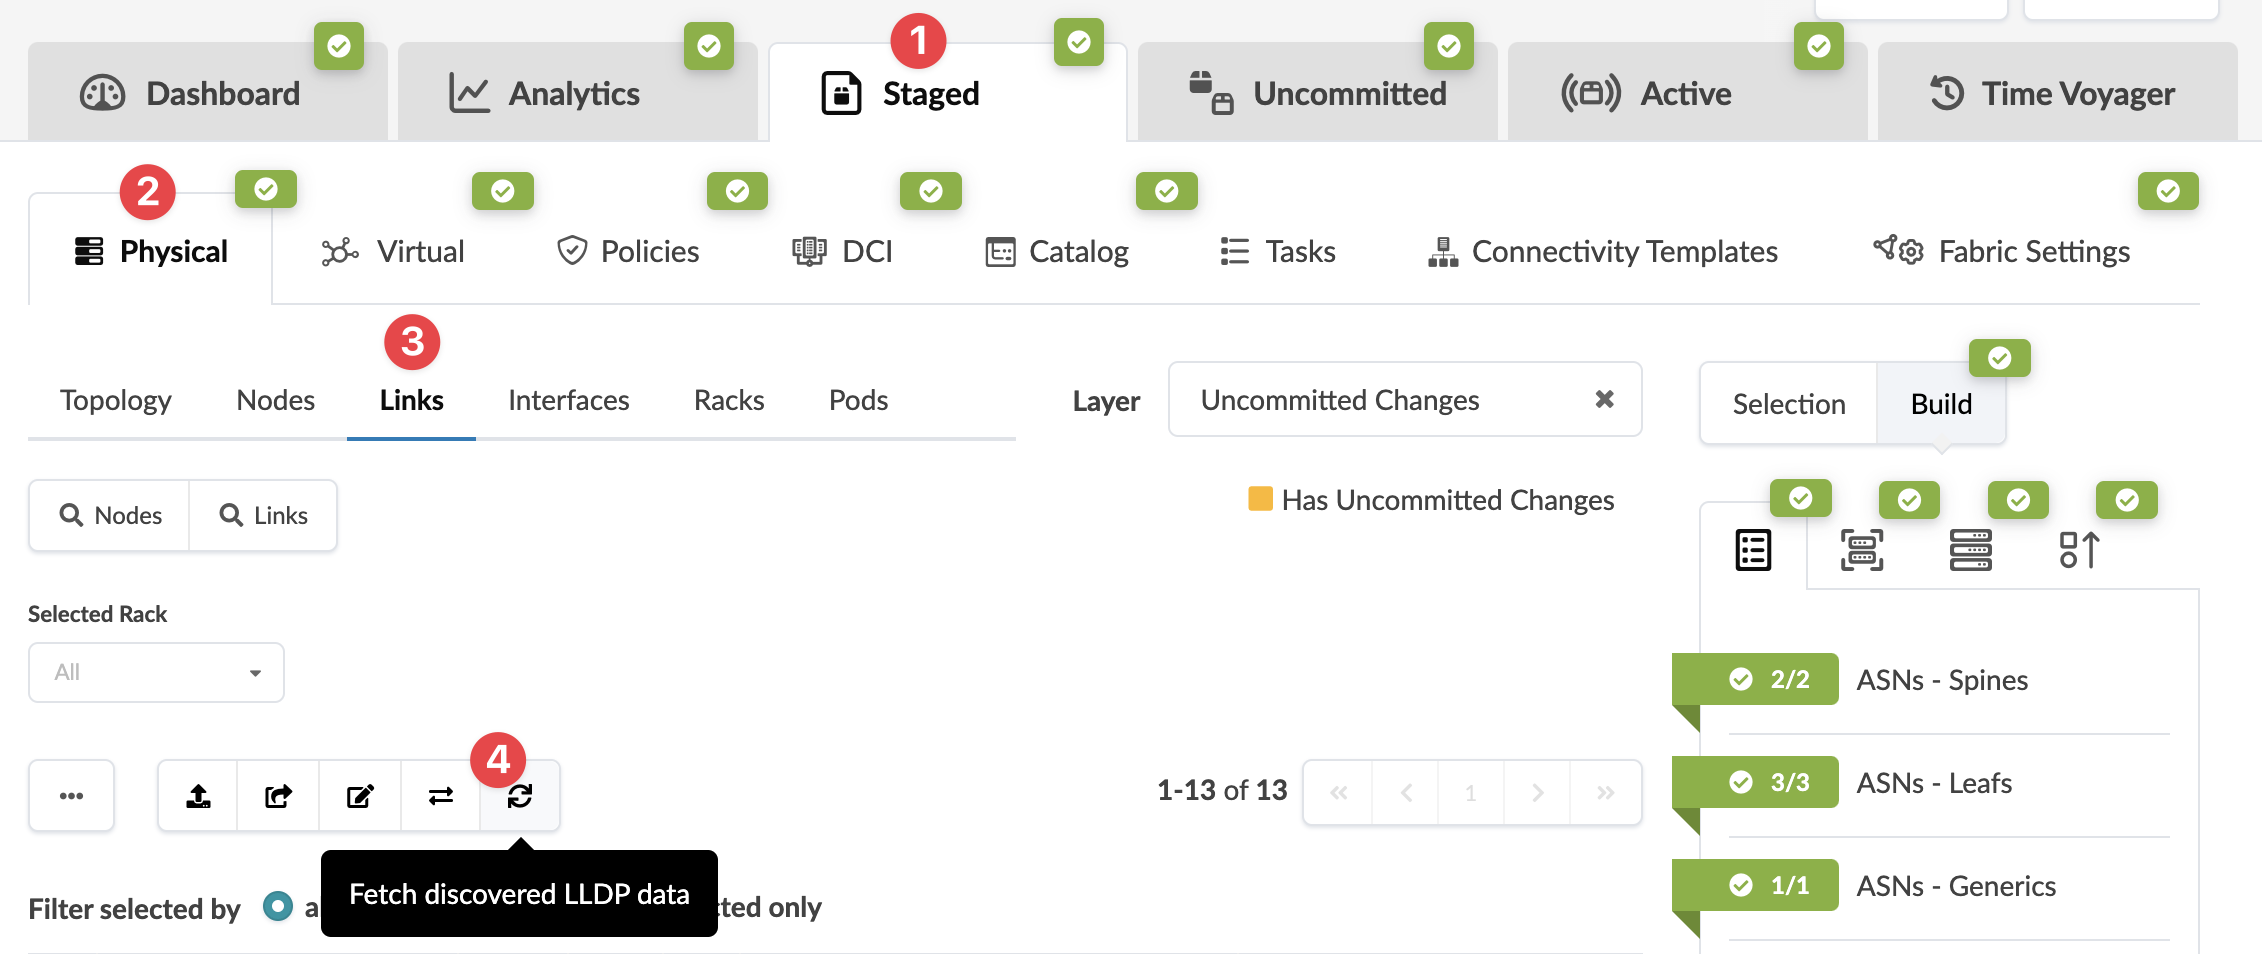
    Network management tool interface showing tabs for Dashboard, Analytics, Staged, Uncommitted, Active, and Time Voyager. Navigation menu includes Physical, Virtual, Policies, DCI, Catalog, Tasks, Connectivity Templates, and Fabric Settings. Physical submenu displays Topology, Nodes, Links, Interfaces, Racks, and Pods. Links tab is selected with Layer filter set to Uncommitted Changes. Action buttons for uploading, editing, and fetching data are visible. Tree view shows network components like ASNs - Spines, Leafs, and Generics with green checkmarks indicating their status.
  2. If staged data is identical to LLDP discovery results, you will see a message with that statement. Your actual cabling matches the prescribed cabling map. No further action is needed.
  3. If staged data is different from LLDP discovery results, the message includes the number of links that are different.
  4. Scroll to see details of the diffs (in red), or check the Show only links with LLDP diff? checkbox to see only the differences.
  5. To accept the changes and update the map to match LLDP data, click Update Stated Cabling Map from LLDP. You might also need to reset resource group overrides.