Enable IPv6 Applications
CAUTION:
After IPv6 has been enabled in a blueprint, it cannot be disabled. Although, you could use Time Voyager to rollback to a revision before IPv6 was enabled.
Enabling support for IPv6 virtual networks on EVPN L2 deployments or L3 deployments adds resource requirements and device configurations. This includes IPv6 loopback addresses on leaf devices and spine devices, IPv6 addresses for MLAG SVI subnets and IPv6 addresses for leaf L3 peer links. The following caveats apply:
- This feature does not include IPv6 support in the fabric.
- IPv6 support is not available on non-EVPN L2 networks.
- When IPv6 is enabled on EVPN L2 deployments, security policy functionality is not available.
-
From the blueprint, navigate to Staged > Fabric Settings > Fabric
Policy and click Modify Settings.
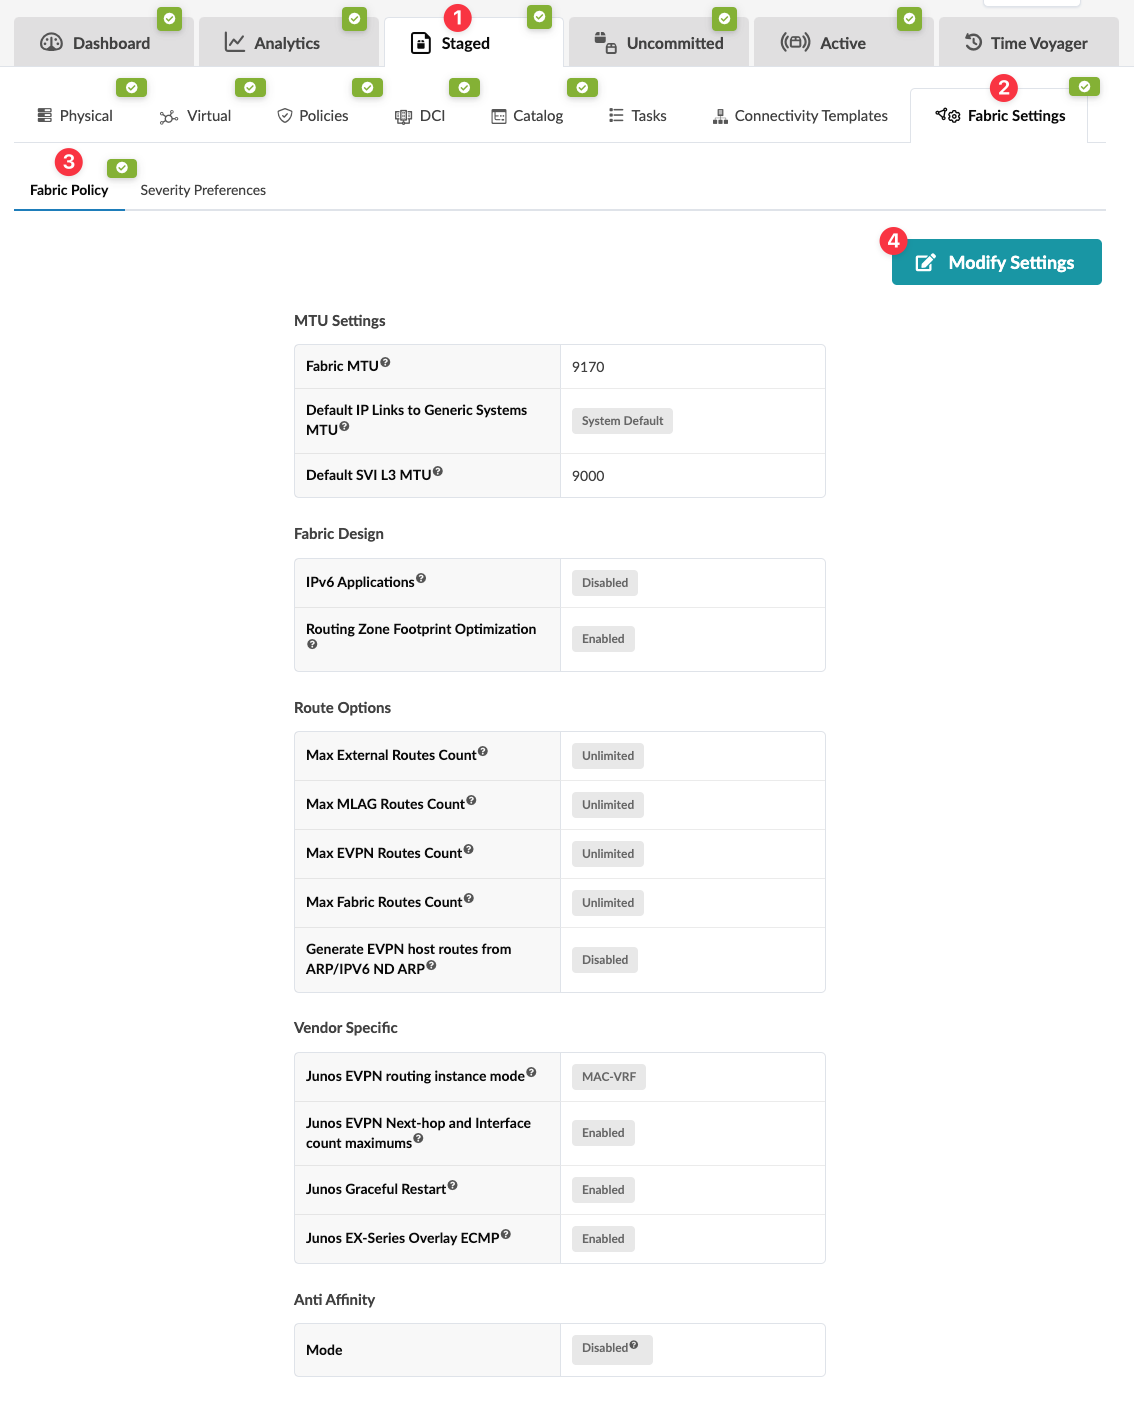 The Modify Fabric Policy Settings dialog appears.
 -
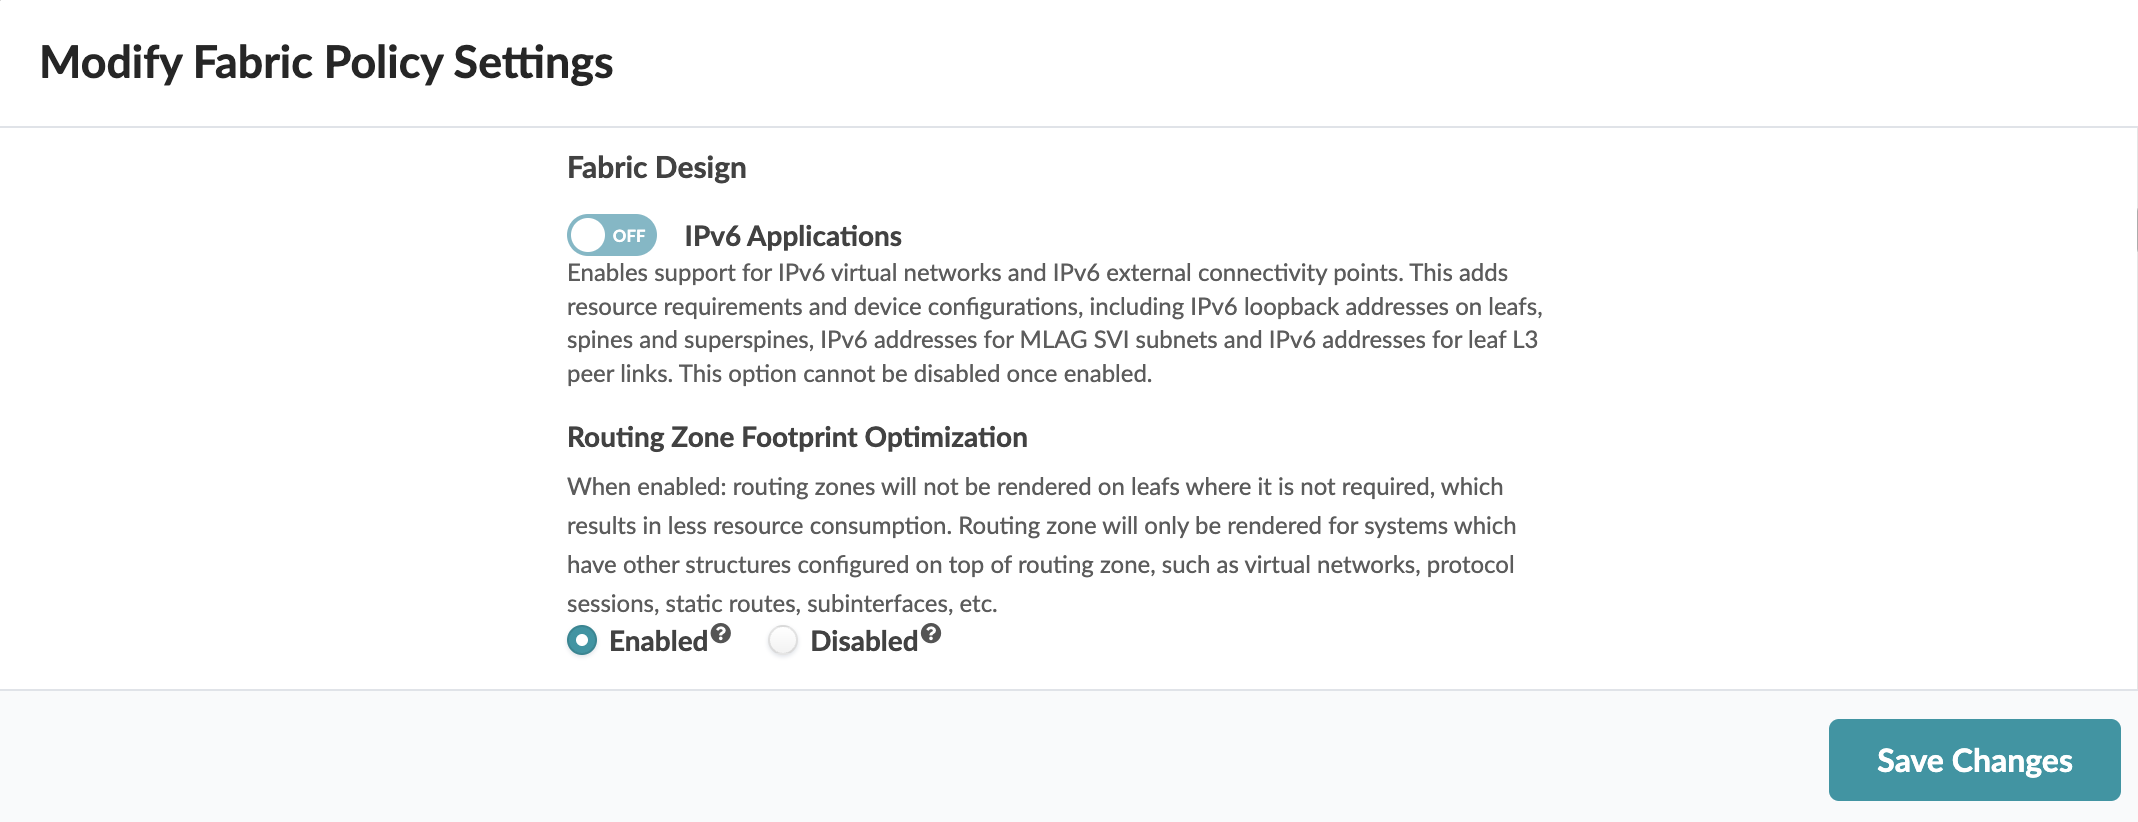
In the Fabric Design section, click the toggle ON to
enable IPv6 applications.
Next Steps:
Assign the required IPv6 IP addresses. For more information about IPv6 configuration, see Virtual Networks.