Change Assigned Loopback IP Address (Datacenter)
Assign or change an individual loopback IP Address
Normally, IP addresses are pulled automatically from resource pools, but there may be times when you need to assign a specific IP address. In these cases, you can select the device and assign or change the IP address from the Properties tab.
To assign a specific loopback IP address using the GUI:
-
From the blueprint, navigate to Staged > Physical > Topology and
select the device to update. (Alternatively, you can navigate to Staged >
Physical > Nodes and select the device from the
Nodes table.)
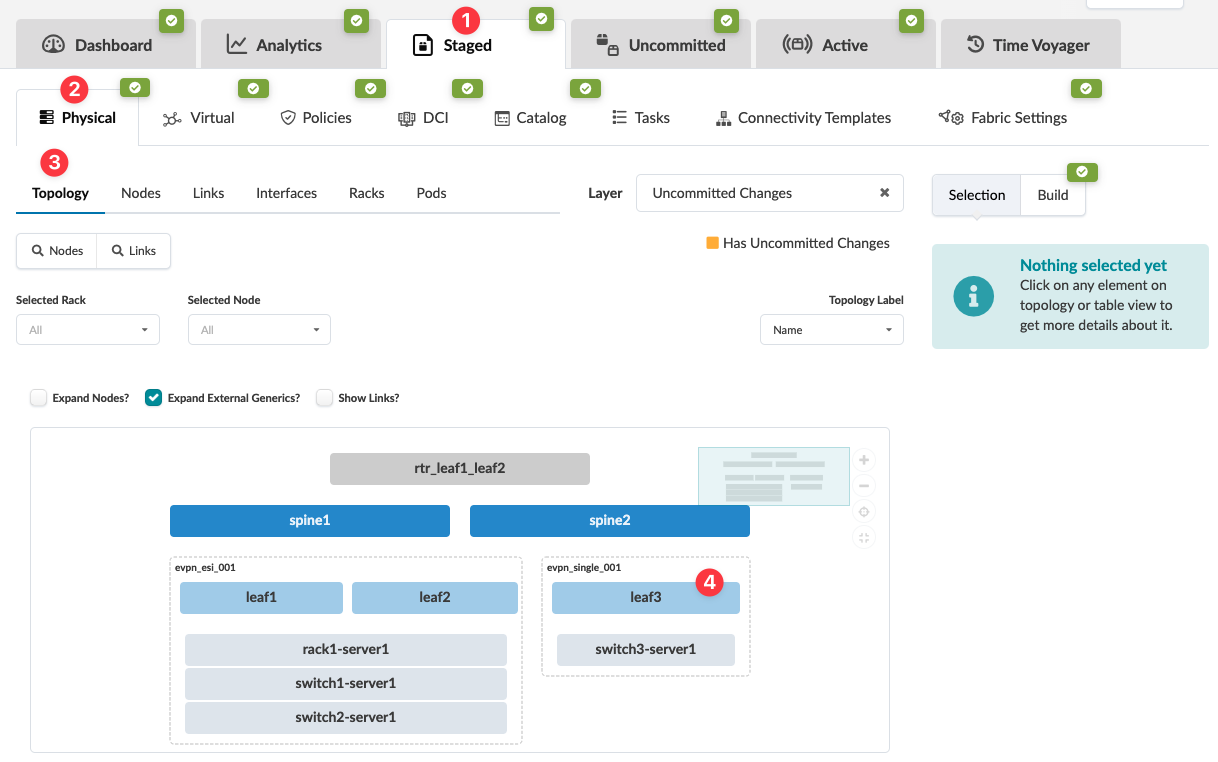 The Selection panel on the right becomes active and populates with information about the selection.
 -
Click the Properties tab in the Selection
panel, then click the Edit button for the Loopback
IP field.
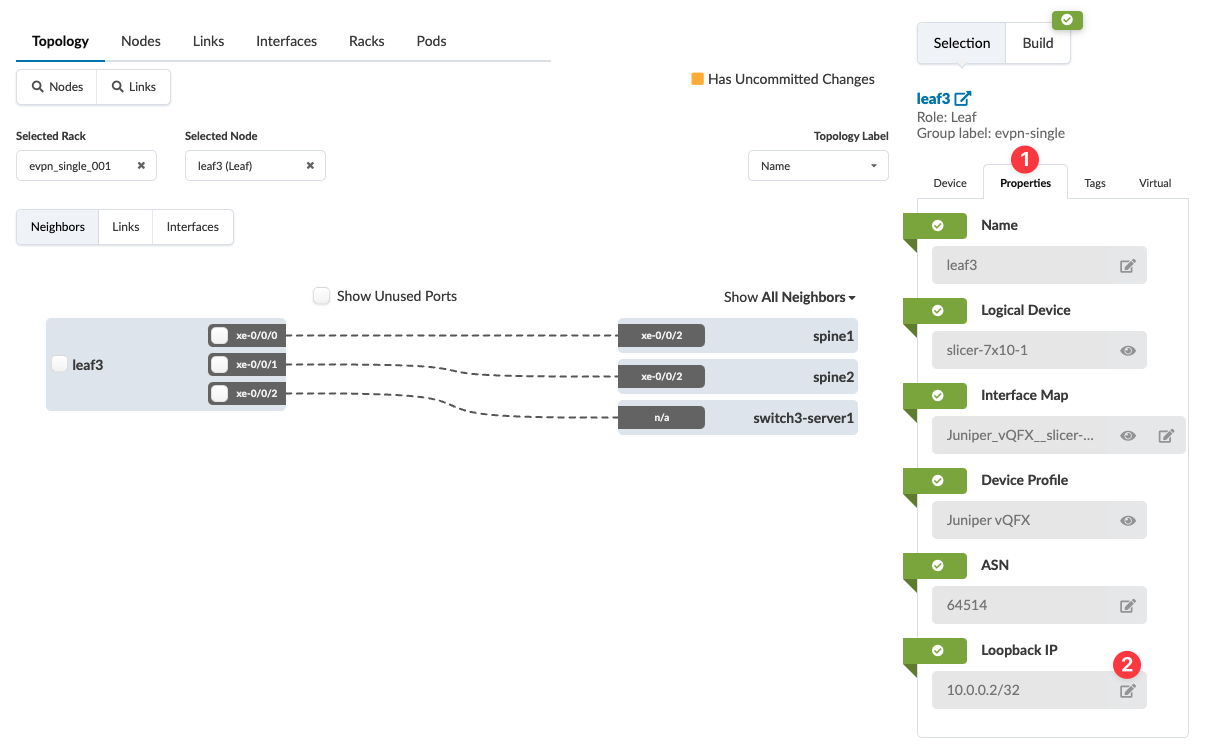 The Loopback IP field becomes available to change.
 -
Click the Save button.
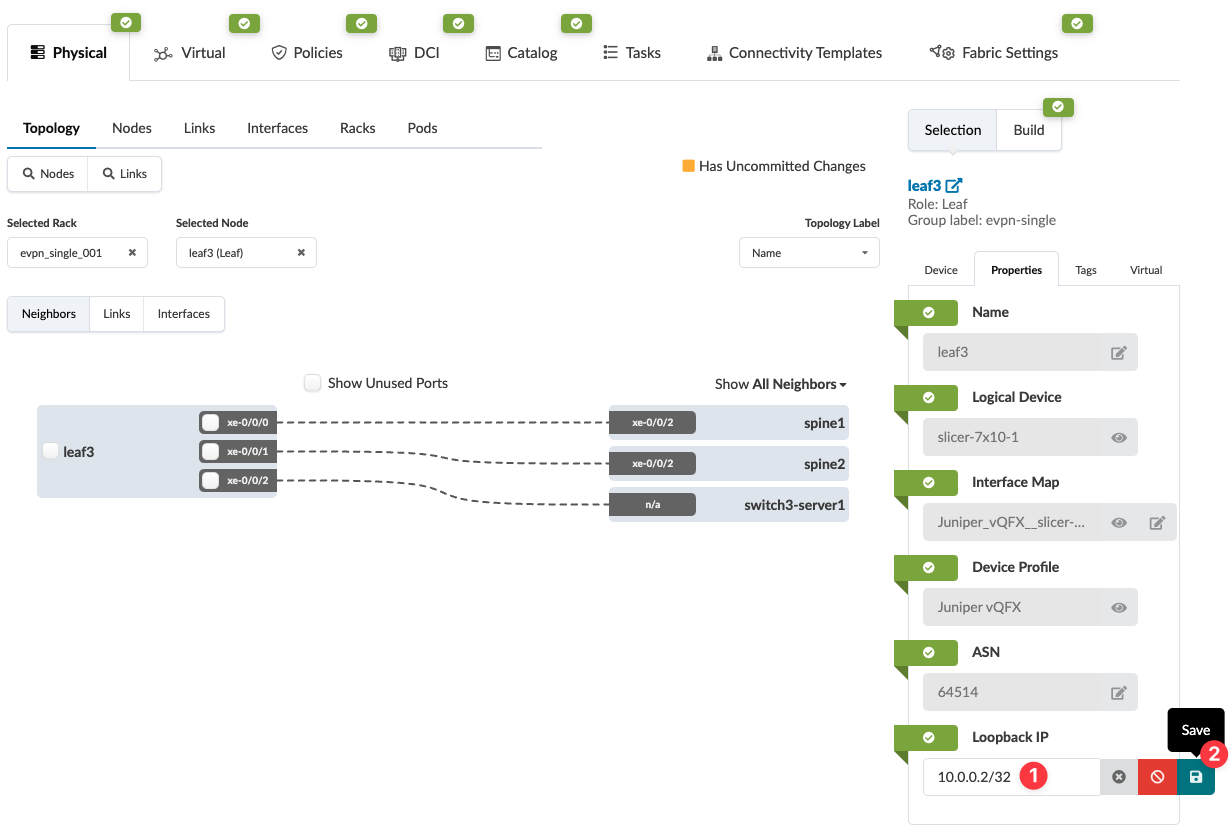
The changes are staged.
When you're ready to activate your changes, go to the Uncommitted tab to review and commit (or discard) your changes.