Uninstall Agent
To remove a device from managed, see Remove (Decommission) Device from Managed Devices for the complete workflow. There are additional steps before and after uninstalling the agent as shown below.
-
From the left navigation menu, navigate to Devices > Managed
Devices to go to the managed devices table view.
 Note:
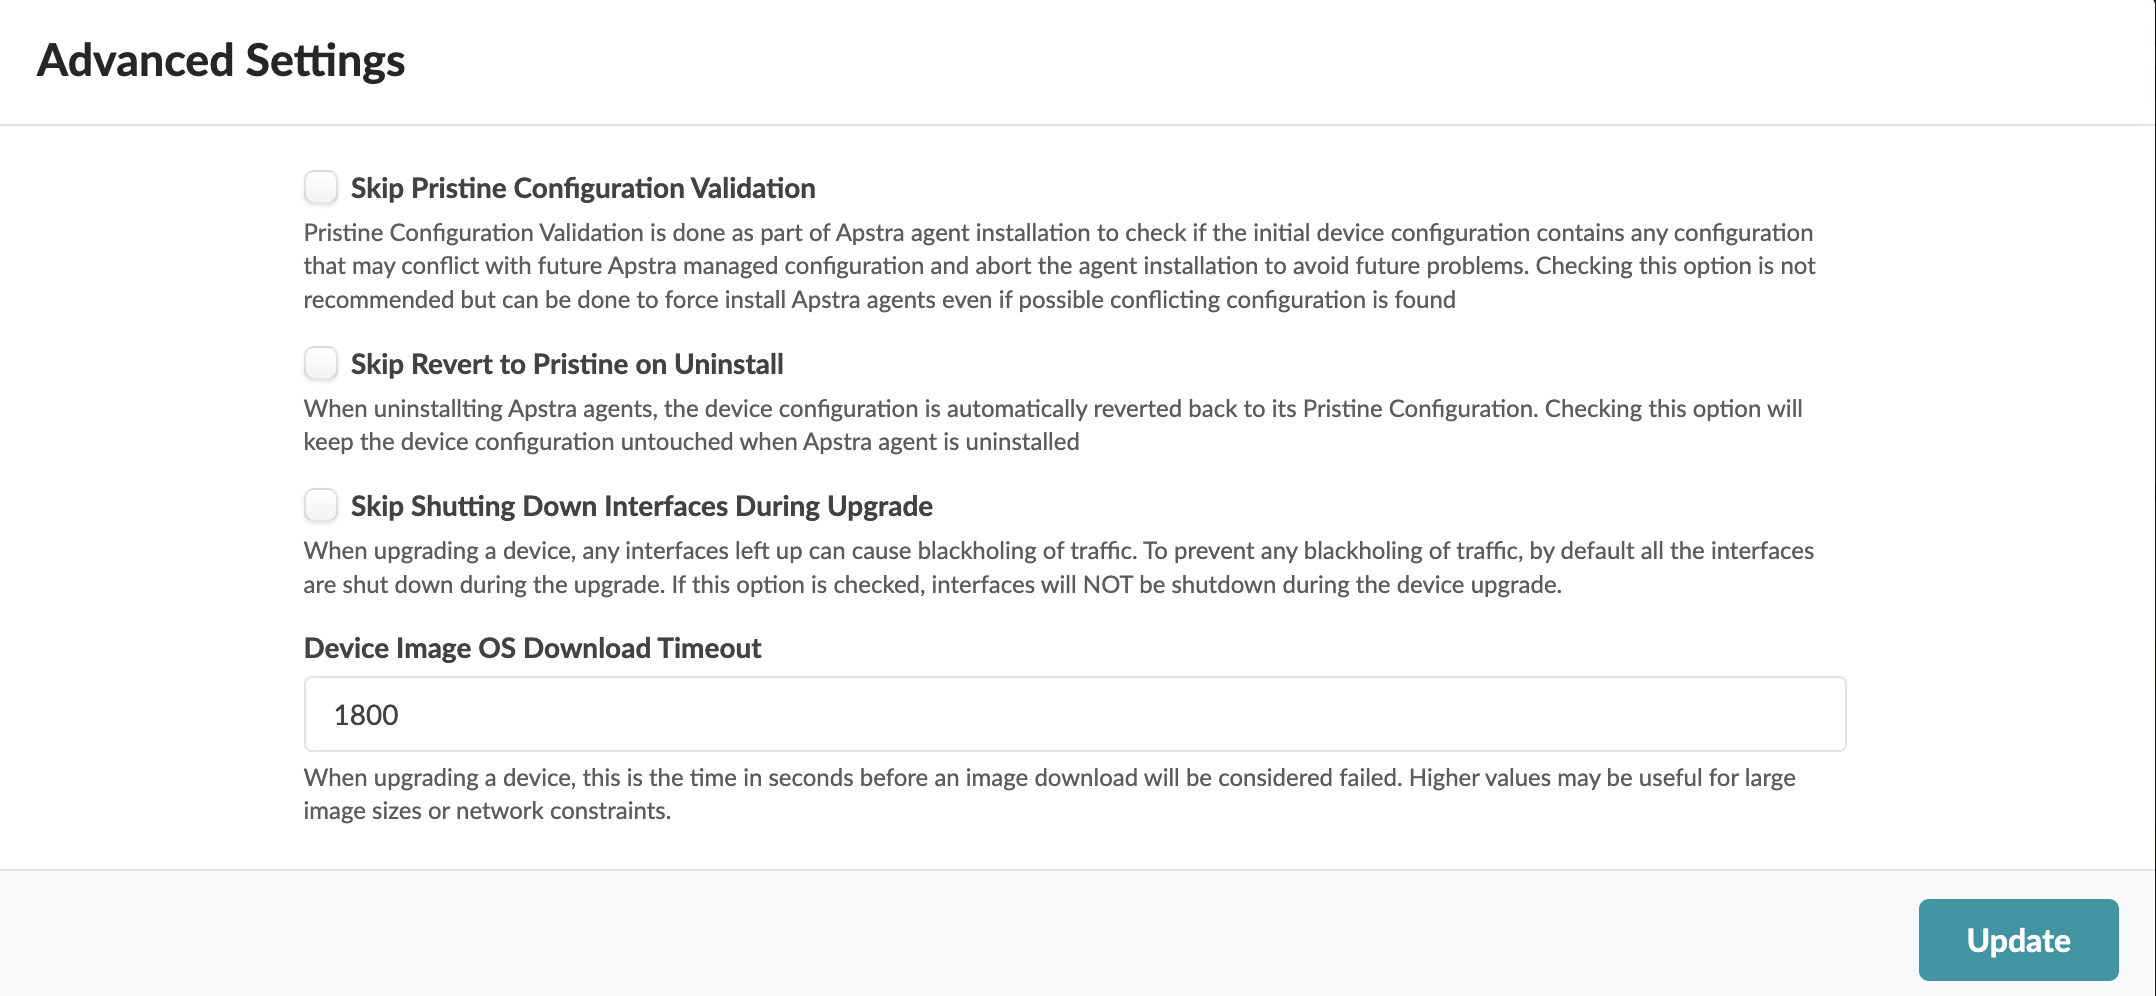
Note:When you uninstall a device agent, the pristine configuration is restored on the device by default. If you want to retain existing configuration, click Advanced Settings and check the box to Skip Revert to Pristine on Uninstall.
-
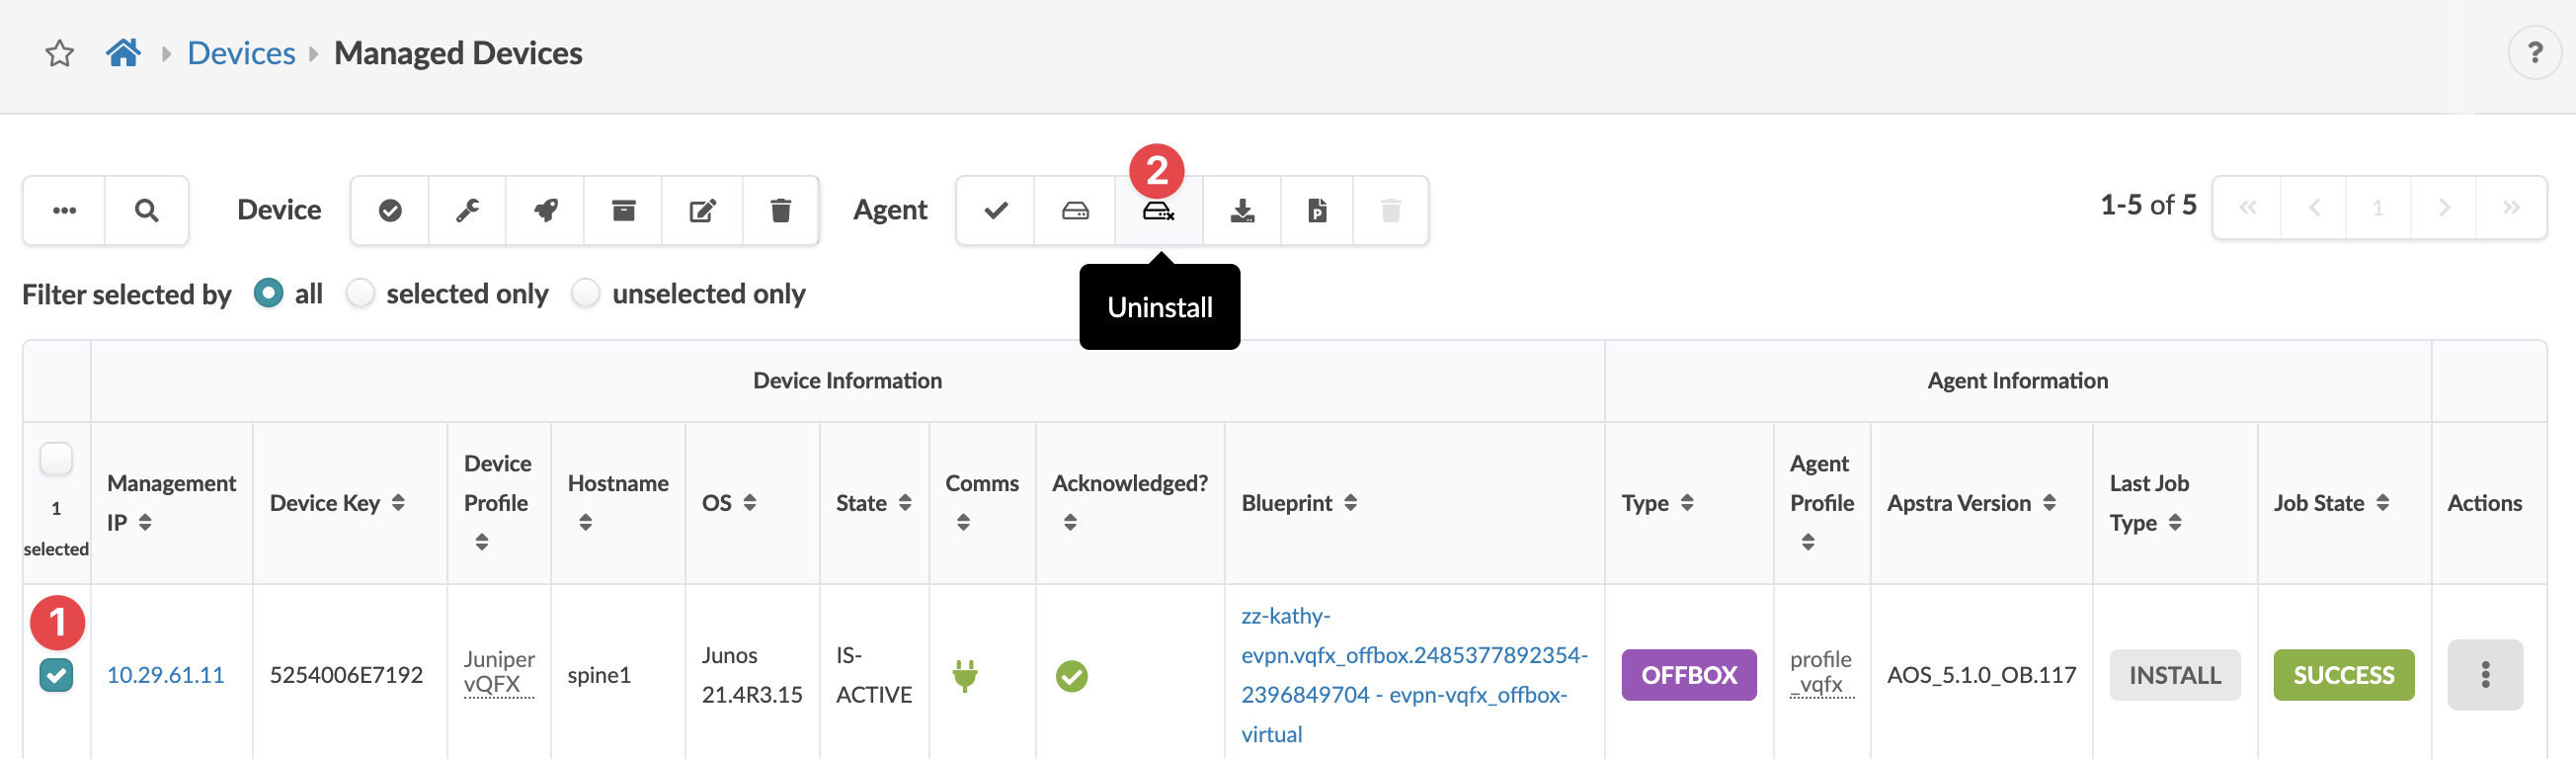
Check the box(es) for the device(s), then in the Agent
Actions panel that appears above the table, click the
Uninstall button.
 The Uninstall selected elements dialog appears.